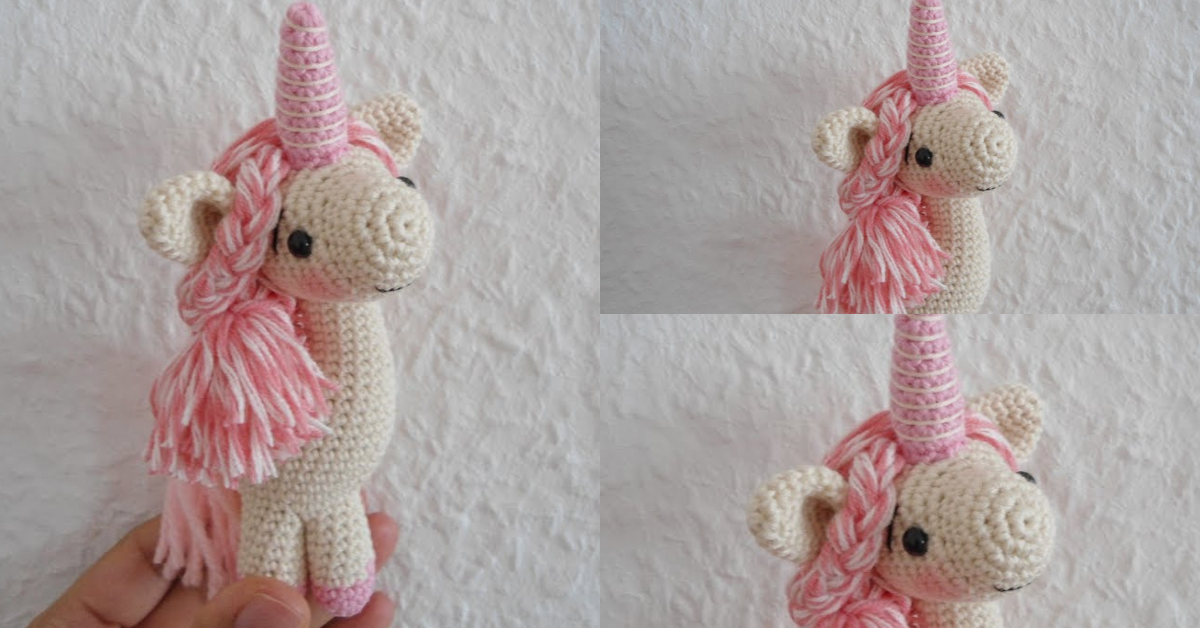
Crochet unicorn amigurumi

The unicorn is one of the figures that has gained great importance in recent years. The unicorn is a mythological being with white fur and a horn on its head that makes it unique and special.
Children especially girls love unicorns. Thinking about them, and not only, here are some ideas and inspirations for crochet unicorn amigurumi.
Check out the step-by-step video.
Read too:How to Make a Cute Amigurumi Crochet Owl
Crochet amigurumi unicorn
For those who like unicorns or if you know someone who does, check out these beautiful and wonderful ideas that we found for you.

Stitch Pattern Example
Here’s a quick stitch sequence for the body:
- Magic Ring: Begin with a magic ring and 6 sc into the ring.
- Round 1: Inc in each stitch around (12 stitches).
- Round 2: sc in next stitch, inc in next; repeat around (18 stitches).
- Continue: Repeat this pattern, increasing gradually to create the body shape.
How to Crochet a Unicorn Amigurumi: Step-by-Step Guide
Let’s dive into the step-by-step pattern for crocheting a basic unicorn amigurumi. We’ll start with the body and head, then move on to smaller details like the horn, mane, and tail.
Step 1: Creating the Body
- Magic Ring: Begin with a magic ring and 6 sc into the ring.
- Increase Rounds: Work increases in each round to gradually build the body.
- Even Rounds: After reaching the desired circumference, crochet without increasing for several rounds to create a cylindrical shape.
- Decreases: Begin decreasing to close off the body, leaving an opening for stuffing.
Step 2: Making the Head
- Magic Ring: Start with 6 sc into a magic ring.
- Increase Rounds: Work a few rounds of increases to shape the head.
- Even Rounds: Crochet several rounds without increasing to form the head’s midsection.
- Decreases: Begin decreasing as you reach the top of the head.
Step 3: Adding the Legs
- Front and Back Legs: Crochet small cylindrical shapes for the legs, using even rounds after an initial increase.
- Attach to Body: Use a tapestry needle to securely sew the legs to the body, adjusting placement for balance.
Step 4: Crafting the Mane and Tail
- Mane: Use various colors to crochet strands or small spirals for the mane. Attach each strand to the head along the spine.
- Tail: Create a bundle of colorful strands, tying them together and attaching them to the back of the body.
Step 5: Making the Horn
- Magic Ring: Start with a magic ring and a few sc.
- Gradual Increase: Work a few rounds with slow increases to create a small cone shape.
- Attach: Position the horn between the ears and secure with a tapestry needle.
Step 6: Assembly and Finishing Touches
- Stuffing: Carefully stuff the body, head, legs, and horn to ensure they hold their shape.
- Safety Eyes: Attach safety eyes securely to the head.
- Sew Parts: Sew the head onto the body, and add any extra detailing, like eyelashes or blush with embroidery thread or fabric paint.
Create your own crochet unicorn amigurumi with this detailed guide! Learn the steps, materials, and tips to craft a charming unicorn that's perfect as a gift or decoration.
CHECK MORE CROCHET PATTERNS