Exploring the Beauty of Cushions with Zig-Zag Stitch

When it comes to home decor, the devil is in the details. Every element in your living space contributes to the overall ambiance, and cushions are no exception.
In this article, we're diving deep into the world of cushions with zig-zag stitch, a delightful addition to any interior that combines style, comfort, and craftsmanship in one.
Let's unravel the creativity and uniqueness of these beautifully crafted cushions.
Cushions with Zig-Zag Stitch
Before we delve into the aesthetics and benefits of these cushions, let's understand what zig-zag stitch is.
Zig-zag stitching is a sewing technique that creates a pattern of diagonal lines, resembling the letter 'Z.' This method is not only decorative but also highly functional, as it reinforces seams and prevents fraying.
A Burst of Creativity
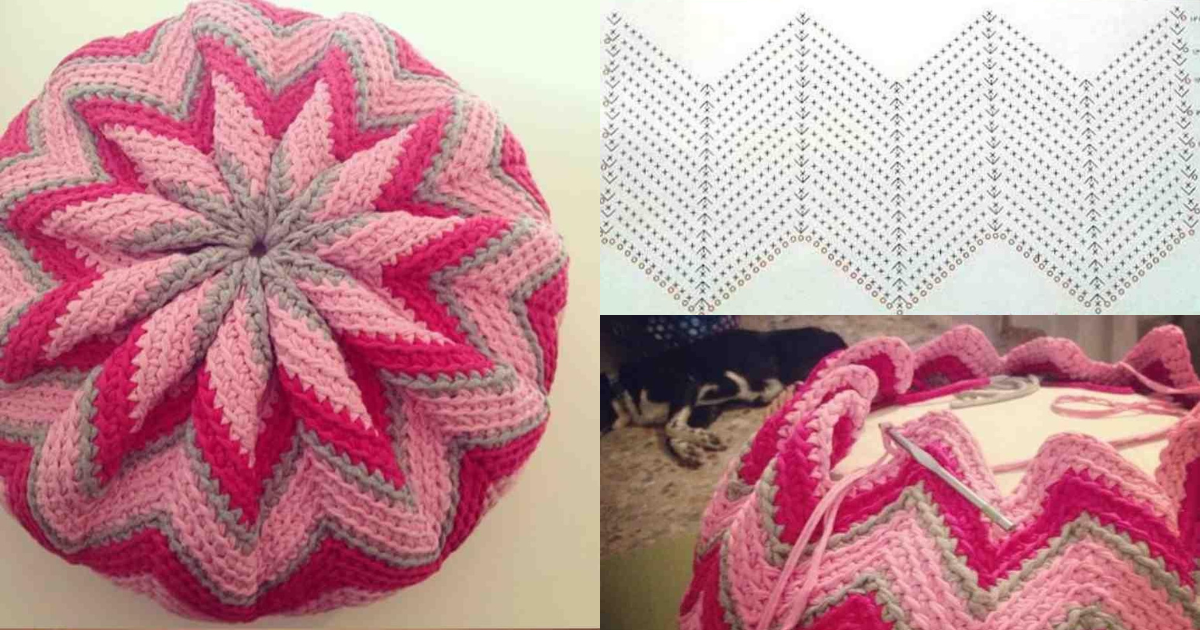
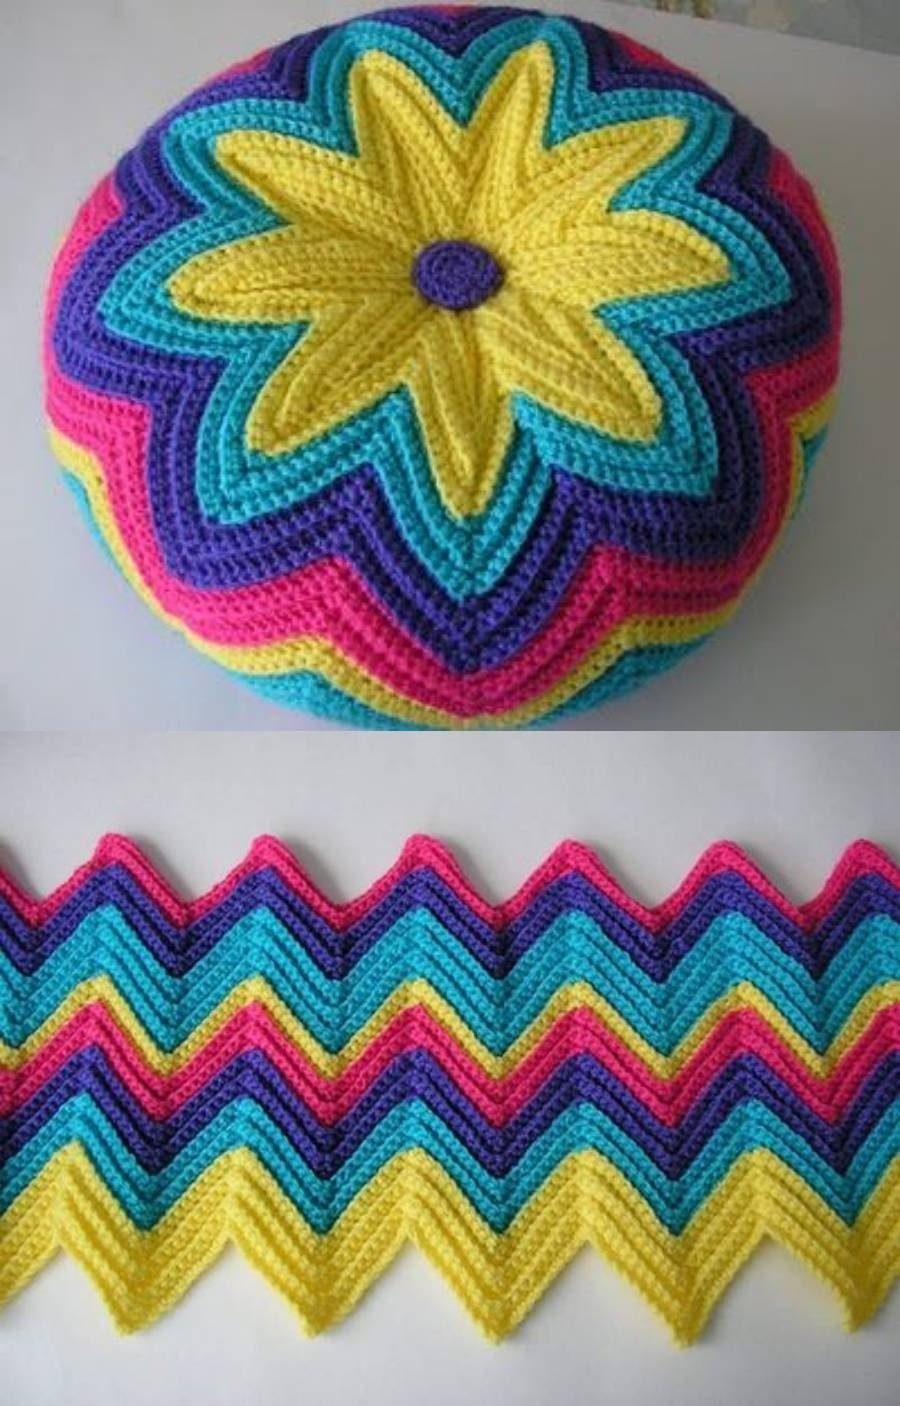
Cushions with zig-zag stitch are a burst of creativity. The zig-zag pattern adds a dynamic and visually appealing element to your home decor. It's a perfect way to introduce texture and dimension to your space.
Versatile Designs
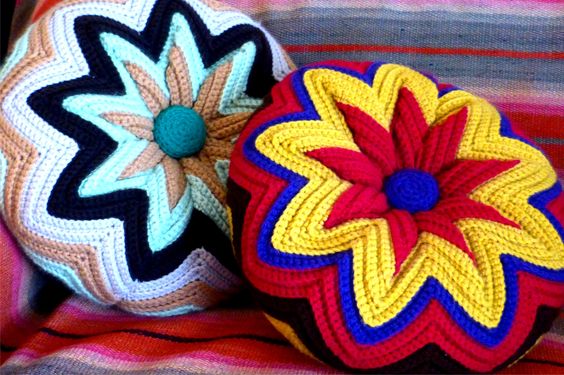
The beauty of zig-zag stitch lies in its versatility. These cushions come in various colors and patterns, allowing you to choose the perfect one to match your interior theme. Whether you prefer classic neutrals or bold, vibrant hues, there's a zig-zag cushion for you.


Comfort and Craftsmanship
Pillowy Comfort
While aesthetics are important, comfort is equally crucial. Zig-zag cushions are known for their plushness and coziness.
The stitching pattern adds an extra layer of cushioning, making these pillows perfect for relaxation and lounging.
Crafted with Precision
Each cushion with zig-zag stitch is a testament to skilled craftsmanship. These cushions are meticulously sewn to ensure durability and quality. You can trust that they'll stand the test of time.
Step-by-Step Instructions for Making a Cushion with Zig-Zag Stitch
Step 1: Create the Cushion Cover
- Foundation Chain:
- Start with a slip knot and chain enough stitches to match the width of your cushion insert. For a standard 16-inch cushion, you might start with about 50-60 chains, depending on your stitch tension.
- First Row:
- Work in dc across the chain. This creates the first row of your cushion cover.
- Starting the Zig-Zag Stitch:
- To create the zig-zag effect, alternate between working a series of double crochets followed by a chain and skip stitch:
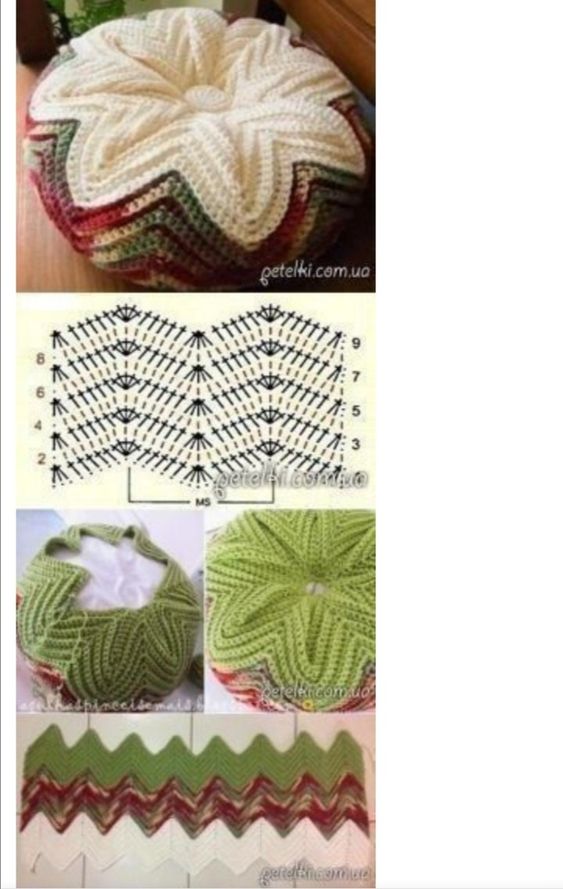
- Row 1: 3 dc in the first stitch, ch 1, skip 1 stitch, dc in the next stitch and repeat this pattern across the row.
- To create the zig-zag effect, alternate between working a series of double crochets followed by a chain and skip stitch:
- Continuing the Pattern:
- For subsequent rows, shift the pattern slightly to maintain the zig-zag appearance:
- Row 2: Start with a dc in the first dc of the previous row, then follow the same zig-zag pattern.
- For subsequent rows, shift the pattern slightly to maintain the zig-zag appearance:
- Repeat:
- Continue this pattern until the cover reaches the desired length. Aim for about 16-18 inches for a standard cushion cover.
Step 2: Creating the Back Panel
- Make the Back Panel:
- Create a second piece for the back of the cushion using the same zig-zag stitch pattern but consider making it in a solid color or different pattern for contrast.
- Size Adjustment:
- Ensure the back panel matches the size of the front panel. Adjust the number of stitches accordingly.
Step 3: Joining the Panels
- Placing the Panels Together:
- With the right sides facing each other, align the front and back panels of the cushion cover.
- Seaming:
- Using a slip stitch or sc, join the edges of the two panels, leaving a small gap for inserting the cushion.
- Inserting the Cushion:
- Once you’ve seamed three sides of the cushion cover, carefully insert the cushion insert through the gap.
- Closing the Cushion:
- Once the cushion is inserted, continue to seam the remaining edge, ensuring it’s securely closed.
Step 4: Finishing Touches
- Weave in Ends:
- Use a yarn needle to weave in any loose ends for a clean finish.
- Blocking (Optional):
- Lightly steam block your cushion cover to help it hold its shape and enhance the zig-zag pattern.
Incorporating Zig-Zag Cushions into Your Decor
Mix and Match
Zig-zag cushions are highly adaptable. You can mix and match them with other cushions to create a unique and eclectic look.
Experiment with different patterns and colors to find the perfect combination for your space.
CHECK MORE CROCHET PATTERNS