Cute Crochet Curl Snail: A Delightful Project for Every Skill Level
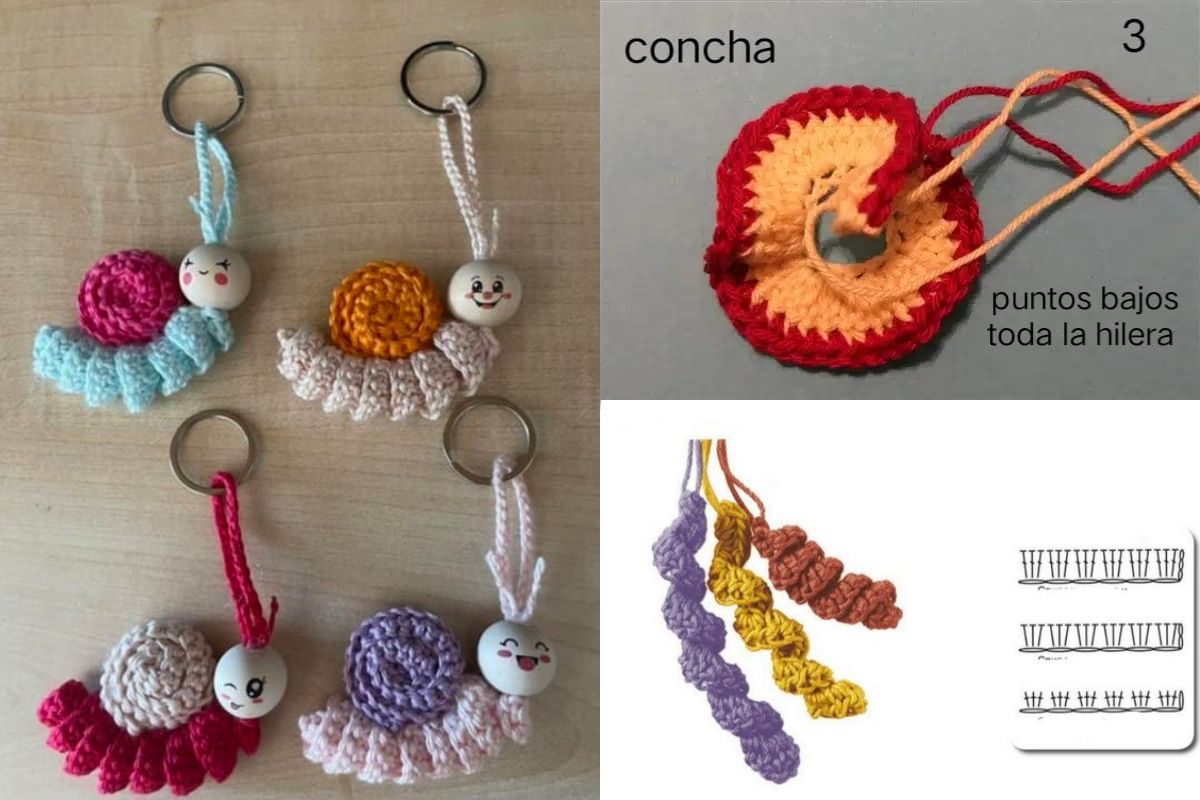
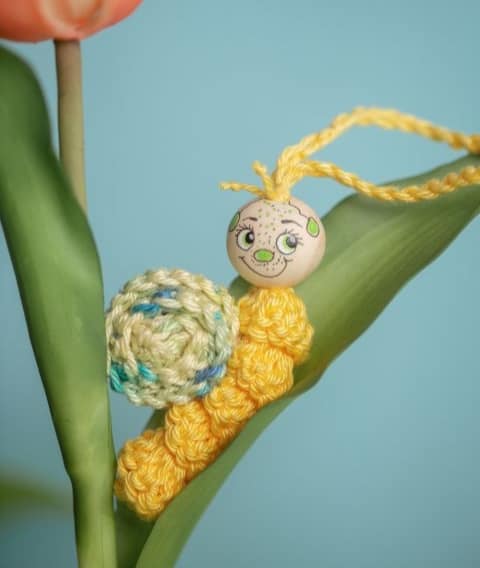
The cute crochet curl snail is a whimsical and adorable project that brings a playful touch to your crochet collection. Perfect for beginners and advanced crocheters alike, this charming snail design is versatile and can be used as a toy, decoration, or even a unique gift.
In this article, we’ll guide you through creating your very own crochet curl snail, share creative ideas to customize it, and provide tips for achieving professional results.
Let’s dive into the world of crochet and bring this little critter to life!
Crochet a Curl Snail
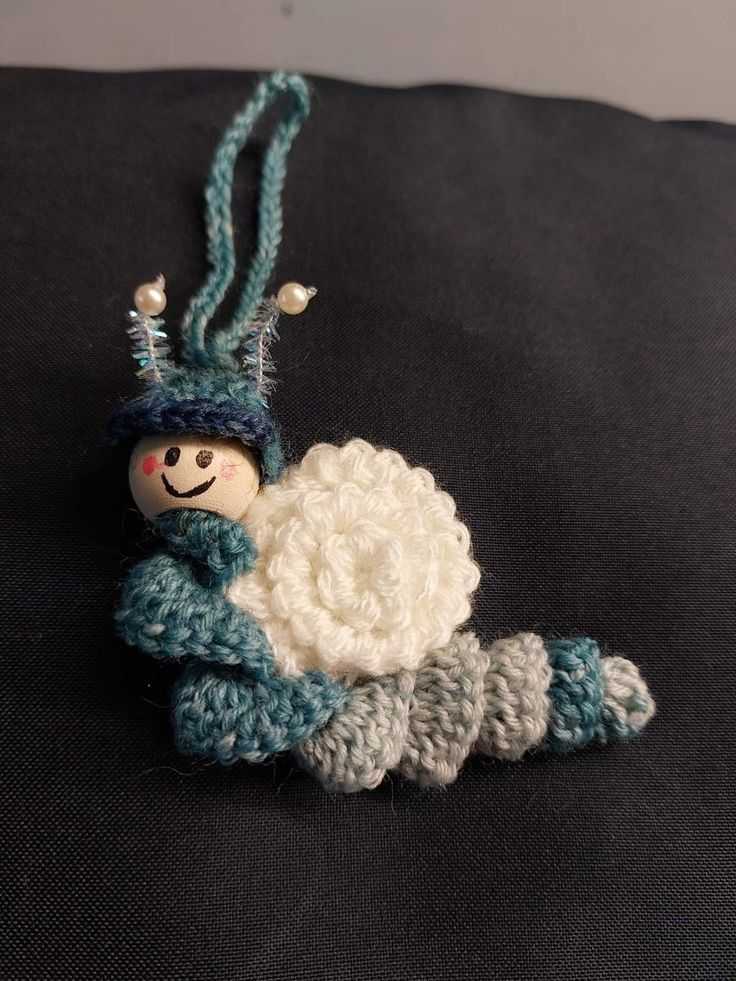
The curled shell and tiny details make this project irresistibly cute. It’s a small, manageable project that can be completed in just a few hours.
A handmade crochet snail is a thoughtful and unique present for children or craft enthusiasts.
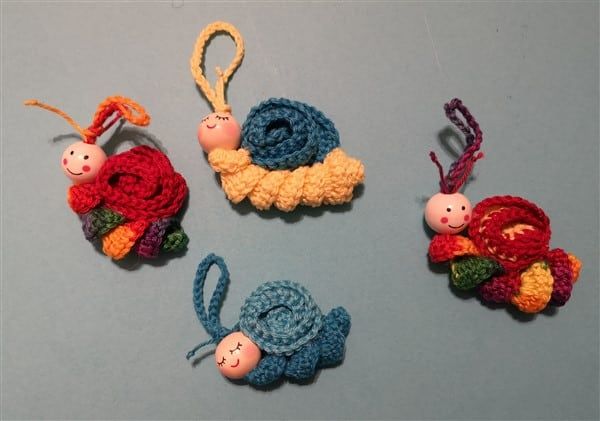
You can play with colors, patterns, and sizes to create snails that reflect your style.

Materials Needed
To create your cute crochet curl snail, gather these materials:
Tools:
- Crochet Hook: Size 3mm-4mm works best for small, tight stitches.
- Yarn: Choose soft, lightweight yarn in your preferred colors. Cotton or acrylic yarn works well.
- Yarn Needle: For sewing parts together and weaving in ends.
- Stuffing: Fiberfill or scrap yarn for filling the body and shell.
- Scissors: For trimming excess yarn.
Optional:
- Safety Eyes: For adding a playful expression to your snail.
- Embroidery Thread: To stitch a smile or other facial details.
Step-by-Step Crochet Curl Snail Tutorial
Body:
- Start with a Magic Ring: Create 6 single crochets (sc) into the magic ring.
- Increase: Work 2 sc in each stitch around (12 stitches).
- Build the Shape: Continue increasing in a circular pattern until you reach the desired size for the body (e.g., 24 stitches for a small snail).
- Form the Length: Crochet several rounds without increasing to create the elongated body.
- Stuff the Body: Add fiberfill as you work to maintain the shape.
Shell:
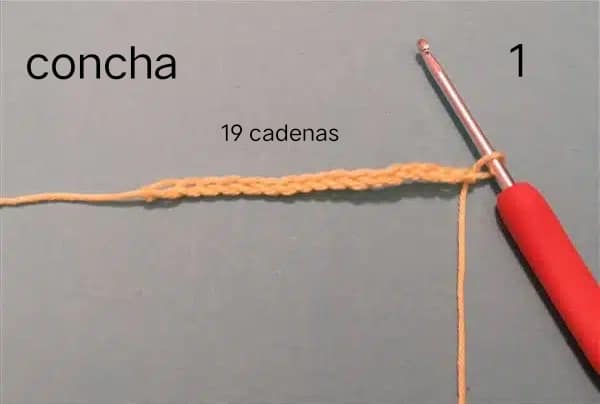
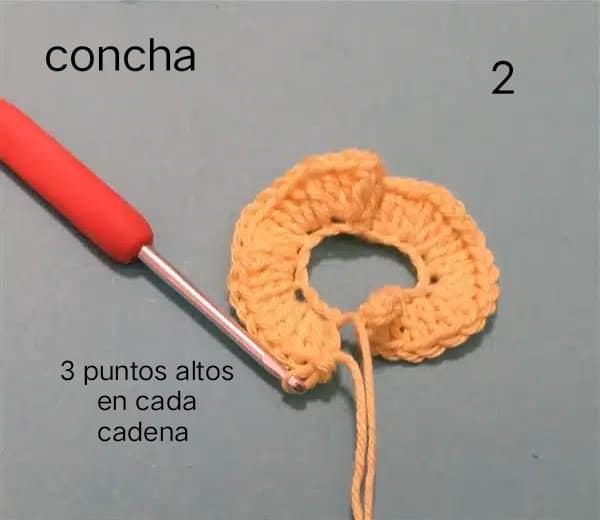
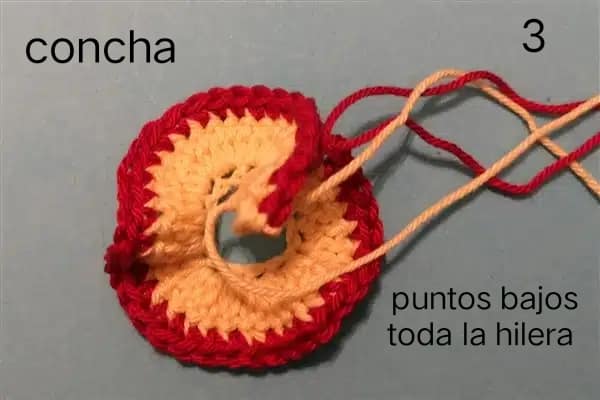
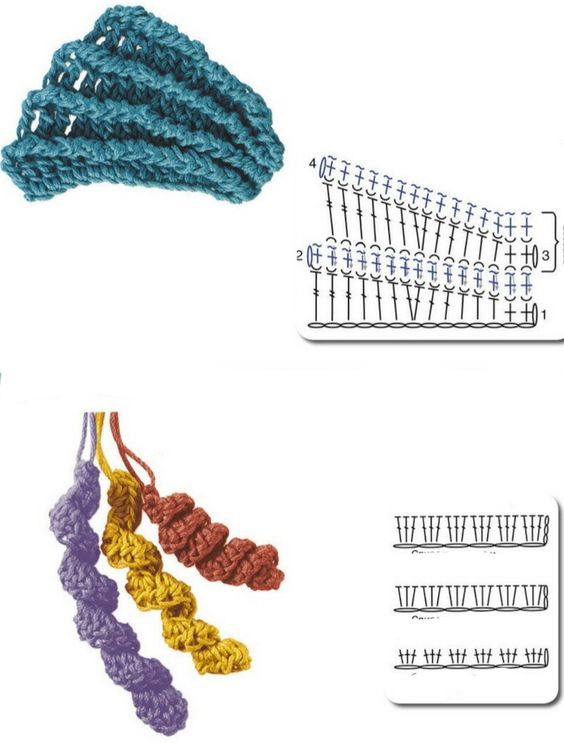
- Foundation Row: Crochet a long chain to serve as the base of the shell. The length will determine the size of the curl.
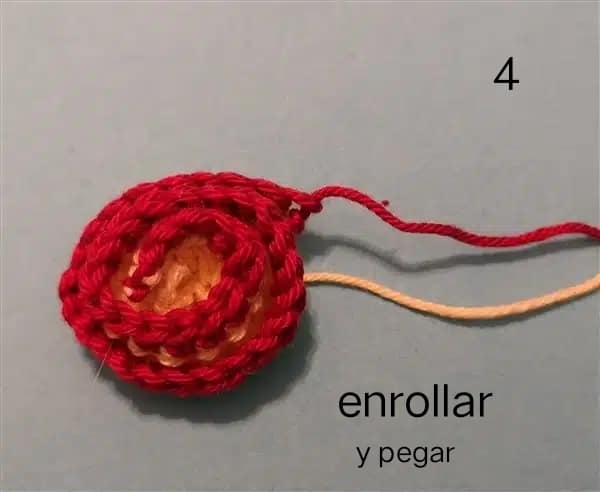
- Add Texture: Work rows of half-double crochets (hdc) or double crochets (dc) to build the shell’s height.
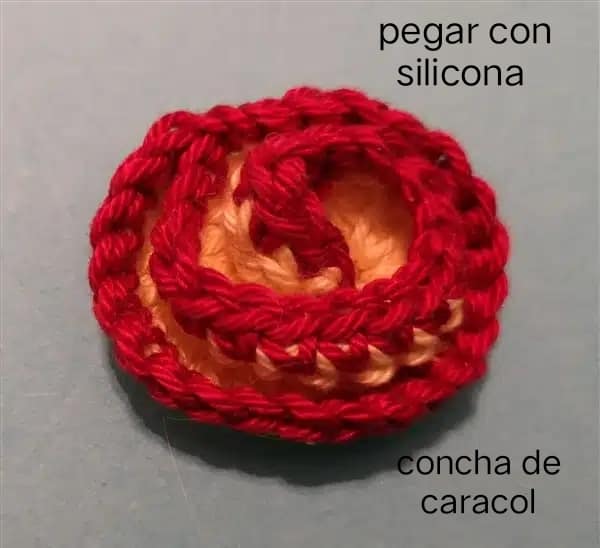
- Curl and Shape: Roll the finished piece into a spiral shape, stitching it together as you go to hold the curl.
Antennae:
- Chain a Small Base: Create a chain of 6-8 stitches.
- Add a Knot or Bobble: Use bobble stitches or tie a knot at the end to mimic the tip of the antennae.
- Attach: Sew the antennae to the top of the body.
Assembly:
- Attach the Shell: Position the curled shell on the back of the body and sew it securely.
- Add Details: Attach safety eyes or embroider a face to give your snail personality.
- Finish: Weave in all loose ends and adjust the shape as needed.
Creative Customization Ideas
- Play with Colors: Use vibrant, contrasting colors for the shell and body to create a whimsical effect.
- Add Accessories: Stitch a tiny hat, scarf, or bow for a festive touch.
- Size Variations: Experiment with larger or smaller snails by adjusting yarn thickness and hook size.
- Textured Shells: Use popcorn or puff stitches for a shell with added texture.
Fun Uses for Crochet Curl Snails
- Kids’ Toys: Soft and safe for little hands, these snails make perfect playtime companions.
- Decorative Accents: Place them on shelves, desks, or plant pots for a touch of charm.
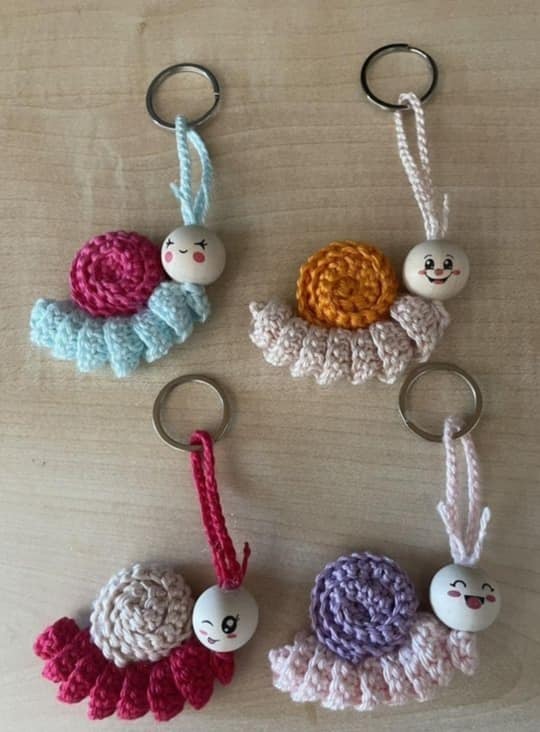
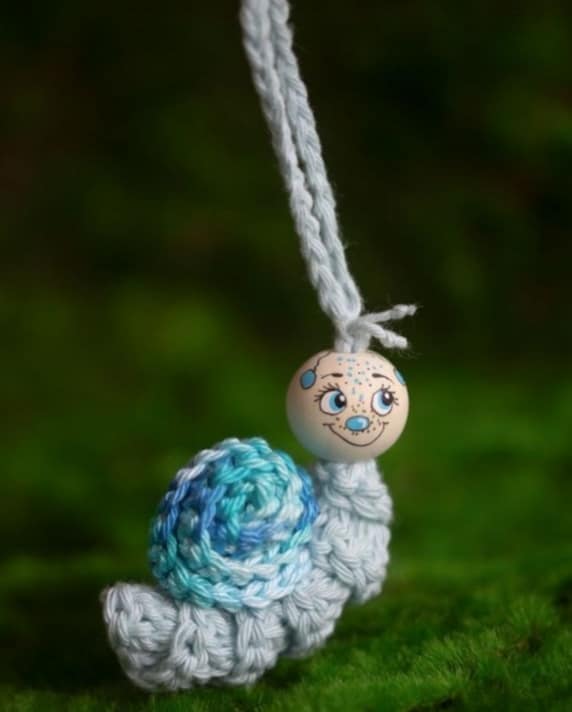
- Keychains or Bag Charms: Attach a loop or keyring to turn your snail into a portable accessory.
- Themed Gifts: Include them in handmade gift baskets or as part of a nature-themed present.
Tips for Success
- Maintain Tension: Keep your stitches tight and consistent for a polished look.
- Stuff Firmly: Overstuffing can distort the shape, so aim for a balanced filling.
- Use Stitch Markers: Mark the start of each round to stay on track.
- Emphasize Details: Adding small embellishments like embroidered smiles or rosy cheeks can elevate the final design.
Learn how to crochet a cute curl snail with this detailed tutorial! Perfect for beginners and experts, discover creative customization ideas, tips, and fun uses for this adorable project.
CHECK MORE CROCHET PATTERNS