DIY 3D Crochet Butterfly
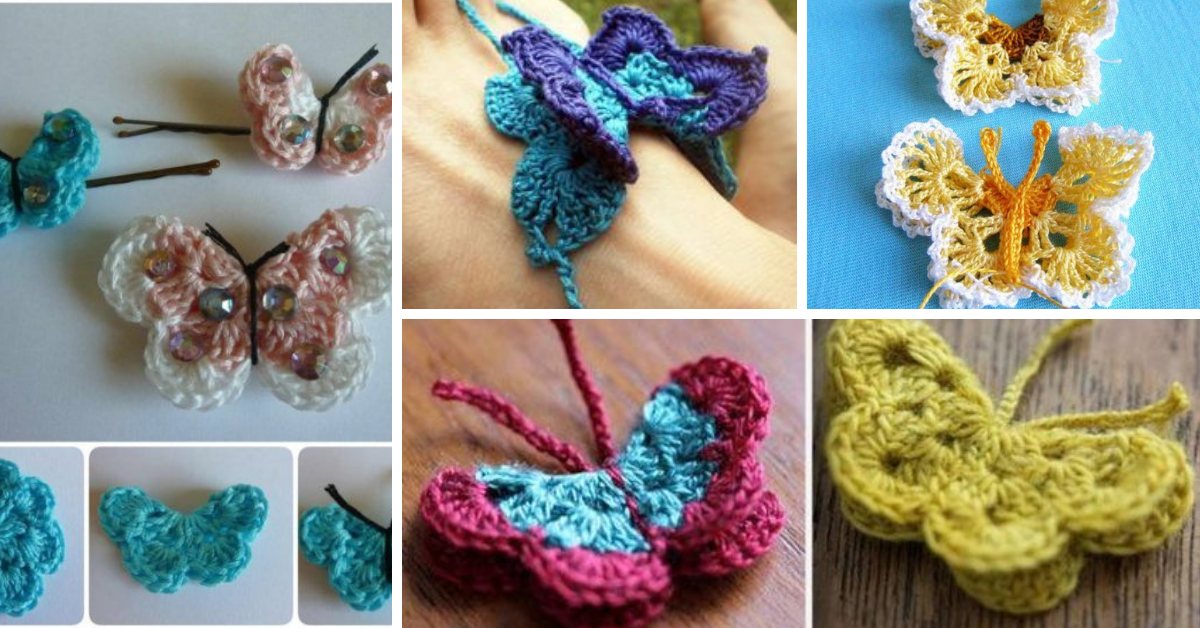
Have you ever wondered how to crochet a 3D butterfly that truly stands out?
Also: Unveiling the Art of Crafting a Stunning Crochet Butterfly Keychain
In this DIY 3D Crochet Butterfly Guide, you'll discover how to craft these intricate, lifelike beauties with just a few basic materials.
Whether you're a seasoned crocheter or a newbie, this guide will walk you through the process to create vibrant butterflies that add a whimsical touch to any project.
How To Make A Crocheted 3D Butterfly
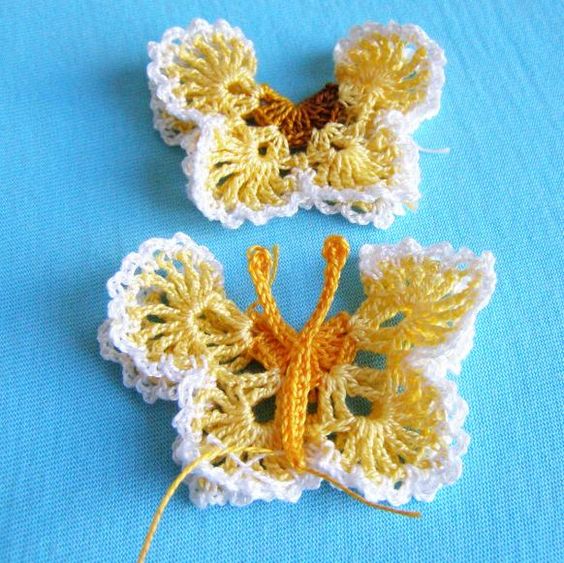
Very nice crochet butterfly and easy to perform. In the style of Irish Crochet.
Use such crochet butterfly for accessories like head band, hair pin, brooch, applications on other things.
Add new life to your crochet, knit, sew projects!

Fantasize! Feel free to mix and match different colours to create your own unique touch.
Invest your imagination in the process and you'll get an even better results!
3D Butterfly Ideas
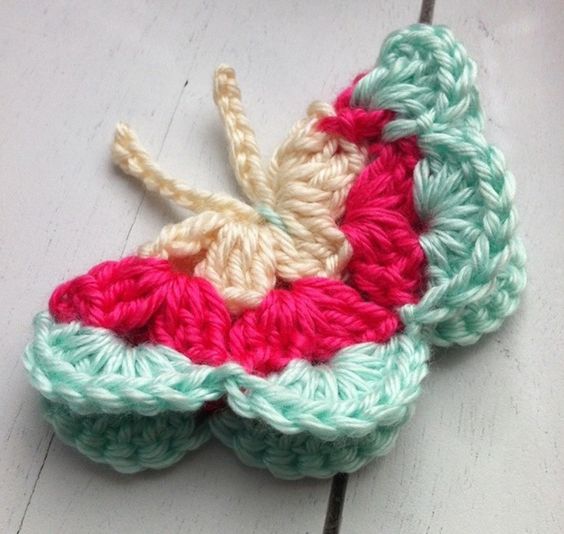
From: chucksforchancho.com
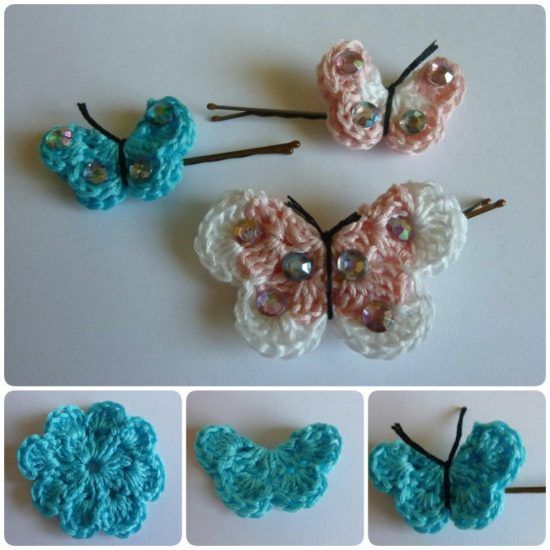
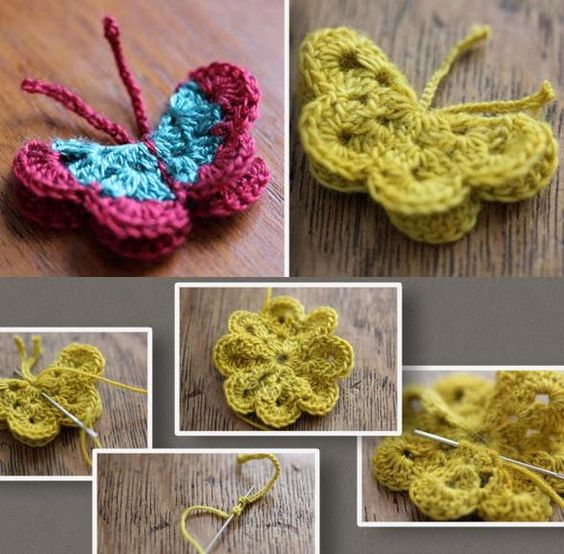
From Pinterest
Materials for Your Crochet Butterfly
Before you start, gather the following materials to create your 3D crochet butterfly:
- Yarn: Opt for bright, contrasting colors to make the butterfly pop. Use light-weight yarn (like cotton or DK) for detailed wings.
- Crochet Hook: A 3.5 mm to 4.0 mm hook is ideal for delicate wings.
- Yarn Needle: To sew pieces together and weave in loose ends.
- Scissors: Essential for trimming excess yarn.
- Stitch Marker (optional): To keep track of rounds.
How to Crochet a 3D Butterfly
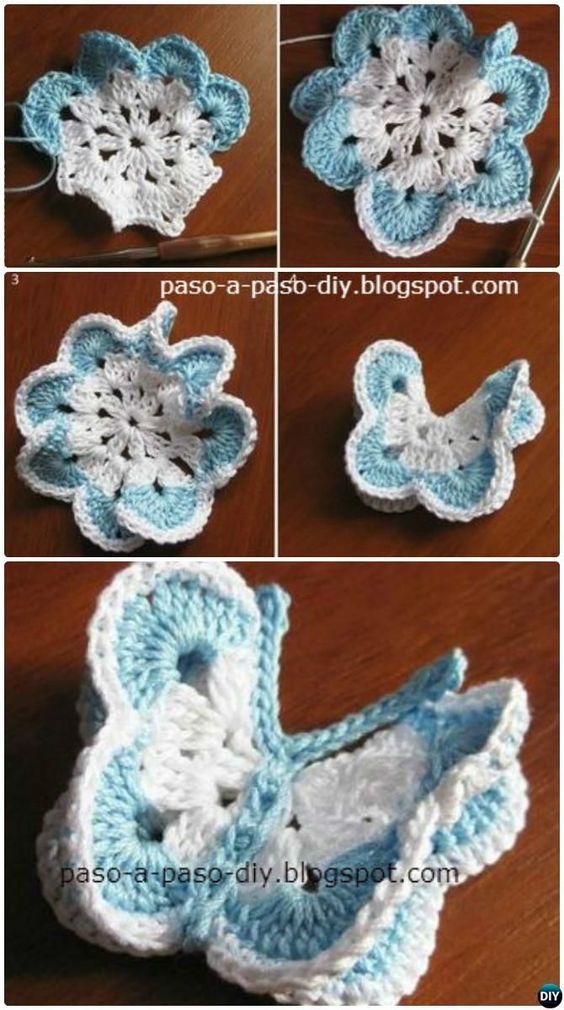
Let’s break down this pattern into two parts—the wings and the body. Once you have these, we’ll assemble them for a fully 3D effect.
Part 1: Crochet the Butterfly Wings
- Magic Circle & Round 1
Start with a magic circle. Inside the circle, crochet 12 double crochets (dc). Pull the ring tight to close, and slip stitch to the first dc. - Round 2: Form the Upper Wings
Chain 3, then in the same stitch, make 3 double crochets. In the next stitch, work 4 double crochets. Repeat this pattern (4 dc in each stitch) around the circle, forming four distinct clusters. These will become the upper wings. - Round 3: Shape the Lower Wings
Chain 1 and work 4 half double crochets (hdc) into the next stitch. Repeat this in the following three clusters. You should now see two smaller wings forming beneath the larger ones. - Fasten Off
Fasten off your yarn and weave in the ends with your yarn needle.
Part 2: Crochet the Butterfly Body
- Start with a Slip Knot
Chain 12 stitches to form the base of the body. - Work Back Through the Chain
In the second chain from the hook, crochet 1 single crochet (sc). Continue single crocheting across the entire row. - Round Off the Ends
Once you reach the end, add a couple of extra single crochets to the last stitch to round off the edge. Then, work your way back along the other side of the chain with single crochets to complete the body. - Antennas
Chain 6 and fasten off, leaving a long tail. Fold the chain in half and attach it to the top of the body for the butterfly’s antennae.
Part 3: Assemble Your 3D Butterfly
- Attach the Wings
Using a yarn needle, sew the wings to the back of the body. Be sure to stitch tightly to keep the wings in place. - Shape the Wings
Once attached, gently fold the wings upward to give your butterfly a 3D appearance. You can also curl the antennae for extra character.
Creative Ideas for Using Your Crochet 3D Butterfly
- Appliqué on Clothing: Sew the butterfly onto a hat, scarf, or even a tote bag for an eye-catching accessory.
- Home Decor: Attach several butterflies to a crochet garland, or use them as decorative accents for pillows and curtains.
- Gift Embellishments: Add a crochet butterfly to gift wrapping for a personal, handmade touch.
- Hair Clips: Glue a small butterfly onto a clip or hairband for a cute, fluttering accessory.

CHECK MORE CROCHET PATTERNS