DIY Crochet Cat Cave: Create a Cozy Hideaway for Your Feline Friend

If you're a cat lover, you know how much they adore finding snug spots to curl up in.
A DIY crochet cat cave is not only a delightful project for you to tackle but also a perfect sanctuary for your furry friend!
This cozy hideaway provides warmth, comfort, and a sense of security. In this guide, you’ll discover how to create your very own crochet cat cave, complete with step-by-step instructions and helpful tips.
Diy Crochet Cat Cave
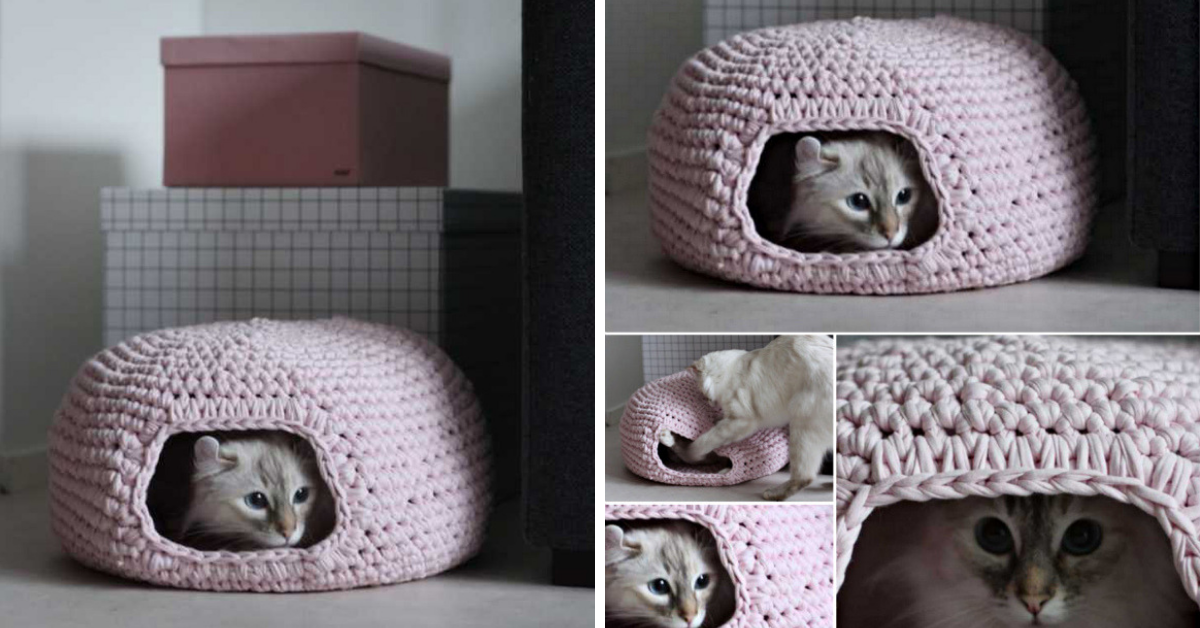
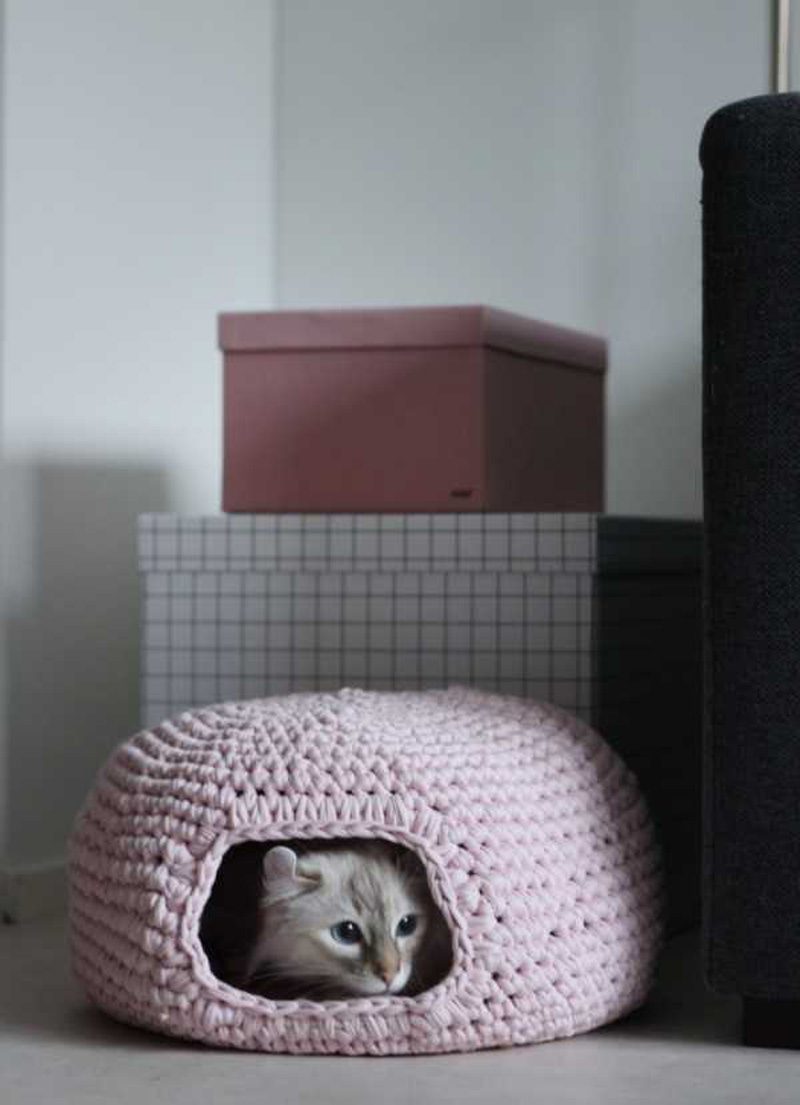
Do you want to make a great hiding place for your cat? Try to crochet this cat cave. It’s easy (even for beginner) to crochet and will definitely make her/him very happy,
Even kitty needs a playhouse and a cosy nest to curl up for a nap so if you can do basic crochet you might want to give this fun project a try.
A DIY crochet cat cave is the perfect blend of creativity and functionality, offering your cat a comfy space to retreat and relax.

Not only will your furry friend appreciate it, but you’ll also have a beautiful, handmade addition to your home décor. Grab your yarn, follow the steps, and start crocheting a cozy hideaway that your cat will adore!
A neat pattern of Crochet Cat’s Cave can be found here.
The English pattern has been discontinued
Materials Needed:
Before you start, gather the following materials:
- Yarn (bulky yarn in your choice of color)
- Crochet hook (size appropriate for your yarn, usually a size K or L)
- Tapestry needle (for weaving in ends)
- Scissors
- Measuring tape (to keep track of size)
Optional:
- Fabric stiffener (for added structure)
- Embellishments like pom-poms or decorative elements
Step-by-Step Guide to Crocheting a Cat Cave
1. Start with the Base
Begin by crocheting the base of the cat cave:
- Create a magic ring and chain 2.
- Round 1: Work 12 double crochets (DC) into the ring.
- Round 2: Increase in each stitch, working 2 DC in each (24 DC).
- Continue Increasing: Continue to increase each round until the base reaches about 12-16 inches in diameter, depending on the size of your cat.
2. Build the Sides
Once the base is complete, it's time to build up the sides:
- Transition: Instead of increasing, work in DCs for several rounds to create the walls of the cave.
- Height: Keep crocheting until the walls are about 10-12 inches high.
3. Create the Entrance
To form the entrance, you’ll need to leave a gap:
- Determine Entrance Size: Choose where you want the entrance to be. A good size is about 6-8 inches wide.
- Skip Stitches: When you reach the desired height, skip a few stitches to create an opening for your cat.
4. Finish the Top
Complete the top of the cave:
- Continue Working: Once the walls are up, crochet a few more rounds without increasing until you reach the desired height.
- Finish Off: Cut your yarn, leaving a long tail for weaving in.
5. Optional Stiffening
For added structure, you can use fabric stiffener:
- Mix according to the package instructions and apply it to your finished cat cave.
- Allow it to dry thoroughly before letting your cat use it.
Learn how to crochet a cozy cat cave with our step-by-step guide! Perfect for providing warmth and security for your furry friend, this DIY project is fun and rewarding.


CHECK MORE CROCHET PATTERNS