DIY Crochet Minnie Little Mouse Hat Pattern

Are you looking for a fun, creative, and beginner-friendly crochet project? The Crochet Minnie Little Mouse Hat Pattern is the perfect choice!
Whether you're making it for a child, a baby shower gift, or just for a playful accessory, this crochet pattern will help you create a delightful hat that mimics the iconic look of Minnie Mouse. With her signature bow and adorable ears, this hat is a hit among Disney fans of all ages.
In this article, we'll guide you through the materials, steps, and customization options to make your very own Crochet Minnie Little Mouse Hat.
What is the Crochet Minnie Little Mouse Hat?
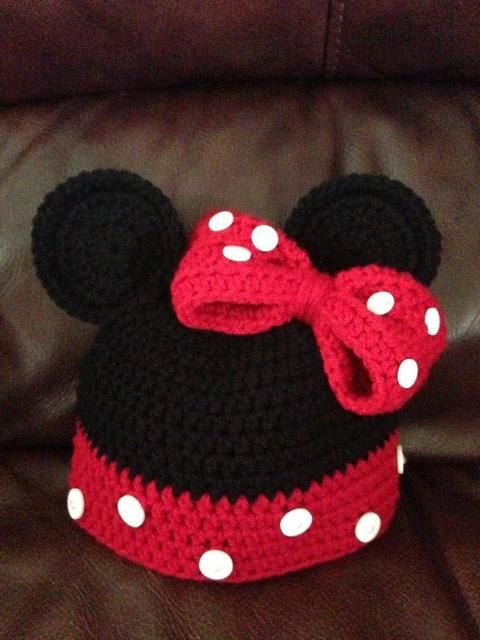
The Crochet Minnie Little Mouse Hat is a fun, stylish hat that features Minnie Mouse’s iconic ears and her famous red bow. Crocheted using simple stitches and easy-to-find materials, this hat is perfect for beginners looking to challenge themselves with a cute, themed project. Whether it’s for a special event or just daily wear, this hat is sure to turn heads.
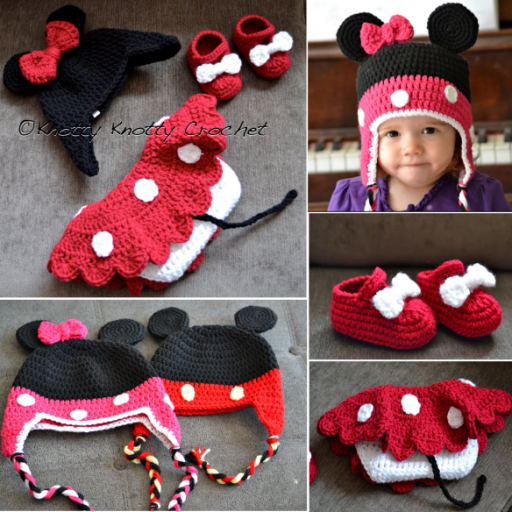
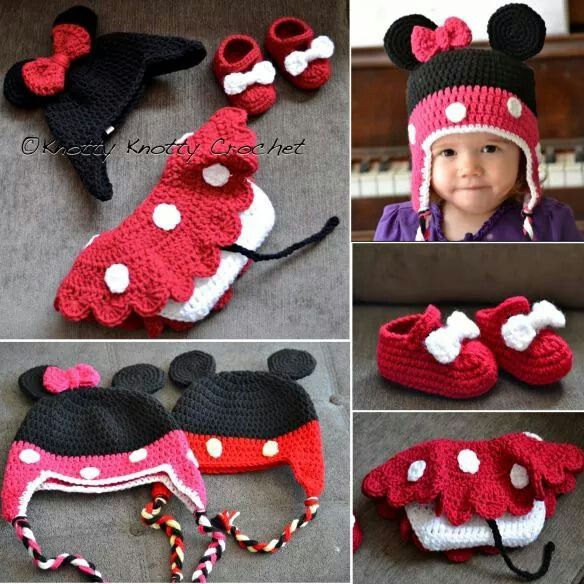
This Mickey Minnie Mouse Crochet hat and boots are very cute and perfect for your little one’s special occasion.
Check out the detailed videos to learn how to crochet them.
VIDEO 1

VIDEO 2

VIDEO 3

This was such an easy pattern since it is just a basic beanie with some ears.
Ideas of Minnie's hats in Croche


From Pinterest.
Materials You Need
Before you get started, make sure you have all the necessary materials. Here’s a quick list to gather:
- Yarn: You’ll need medium-weight yarn in black, white, and red.
- Crochet Hook: A 5.0 mm hook works best for medium-weight yarn.
- Scissors: To cut the yarn when you’re done.
- Tapestry Needle: For weaving in the ends and attaching the ears and bow.
How to Crochet the Minnie Mouse Hat
Let’s break down the process of crocheting the Minnie Mouse hat step by step:
1. Crochet the Base of the Hat
Start by crocheting a simple hat in black yarn. This will serve as the base where you’ll later attach the ears and bow. You can follow a basic beanie pattern, increasing stitches at the crown and then working even rounds to the desired length.
2. Make the Ears
The circular ears are crocheted separately and then sewn onto the top of the hat. Create two black circles using double crochet stitches. You want them to be firm and slightly stiff, so consider adding an extra layer of stitches for thickness.
3. Create the Bow
Use red yarn to create a bow. Start by crocheting a rectangle, folding it, and wrapping yarn around the middle to form the bow shape. You can add white polka dots to mimic Minnie’s signature style by crocheting small white circles.
4. Attach the Ears and Bow
Use your tapestry needle to sew the ears onto the top of the hat. Then, attach the bow right between the ears for that classic Minnie Mouse look.
The Crochet Minnie Little Mouse Hat Pattern is a wonderful project for Disney lovers and crochet enthusiasts alike. It’s a simple yet charming hat that’s sure to bring joy to anyone who wears it. Whether you’re making it for yourself, a child, or as a gift, this crochet hat is bound to become a cherished item.
With easy customization options, you can add your personal flair while staying true to Minnie’s classic style. So grab your yarn and hook, and get ready to crochet some Disney magic!
CHECK MORE CROCHET PATTERNS