How to crochet Beautiful DIY Sea Shell Bag
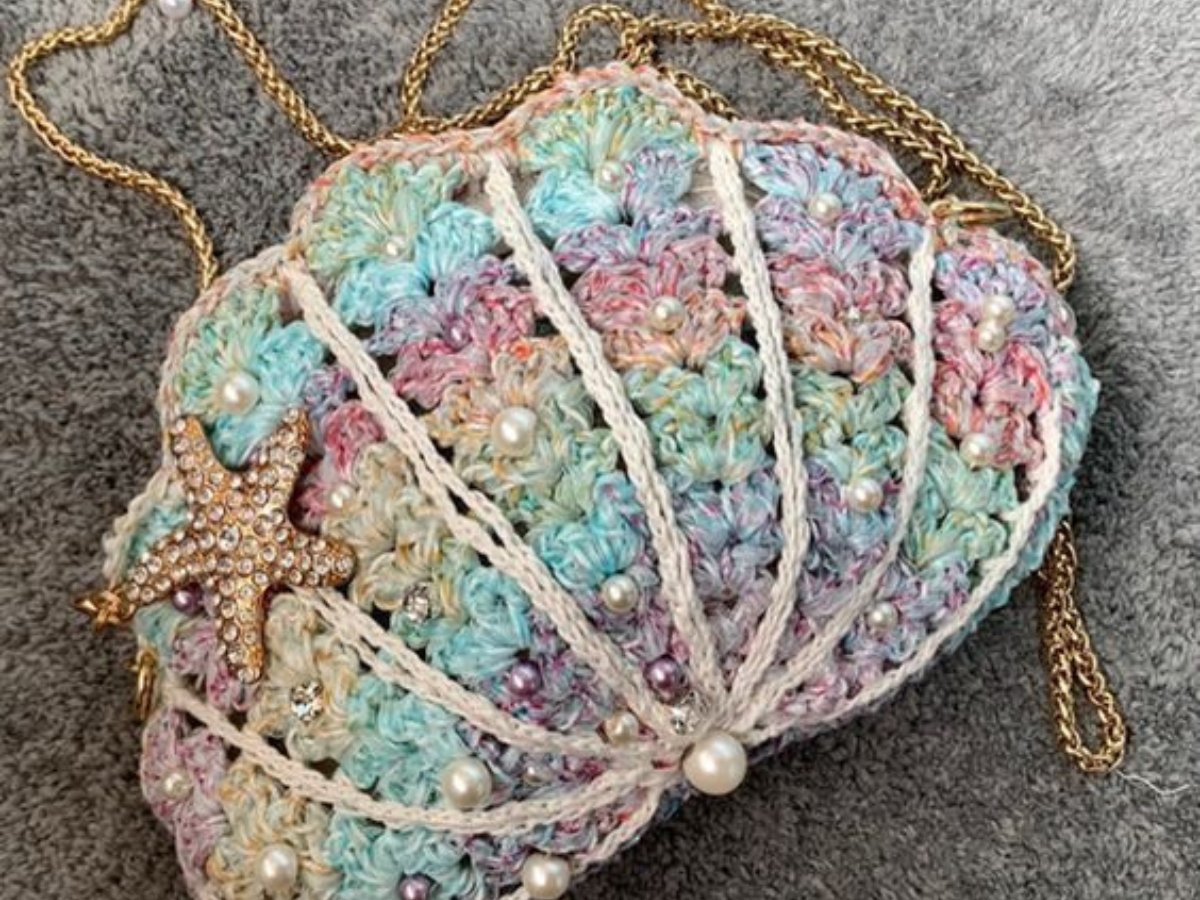
The sea is a place to relax and replenish your energy. Crochet can help bring a bit of the sea to you.
Today we show you a wonderful idea of a sea shell bag. A true inspiration.
For those who like a different and original style, this article is for you.
How to crochet Beautiful DIY Sea Shell Bag
Watch the step-by-step video tutorial and check out some ideas for bags in the shape of a sea shell.

Sea Shell Bag Ideas
The sea shell bag is a delightful and stylish accessory that captures the essence of coastal living. Its unique shape and intricate design make it a perfect project for anyone looking to add a touch of whimsy to their wardrobe.
Crocheting your own sea shell bag allows you to express your creativity while crafting a functional item that’s perfect for summer outings, beach trips, or casual gatherings.
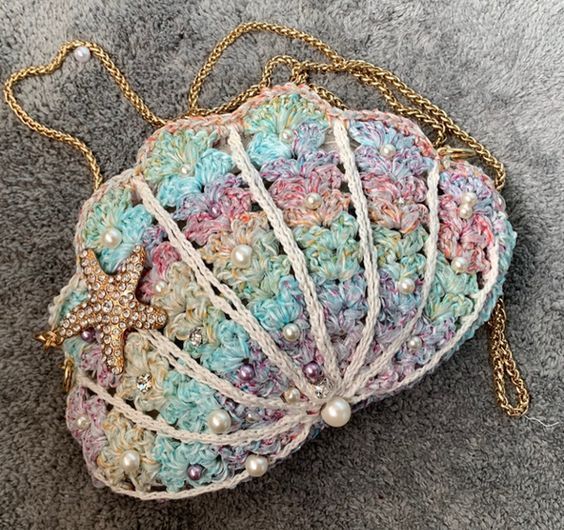
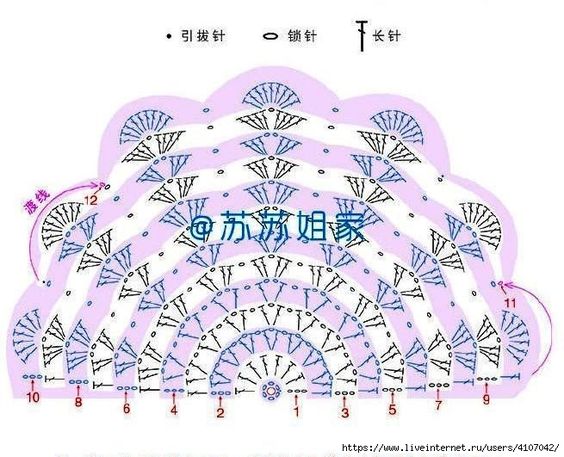
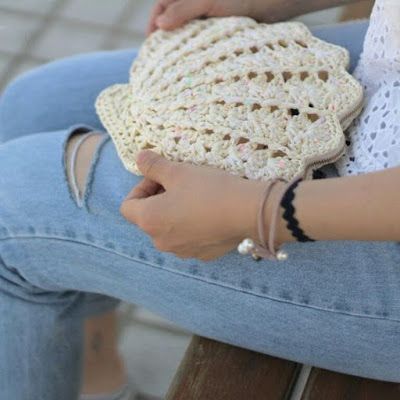

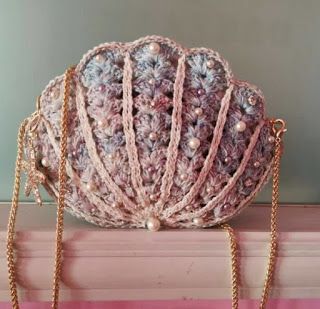
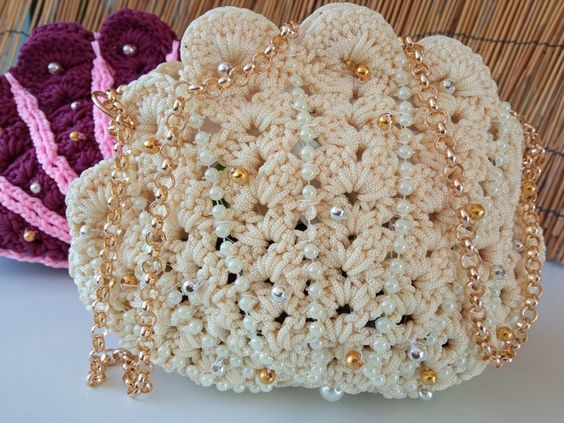
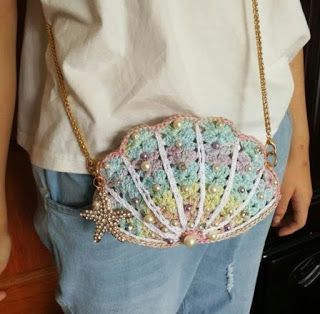
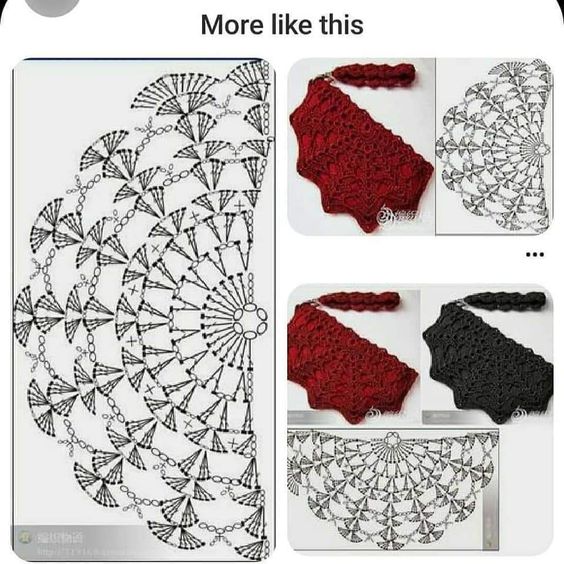
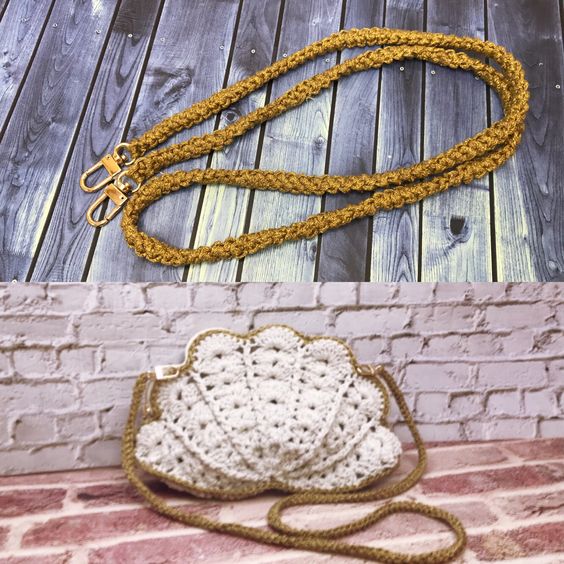
From pinterest.
Basic Crochet Techniques for the Sea Shell Bag
Before starting your project, familiarize yourself with some basic crochet stitches that will be useful for creating the sea shell bag:
- Chain Stitch (ch): The foundation of most crochet projects.
- Single Crochet (sc): Creates a tight fabric, useful for shaping the bag.
- Double Crochet (dc): Adds height and volume to your work.
- Slip Stitch (sl st): Used for joining rounds and securing your work.
- Shell Stitch: A decorative stitch that mimics the bag’s design.
Sample Stitch Pattern: Basic Shell Stitch
To get you started, here’s how to create a basic shell stitch that you can use for the sea shell bag:
Materials Needed
- Yarn in your chosen colors.
- Crochet hook (size H or I).
- Scissors and tapestry needle.
Instructions
- Foundation: Start with a chain that is a multiple of 6 plus 1 (for example, chain 37).
- Row 1: In the 5th chain from the hook, work 1 dc, chain 1, then work 1 dc into the same chain (this creates your first shell). Skip 2 chains, then repeat this pattern (1 dc, chain 1, 1 dc) in the next chain until the end of the row.
- Row 2: Chain 3 (counts as the first dc), turn. In the chain space from the previous row’s shell, work 2 dc, chain 1, and another 2 dc (this creates a shell). Continue this pattern across the row.
- Continue Rows: Repeat Row 2 until you reach your desired height for the body of the bag.
Step-by-Step Instructions for Crocheting a Sea Shell Bag
Now that you’re familiar with the basic stitch patterns, let’s dive deeper into the step-by-step process of creating your crochet sea shell bag.
Step 1: Measure Your Desired Size
- Decide on the Dimensions: Measure how large you want your sea shell bag to be. Common dimensions for a bag might be around 12 inches wide and 10 inches tall.
Step 2: Create the Body of the Bag
- Foundation Chain: Using the shell stitch pattern, create a foundation chain that matches your desired width.
- Crochet the Body: Continue working in rounds or rows using the shell stitch until you reach your desired height. Consider alternating colors every few rows for a striped effect.
Step 3: Shaping the Top
- Shaping: As you approach the desired height, consider decreasing stitches at intervals to shape the top of the bag. This will create the characteristic curve of the sea shell shape.
- Finishing the Body: Once you reach the desired height and shape, finish off your work and secure the yarn.
Step 4: Create the Strap
- Determine Strap Length: Decide how long you want the straps to be (typically between 20-30 inches).
- Crochet the Strap: Create a long chain or work in single crochet to create sturdy straps.
- Attach the Strap: Securely attach the straps to the top of the bag, ensuring they are evenly spaced.
Step 5: Adding a Lining (Optional)
- Choose Fabric: If desired, choose a fabric that complements your bag for lining. Cotton or canvas works well.
- Cut the Fabric: Cut the fabric to match the dimensions of the bag's interior, allowing a little extra for seams.
- Sew the Lining: Sew the lining to the inside of the bag, ensuring it fits snugly.
Step 6: Finishing Touches
- Weave in Ends: Use a tapestry needle to weave in any loose ends from your crochet work.
- Decorate: Consider adding embellishments, such as seashells, beads, or charms, to enhance the design of your bag.
CHECK MORE CROCHET PATTERNS