DIY Cute Christmas Cocoon and Pattern

The holiday season is upon us, and what better way to celebrate than by crafting a cute Christmas cocoon?
This delightful project not only keeps little ones cozy during the festive season but also makes for an adorable photo opportunity!
In this article, you’ll find step-by-step instructions, a free crochet pattern, and tips to make this project a joyful addition to your holiday traditions.
Babies are so so cute. Do you want to make them even more adorable? Here I wanted to share with you some ideas how to make Christmas cocoon for them.
DIY Cute Christmas Cocoon
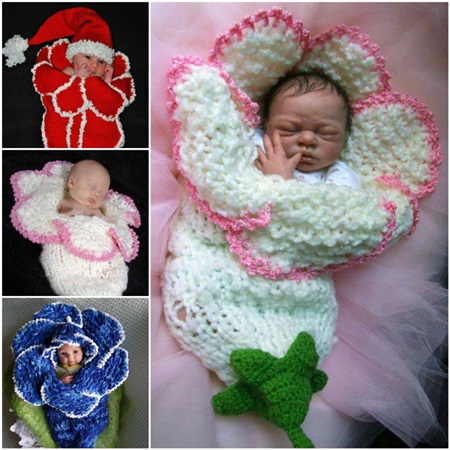
Which one do you like the most? I’d vote for #3.
A Christmas cocoon is more than just a cozy garment; it’s a way to create memories. Here are some reasons to consider making one:
- Perfect for Photos: Capture precious moments with a festive touch.
- Versatile Use: Ideal for family gatherings, holiday parties, or snuggling up on cold nights.
- Handmade Love: Show your loved ones how much you care with a personalized gift.
- Skill Building: Enhance your crochet skills with a fun and creative project.
Invest your love and time in preparing your baby's Christmas with time.
Here are some beautiful and inspiring ideas that you can make for your baby or to give to someone special.
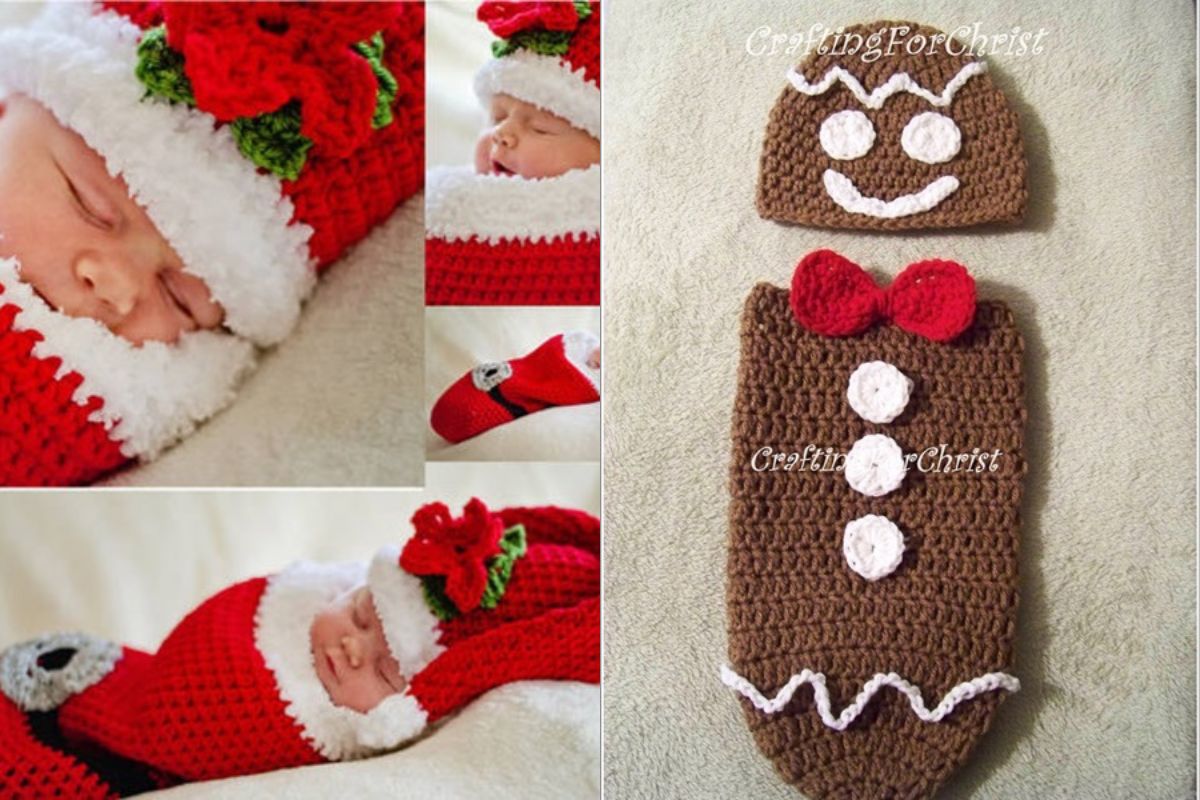
Gingerbread Man Cocoon | Free pattern from Ravelry
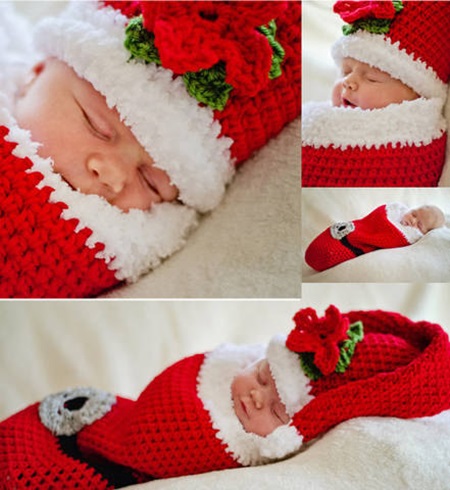
Holiday Baby Cocoon | Free pattern from Source
Olaf cocoon and hat | Paid pattern from Craftsy
Santa Bellflower Cocoons | Paid pattern from luulla
Step-by-Step Guide to Crocheting a Christmas Cocoon
1. Choose Your Size
Decide on the size of the cocoon. Common sizes include:
- Infant: 0-6 months
- Toddler: 1-3 years
- Child: 4-8 years
2. Start with the Foundation
Begin by creating a slip knot and chaining a foundation length based on your chosen size:
- For infants: Chain about 50.
- For toddlers: Chain about 60.
- For children: Chain about 70.
3. Crochet the Body
Work in the round to form the body of the cocoon:
- Row 1: Single crochet (SC) in each chain across.
- Row 2: Chain 1, turn, and SC in each stitch back across.
- Repeat until the cocoon reaches the desired length (usually about 24-30 inches for infants and toddlers).
4. Create the Hood
To make the hood:
- Row 1: At the top of the cocoon, chain 30.
- Row 2: SC back in the chain, then join to the cocoon body.
- Work in rounds until the hood is deep enough to fit comfortably over the child’s head.
5. Add Embellishments
Once you’ve completed the basic structure, consider adding embellishments:
- Ribbons: Tie a bow around the cocoon for a festive touch.
- Buttons or Appliqués: Sew on Christmas-themed decorations, like stars or trees.
Learn how to crochet a cute Christmas cocoon with our step-by-step guide and free pattern! Perfect for keeping little ones cozy and festive during the holidays.
Creating a cute Christmas cocoon is a wonderful way to celebrate the season while honing your crochet skills. With this guide, you can craft a charming piece that will be cherished for years to come.


CHECK MORE CROCHET PATTERNS