DIY Macrame Christmas Gnome Decoration
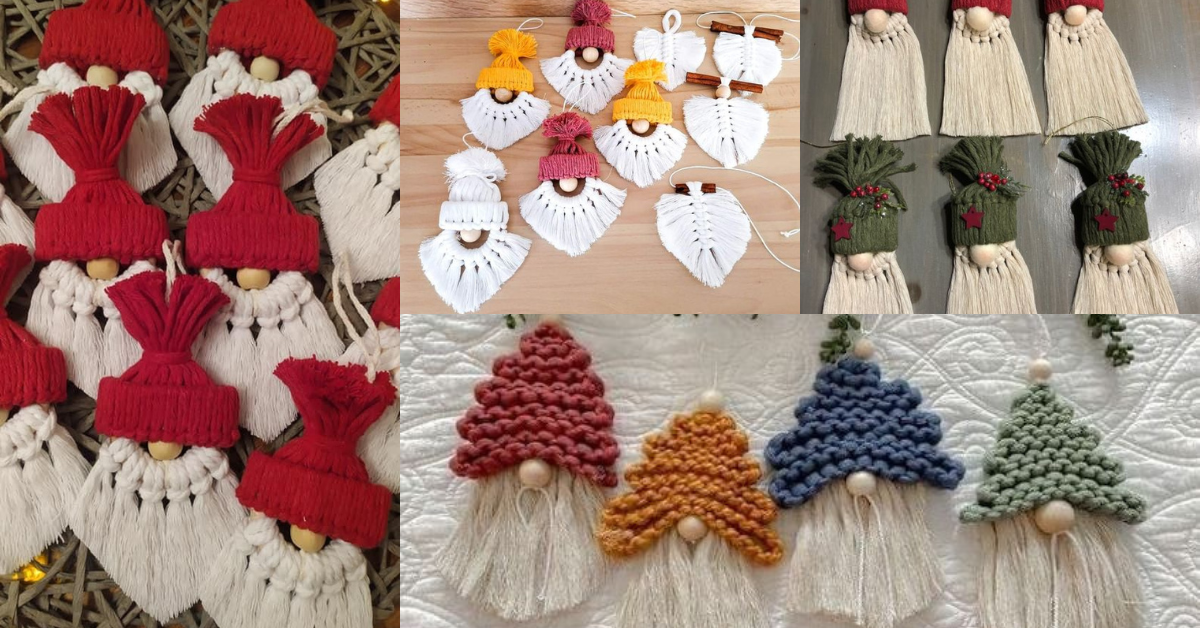
Christmas is a very special time, for those who like crafts and crochet there are thousands of perfect ideas to give free rein to your imagination and creativity.
Today we bring you a very different and original idea to decorate your walls and Christmas tree.
They are beautiful Christmas gnomes made with the macrame technique. Check out the video tutorial and even some ideas to get inspired.
DIY Macrame Christmas Gnome

Macrame Christmas Gnome Ideas
Step-by-Step Guide: Macrame Christmas Gnome
1. Create the Gnome's Beard
- Cut Cord for the Beard: Measure and cut several strands of macrame cord, each about 10-12 inches long.
- Attach to Base: Fold each strand in half and use a Lark’s Head Knot to attach the cords to a dowel or base cord.
- Fray and Shape: Use a comb to brush out the macrame strands, creating a soft, fluffy beard. Trim the bottom into a rounded shape.
The beard is a key feature of the gnome, so spend some time combing and shaping it for the best effect!
2. Make the Gnome's Hat
- Choose Hat Color: Select a festive color for the hat, like red, green, or white.
- Create a Triangle Shape:
- Start with a few strands and use Square Knots to form a triangular shape that will sit over the beard.
- Decrease the number of knots in each row to create the pointed look of a hat.
- Attach to Beard: Once the hat is complete, secure it above the beard, either by knotting or gluing it in place.
For a cozy touch, consider using a fuzzy yarn or cord for the hat.
3. Add the Nose and Finishing Touches
- Attach the Wooden Bead Nose: Position the wooden bead where the hat meets the beard to create the gnome’s nose. Secure it with glue or by threading it onto a central cord.
- Optional Embellishments:
- Add small decorative elements like tiny bells, mini pom-poms, or even a felt star on the hat.
- Attach a ribbon or loop to the top of the hat if you’d like to hang the gnome as an ornament.
Adding a unique touch to your gnome will make it extra special, whether it’s a fun embellishment or a tiny sprig of holly.
Creative Ideas for Using Your Macrame Christmas Gnomes
1. Christmas Tree Ornaments
- Add a hanging loop to the top of each gnome and decorate your tree with an army of handmade macrame gnomes.
2. Table Centerpiece
- Group several macrame gnomes together on a festive tray with pinecones, candles, and holly for a cozy centerpiece.
3. Mantel Decor
- Display your gnomes along the mantel or bookshelf, arranging them with greenery and fairy lights.
4. Gift Toppers
- Attach a small macrame gnome to the top of wrapped presents for a personalized touch.
5. Wall Hanging Accent
- Incorporate gnomes into a larger macrame wall hanging or garland for a unique holiday decoration.
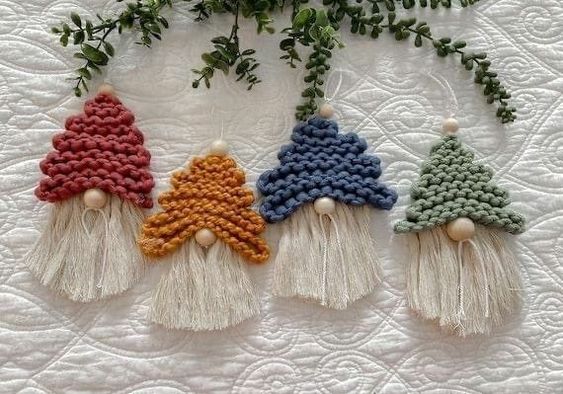
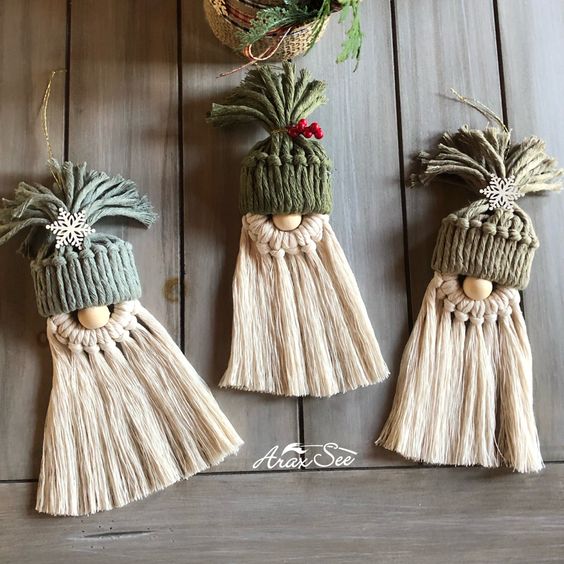
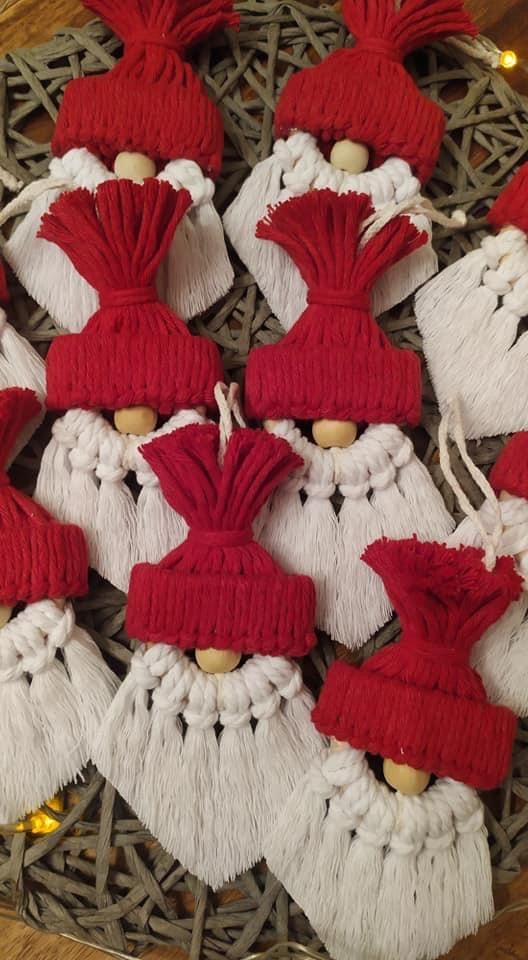
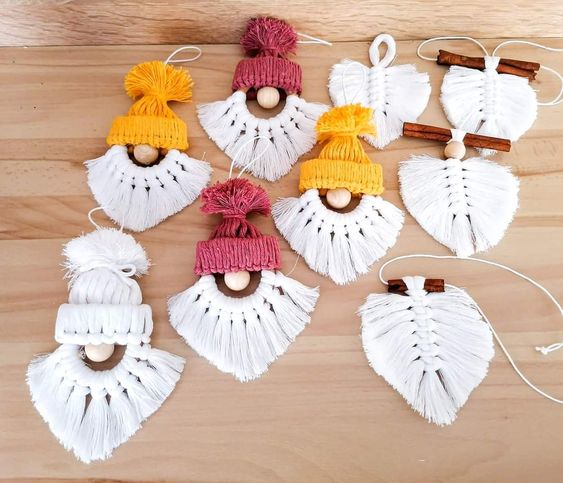
Via Pinterest
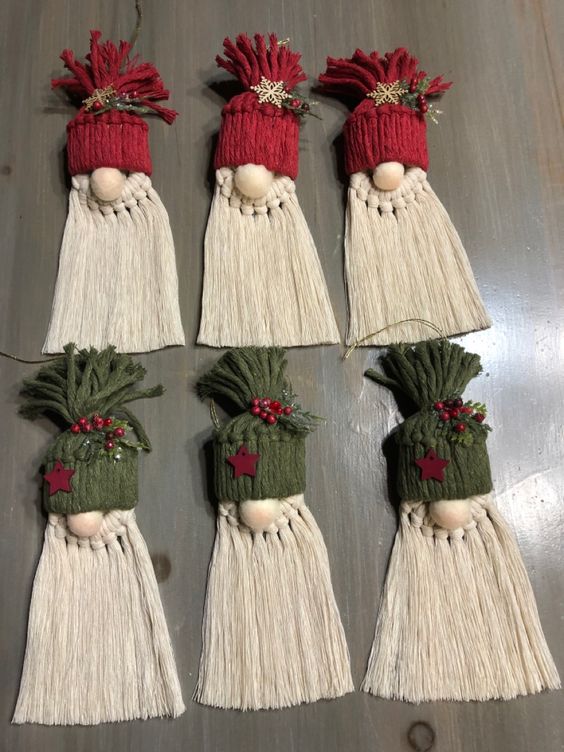
Add more cords or use a comb to thoroughly fray each strand for a fuller beard effect.
Create your own Macrame Christmas Gnome with this step-by-step tutorial! Discover unique decoration ideas, tips, and FAQs to add festive, handmade charm to your holiday decor.
CHECK MORE CROCHET PATTERNS