Easy Crochet bolero tutorial for girls
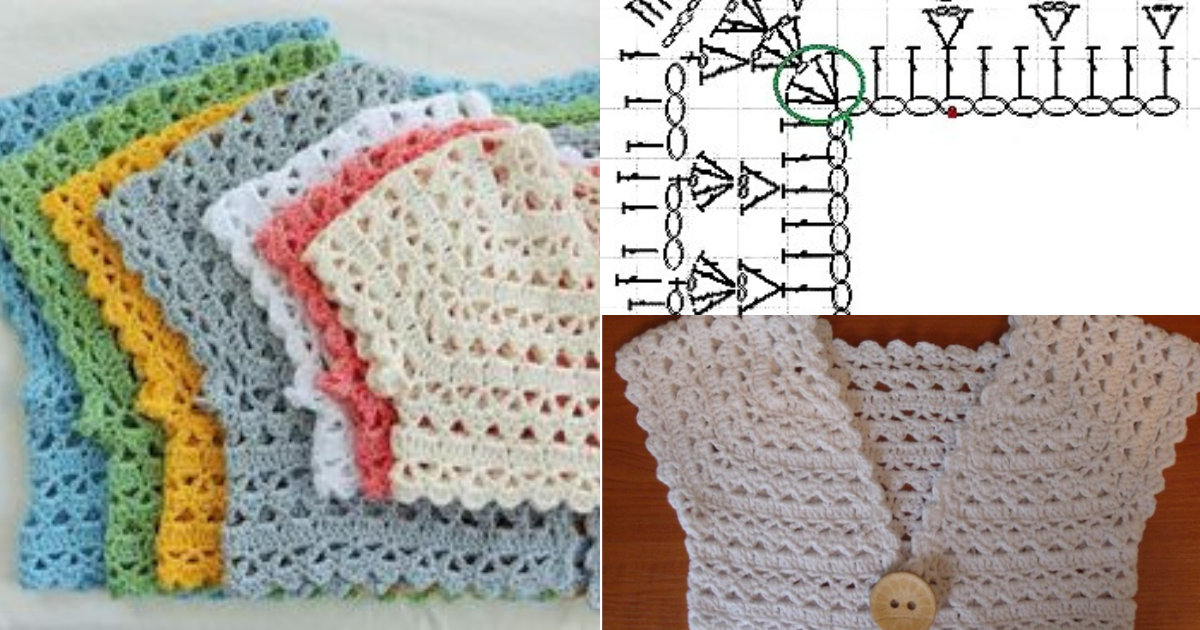
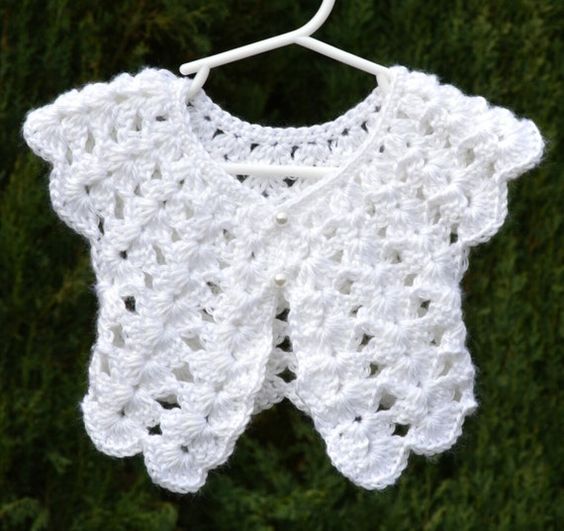
Boleros are perfect warm clothes to cover your shoulders on those cooler days, in addition, this is a garment that is often used with party clothes, because they protect you from the cold without spoiling the final result of your look.
Today we bring you a very simple and easy tutorial of a wonderful bolero.
A simple project. Check out the step-by-step and even more ideas that we have separated for you.
Crochet bolero tutorial for girls
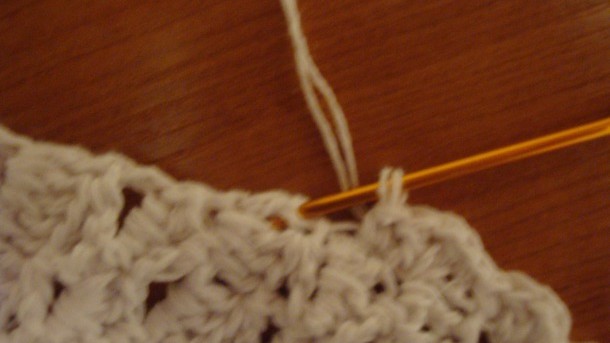
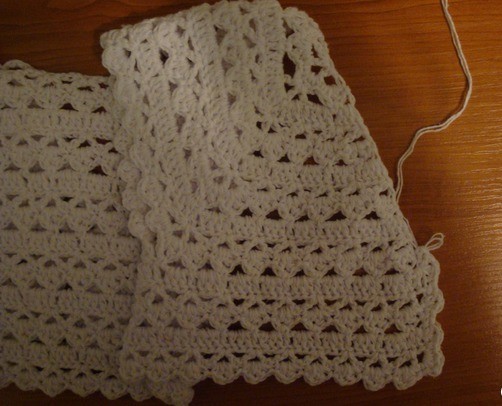
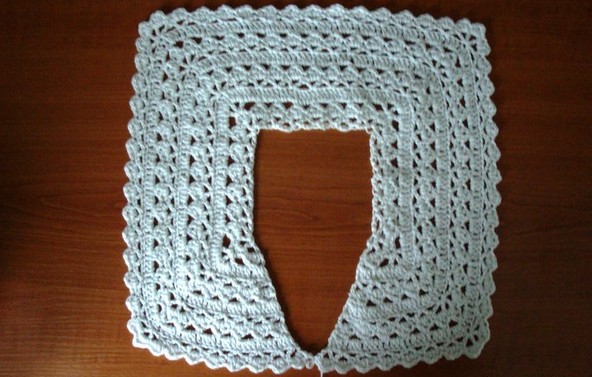
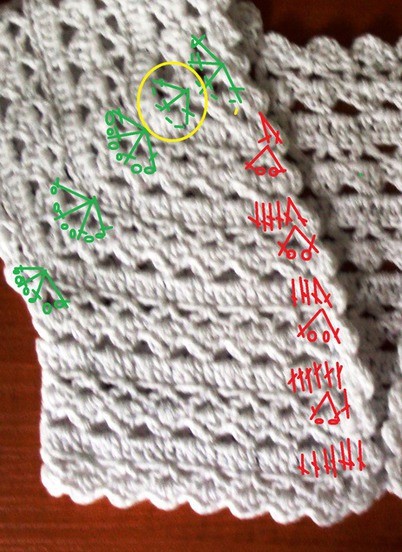
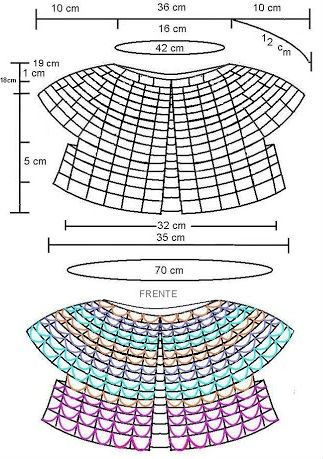
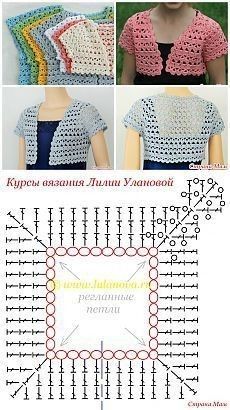
The idea is simple, start knitting the back and shoulders, then the sleeves. Finally, close your bolero with a button.
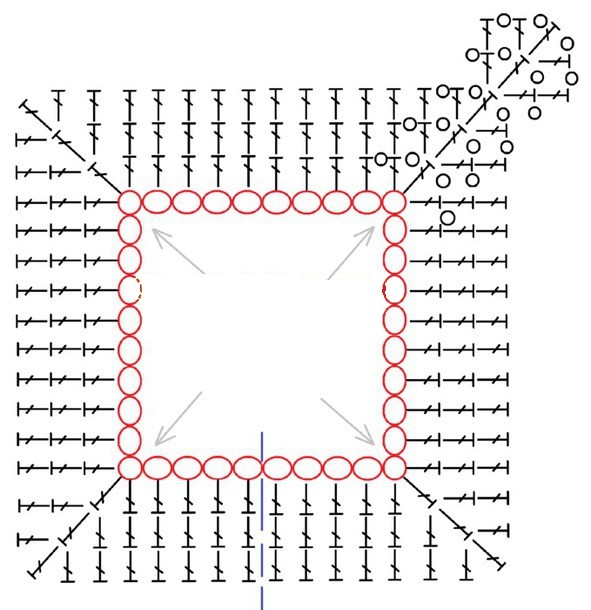
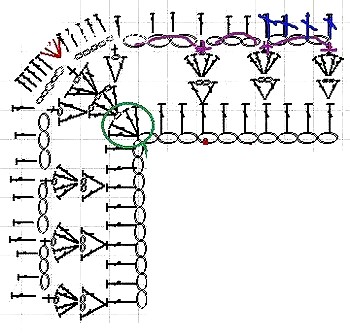
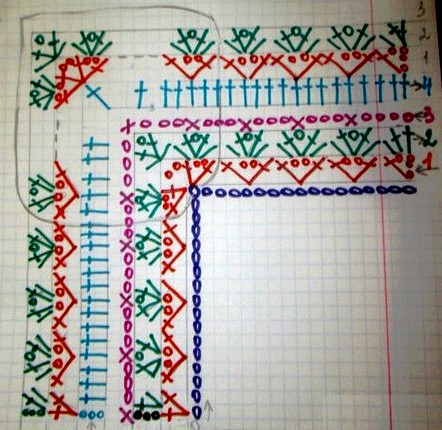
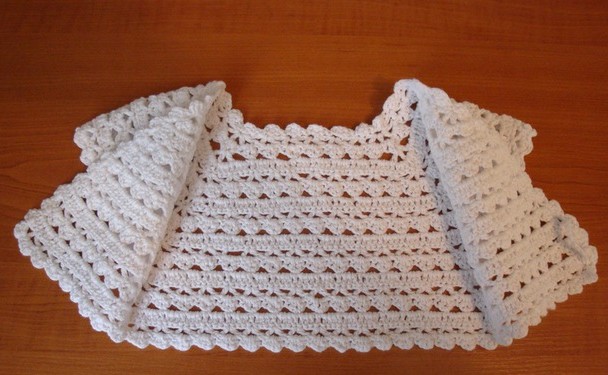
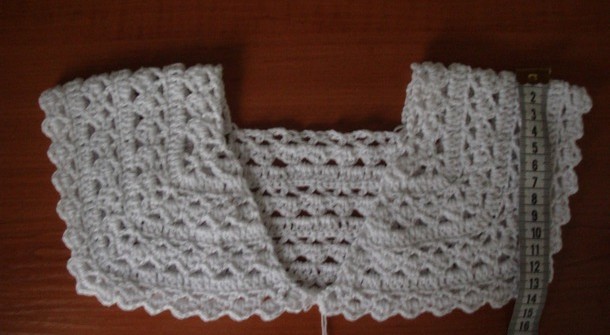
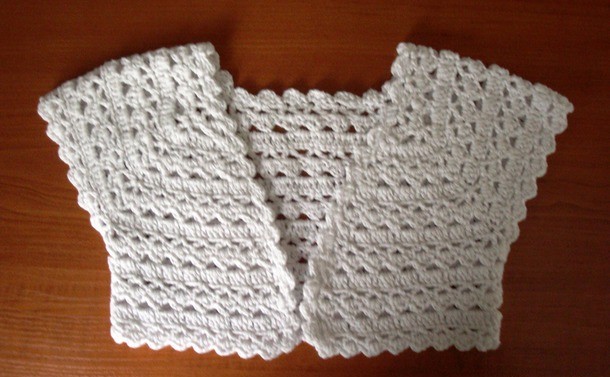
Ideas of boleros for girls
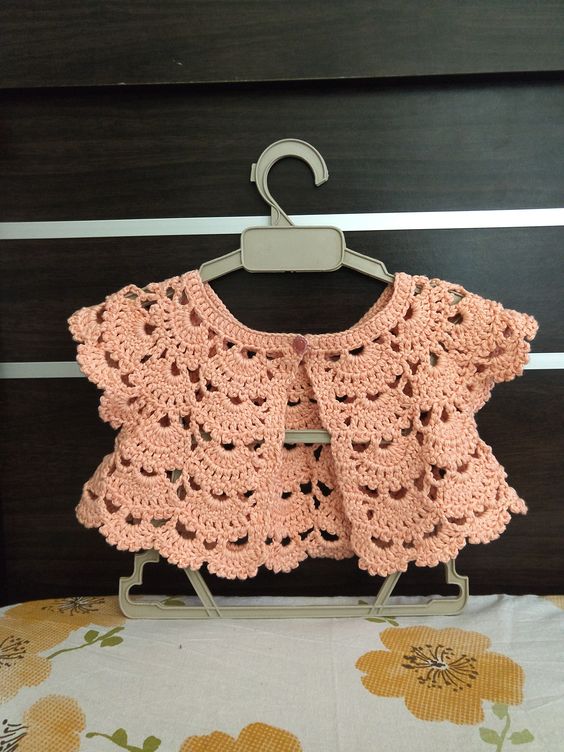
Perfect to wear in the cooler seasons like spring or autumn and also on festive occasions, boleros are the simplest and most practical solution.
There are a lot of model options for all tastes and styles and we separate some more ideas for you.
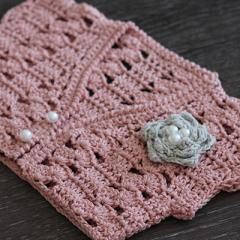
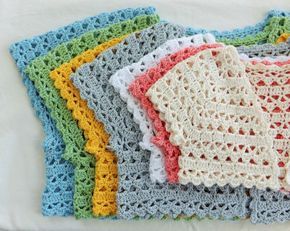
Materials Needed for the Crochet Bolero
To create your crochet bolero, gather these essential materials:
- Yarn: Choose a lightweight yarn, such as cotton or a cotton blend, for a breathable and soft finish. Worsted-weight yarn also works well.
- Crochet Hook: Use a hook size suitable for the yarn weight, typically a 4mm to 5mm hook.
- Scissors: For cutting yarn.
- Tapestry Needle: To weave in loose ends.
- Optional Embellishments: Consider buttons, ribbons, or small crochet flowers for added decoration.
Easy Crochet Bolero Pattern for Girls
Abbreviations
- ch – Chain
- sc – Single Crochet
- dc – Double Crochet
- sl st – Slip Stitch
- rep – Repeat
Step 1: Creating the Foundation
- Start with a Chain: Begin by chaining the length that fits across the back width of the girl who will wear the bolero. This measurement depends on the size; for example, a chain of 50–60 stitches typically suits a child.
- First Row: Dc into the third chain from the hook and each chain across. This creates a foundation row that will form the back of the bolero.
- Rows 2–10: Ch 2, turn, and work 1 dc into each stitch across. Continue until you reach a height that fits comfortably on the back, around 8–10 rows, depending on size.
Step 2: Creating the Armholes
- Shaping the Armholes: Ch 2, turn, and dc in the first few stitches (about 5–7 stitches for armhole space).
- Skip Stitches for the Armhole: Skip a set number of stitches (typically 10–12 stitches for the armhole space), then dc into the remaining stitches to complete the row.
- Next Row: Continue dc across the row, repeating the same armhole spacing for the other side. You should have a bolero shape starting to form with two openings on each side for arms.
Step 3: Adding the Front Panels
- Attach Yarn to the Front Side: Attach the yarn at the bottom corner of one side of the bolero and ch 2.
- Front Panel Rows: Dc across, creating about 3–4 rows, depending on the desired length of the front panels. This creates a cozy front piece that can overlap slightly or remain open.
- Repeat on the Other Side: Attach yarn on the opposite front side and repeat the same steps to create a matching front panel.
Step 4: Finishing the Edges
- Adding a Border: Ch 1, and work sc evenly around the entire edge of the bolero. This creates a polished finish.
- Optional Scallop Edging: To add a bit of flair, you can add a scallop edging by working [sc, skip a stitch, 5 dc in the next stitch, skip a stitch, sc] around the bolero’s edge.
- Weave in Ends: Cut the yarn, leaving a small tail, and weave in any loose ends with a tapestry needle.
Customization Ideas for the Crochet Bolero
To make the bolero uniquely yours, consider these customization options:
1. Add Decorative Buttons or Ribbons
Attach a small button at the top of each front panel, or add a satin ribbon for a bow tie closure.
2. Play with Colors
Use variegated yarn or two colors for a stripe effect. For example, you could create the back in one color and the front panels in another.
3. Crochet Flowers or Bows
Add small crochet flowers, bows, or even beads for embellishment along the edge or near the shoulder.
Creating an easy crochet bolero for girls is both a rewarding and enjoyable project that results in a charming garment. Whether it’s for casual wear or a special occasion, a handmade bolero can enhance any outfit. With room for creativity and customization, you can craft a bolero that’s truly one-of-a-kind. So gather your yarn and crochet hook, and start creating a beautiful bolero that will make any girl feel extra special.
CHECK MORE CROCHET PATTERNS