Free Crochet Key Cover Patterns – Add a Personalized Touch to Your Keys
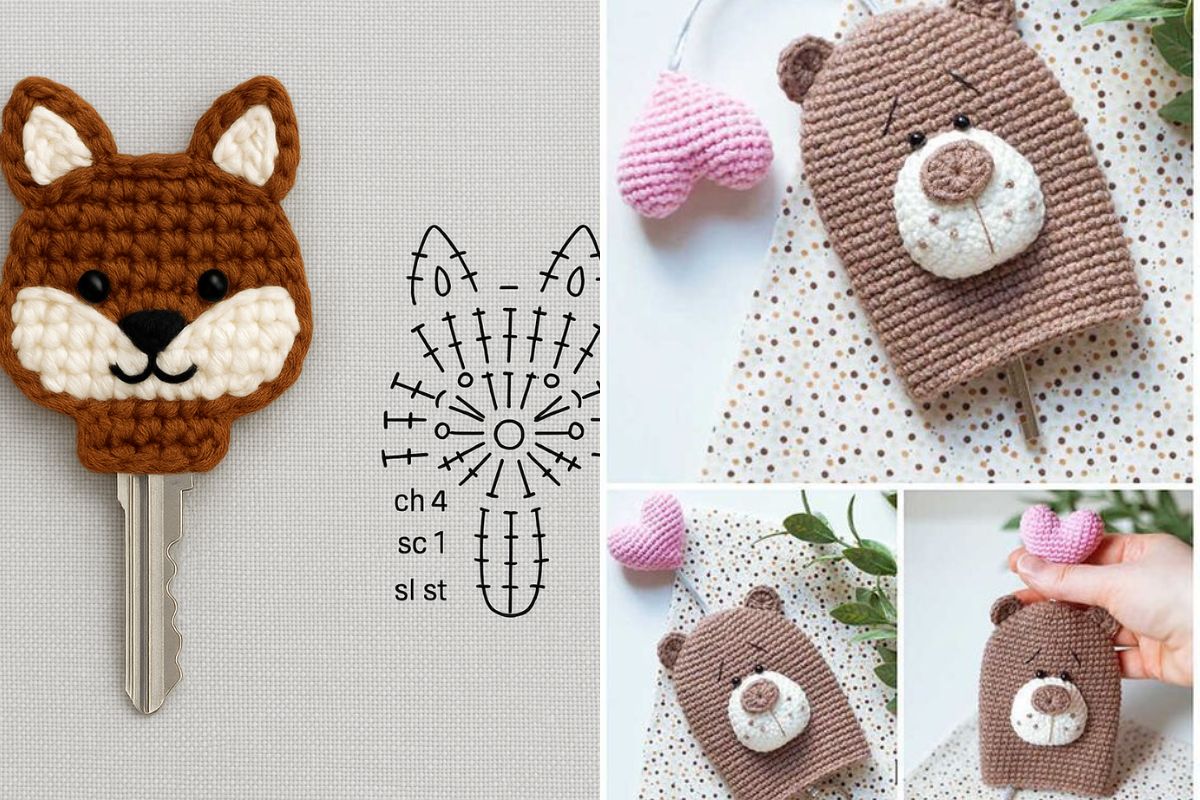
If you’re looking for a fun crochet project that doesn’t require a lot of time, crochet key covers are a fantastic option! Not only are they practical, but they also allow you to add a personalized touch to your keys. Whether you're organizing your keys or simply want to add some color and texture to your keychain, crocheting key covers is a simple and enjoyable craft project.
In this article, we will explore several free crochet key cover patterns, giving you the inspiration and step-by-step instructions you need to create unique and functional key covers.
These can also make great gifts for friends and family or a charming addition to your own key collection.

1. Basic Crochet Key Cover
The simplest way to start is with a basic crochet key cover. This pattern is perfect for beginners and can be made in any color or yarn of your choice.
Materials:
- Yarn (cotton or acrylic)
- Crochet hook (appropriate size for your yarn)
- Key (for size reference)
- Scissors
- Needle for weaving in ends
Steps:
- Start with a magic ring: This will be the base of your key cover.
- Chain 2 and crochet around the ring: Make 6 double crochets (dc) into the ring. Pull the ring tight.
- Increase the stitches: In the next round, make 2 dc in each stitch (12 dc).
- Continue making rounds: Work in the round, increasing each stitch for the next round until the cover fits the size of your key.
- Finish: When the cover fits, work a few rounds without increasing to finish the shape, then cut your yarn and weave in the ends.
This simple pattern can be customized with different colors or even decorative stitches.


2. Crochet Key Cover with a Flower Motif
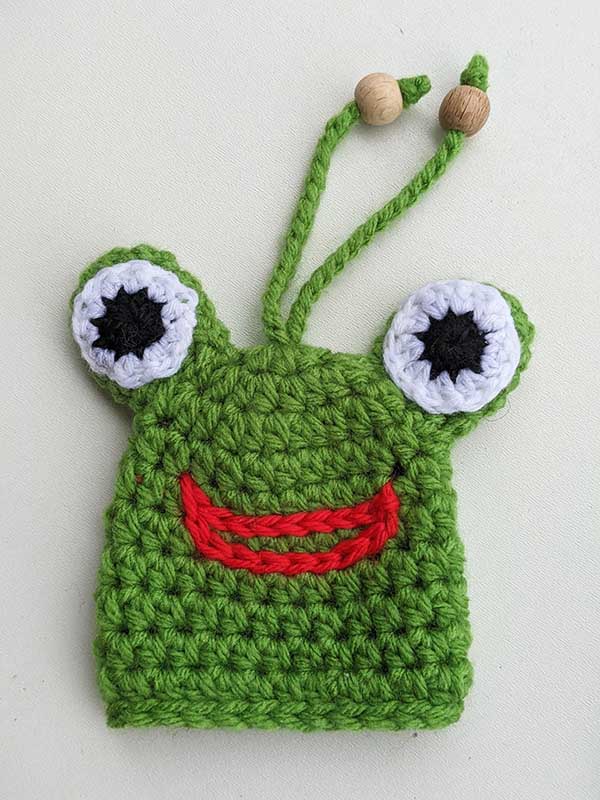
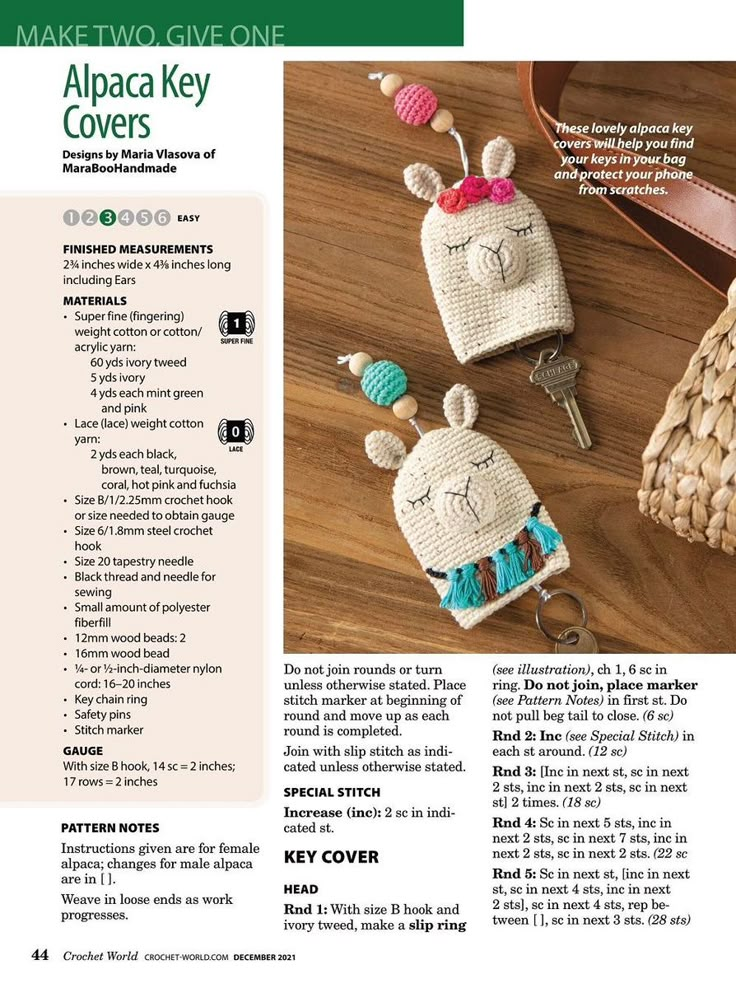
If you want to add a bit of flair to your key cover, consider adding a flower motif. This pattern combines the basic crochet technique with a cute floral embellishment.
Materials:
- Yarn in two contrasting colors
- Crochet hook
- Key
- Needle for finishing
Steps:
- Make the base: Start with a magic ring and crochet 6 dc into the ring.
- Increase the stitches: In the next round, make 2 dc in each stitch (12 dc).
- Flower Motif:
- In a new round, create petals by chaining 5, then slip stitch to the base, repeating until you have 5 petals.
- In the next round, make 1 dc into each petal, then finish off the flower.
- Attach the flower: Once the flower is completed, sew it onto the cover using a needle and yarn.
This crochet key cover is perfect if you’re looking to create something a bit more whimsical and feminine. The flower motif adds a charming and decorative touch to your keychain.
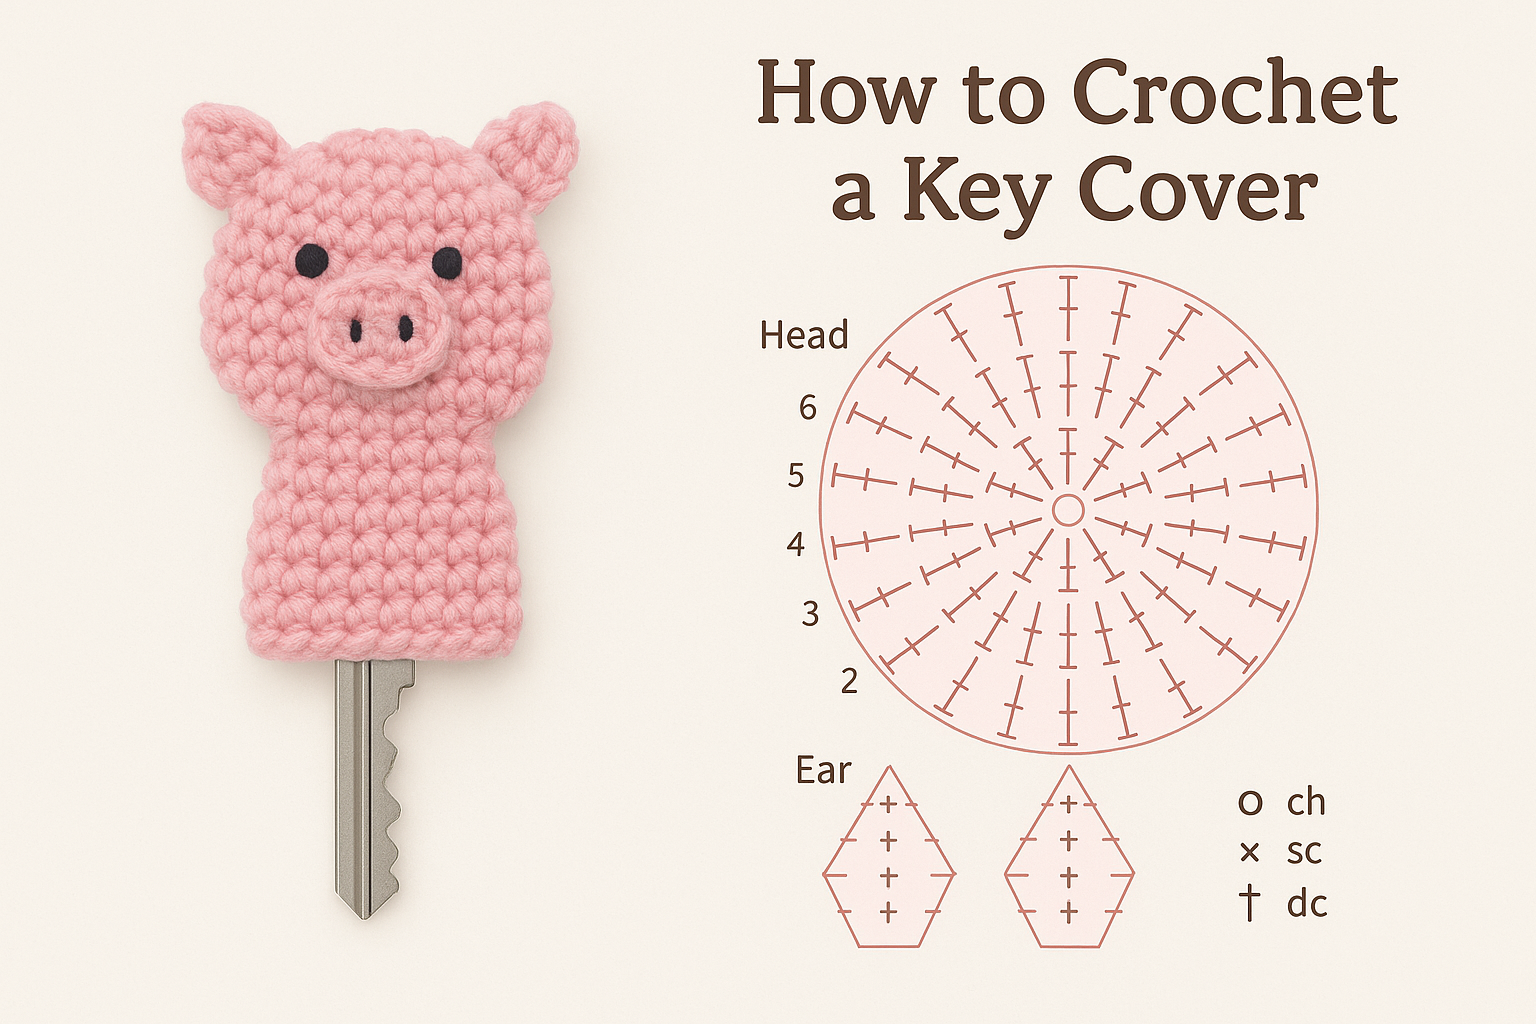

3. Crochet Key Cover with Stripes
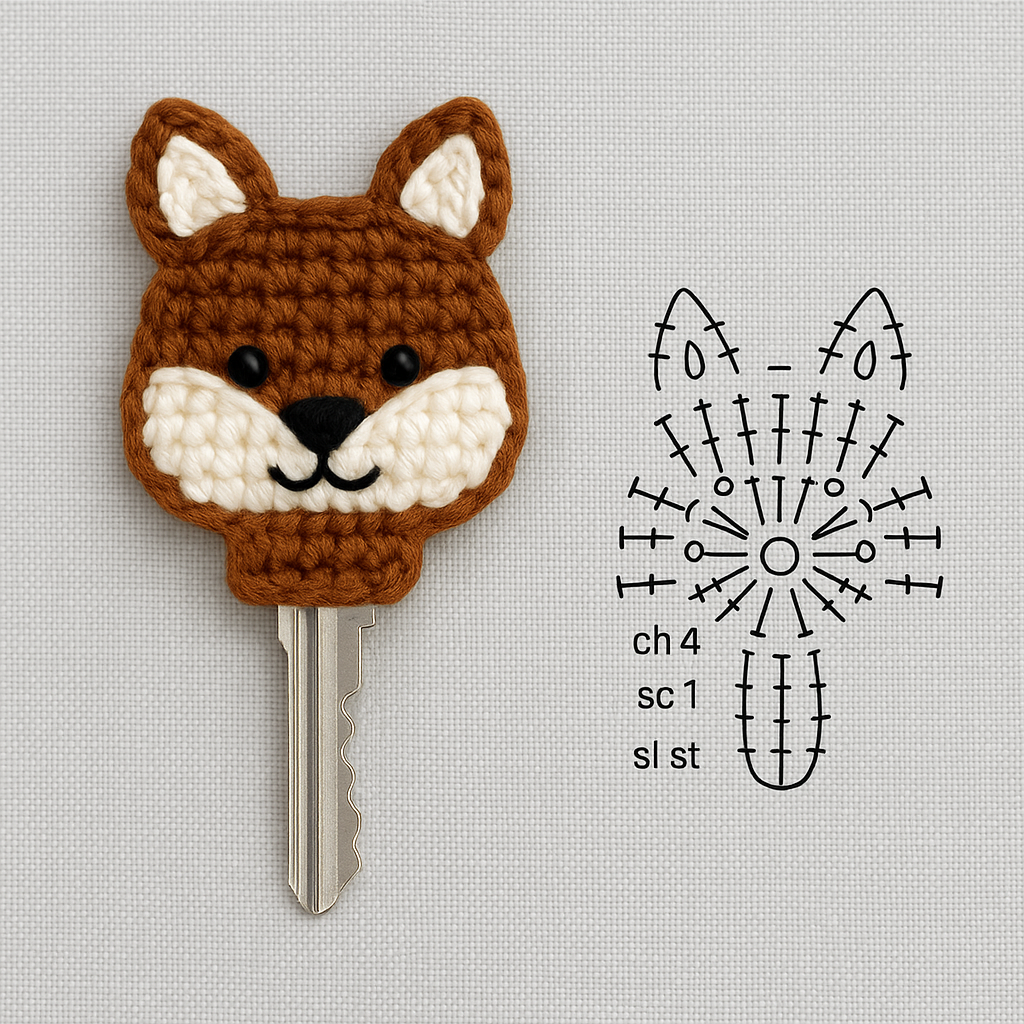
For those who love a bit of pattern, a striped key cover can add both fun and functionality. This pattern uses alternating colors to create stripes, and it’s easy to customize.
Materials:
- Yarn in 2 or more colors
- Crochet hook
- Key
- Needle for weaving in ends
Steps:
- Start with a magic ring and crochet 6 dc into the ring.
- Increase the stitches: Increase to 12 dc in the next round.
- Switch colors: When you reach the size of the key cover, switch colors every few rounds to create stripes.
- Finish the cover: Once the cover fits over the key, finish off the top with a few rounds of single crochet (sc) to close it off.
- Weave in ends: Use the needle to weave in any loose yarn ends.
This pattern is great for making a key cover that’s not only functional but also visually appealing. You can play with different colors and stripe widths to create a key cover that fits your style.
If you want a secure and snug fit for your key cover, a button closure can be a great addition. This pattern creates a cover with a button so that the key fits securely inside.
Materials:
- Yarn (choose a thicker yarn for a sturdy cover)
- Crochet hook
- Key
- Button for closure
- Needle for sewing
Steps:
- Crochet the base: Start with a magic ring and crochet 6 dc. Increase the stitches until the cover fits around the key.
- Create a flap: Once the key cover is the correct size, crochet a small flap at the top that will fold over the key.
- Add a button hole: Crochet a small loop and sew a button onto the top of the flap for closure.
- Finish off: Weave in all ends and attach the key ring.
This buttoned key cover adds an extra layer of security and keeps your key tightly enclosed.
For larger keys, just increase the number of stitches and rounds as needed to fit the size of the key.
Crocheting your own key covers is a fun, easy, and creative project that adds a personalized touch to your keys. Whether you’re making simple designs or more intricate patterns with flowers, stripes, or button closures, there’s a crochet key cover pattern for everyone.
With just a few basic crochet techniques, you can create a stylish and functional accessory that will protect your keys and make them easier to identify.
CHECK MORE CROCHET PATTERNS