Gnome Towel Topper Crochet Tutorial
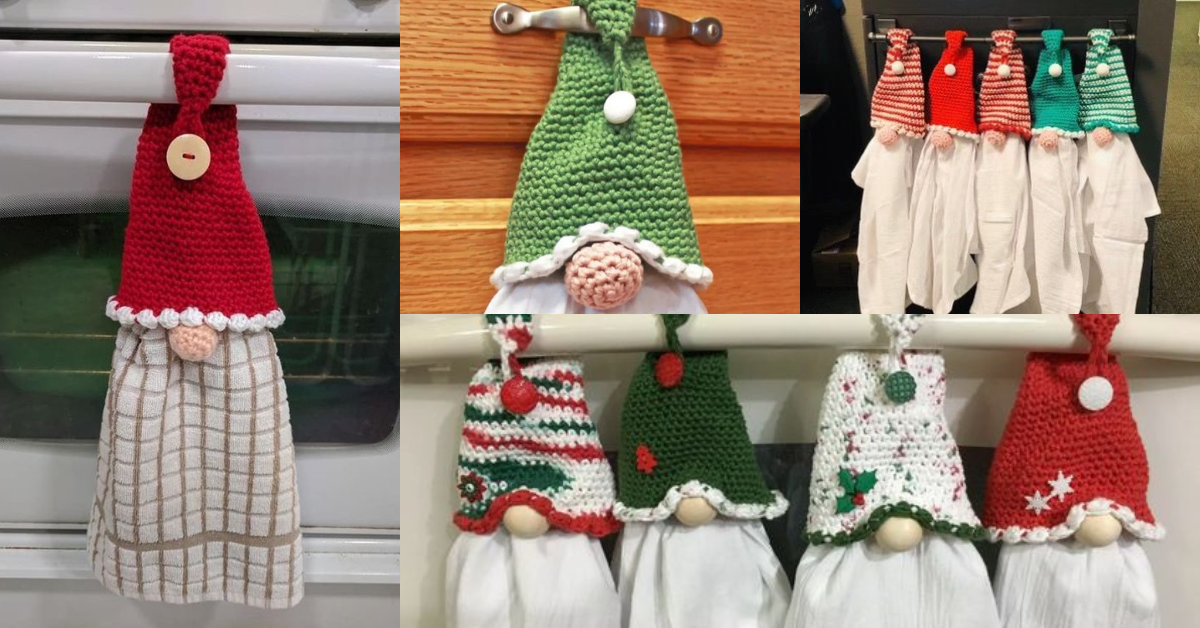
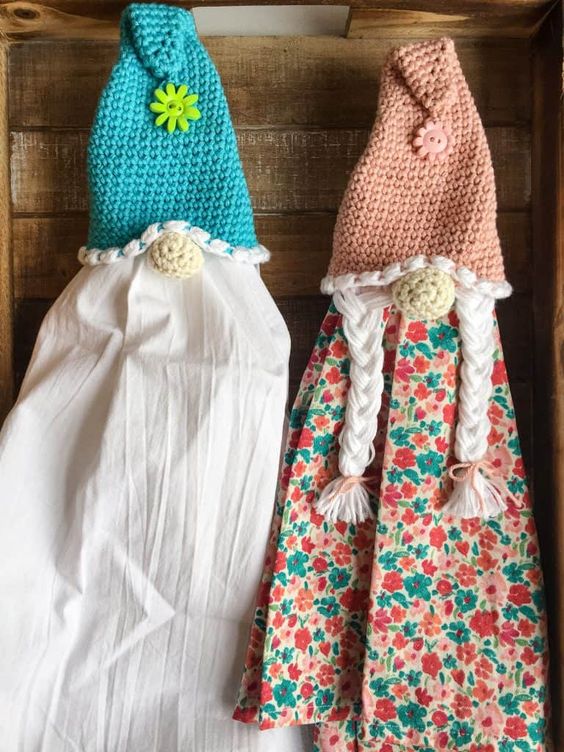
Today we bring you a very creative idea that you will love. A perfect idea to decorate your kitchen or as a gift, is gnome hanging towel holders.
If you like Christmas, or just give your kitchen a little style, these ideas are perfect for you.
Check step by step gnome hanging towel holders. You can adapt it to your style, changing the colors and adding other elements.
See too: DIY Macrame Christmas Gnome Decoration
Table
Gnome Hanging Towel Holders

Gnome Hanging Towel Holders Ideas
Materials Needed
Gather these materials to start crocheting your gnome towel topper:
- Yarn: Cotton yarn is ideal for durability. Choose gnome-inspired colors like white for the beard, a bright color for the hat, and a neutral for the nose.
- Crochet Hook: Use a 4.0 mm or 4.5 mm hook for medium-weight yarn.
- Yarn Needle: For sewing parts together and weaving in ends.
- Scissors: For trimming excess yarn.
- Wooden Ring: Used to hold the towel. Aim for a ring diameter of about 2-3 inches.
- Polyester Fiberfill: Optional, to add volume to the nose.
Cotton yarn holds up well in kitchens and is easy to wash.
Stitches and Techniques Used
Familiarize yourself with these crochet stitches before beginning:
- Magic Ring (mr): Used to start crocheting in the round.
- Single Crochet (sc)
- Double Crochet (dc)
- Half Double Crochet (hdc)
- Slip Stitch (sl st)
- Increase (inc): Work two stitches in the same stitch to increase.
- Decrease (dec): Single crochet two stitches together.
Gnome Towel Topper Crochet Tutorial: Step-by-Step Guide
Step 1: Start with the Gnome’s Hat
- Magic Ring: Begin with a magic ring using the color chosen for the hat.
- Round 1: Work 6 sc into the ring. (6 stitches)
- Round 2: Increase in each stitch around. (12 stitches)
- Rounds 3-10: Continue working in rounds, increasing every other round to create a cone shape for the gnome’s hat. This will give the hat a pointy, whimsical look.
Step 2: Crochet the Gnome’s Beard
- Attach White Yarn: Join white yarn at the base of the hat.
- Create the Beard: Work in rows, using double crochet stitches to form the beard shape, starting wider at the top and decreasing as you move downwards.
- Fringe Effect: To add texture, create “fringe” by pulling yarn loops at the base of the beard or comb the yarn for a fuller look.
Step 3: Crochet the Nose
- Magic Ring: Using a neutral or light pink yarn, start with a magic ring.
- Round 1: Work 6 sc into the ring. (6 stitches)
- Round 2: Inc in each stitch around. (12 stitches)
- Rounds 3-4: Work in sc for a small, rounded nose.
- Stuff with Fiberfill: Add a bit of stuffing to give the nose a 3D effect.
- Attach to Hat and Beard: Position the nose right where the beard meets the hat and sew it in place.
Attaching the Wooden Ring
- Create a Chain Base: Attach yarn at the bottom of the beard and chain enough to reach around the wooden ring.
- Attach Chain to Ring: Single crochet around the wooden ring, attaching the chain securely. This ring will hold the towel and keep it in place.
- Finish Off: Tie off the yarn and weave in any remaining ends.
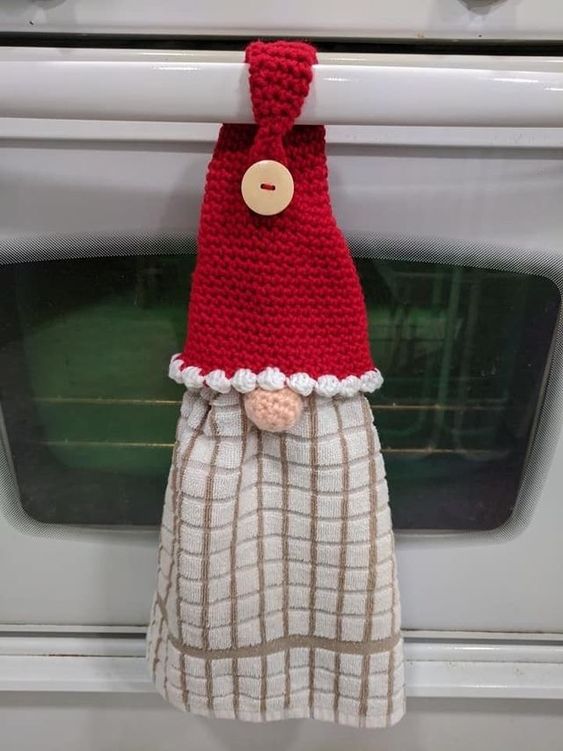
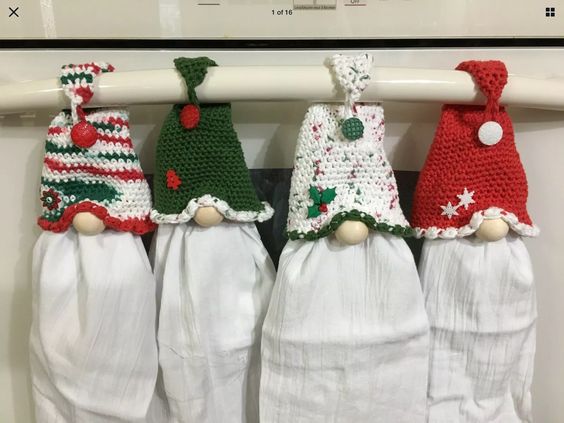
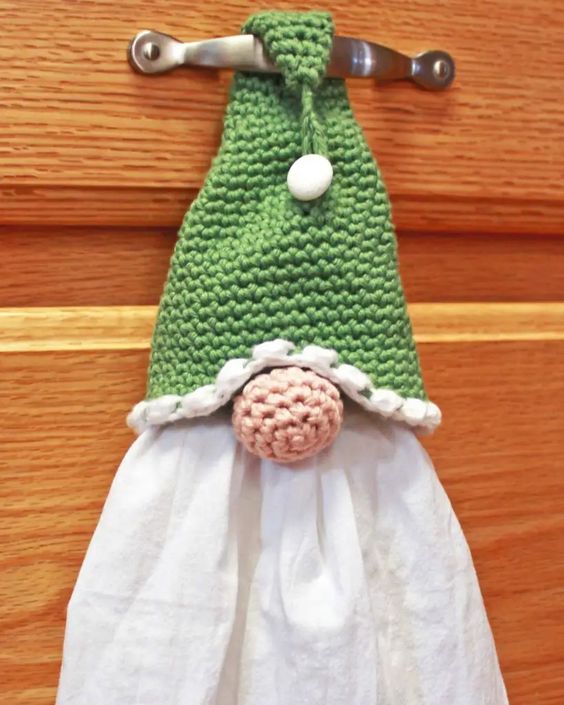
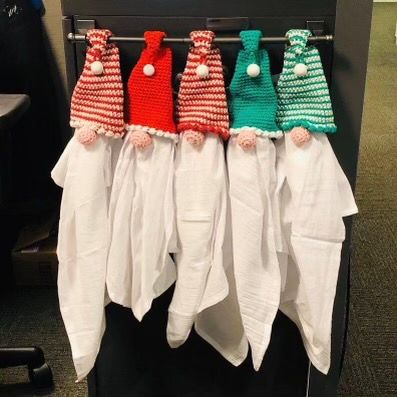
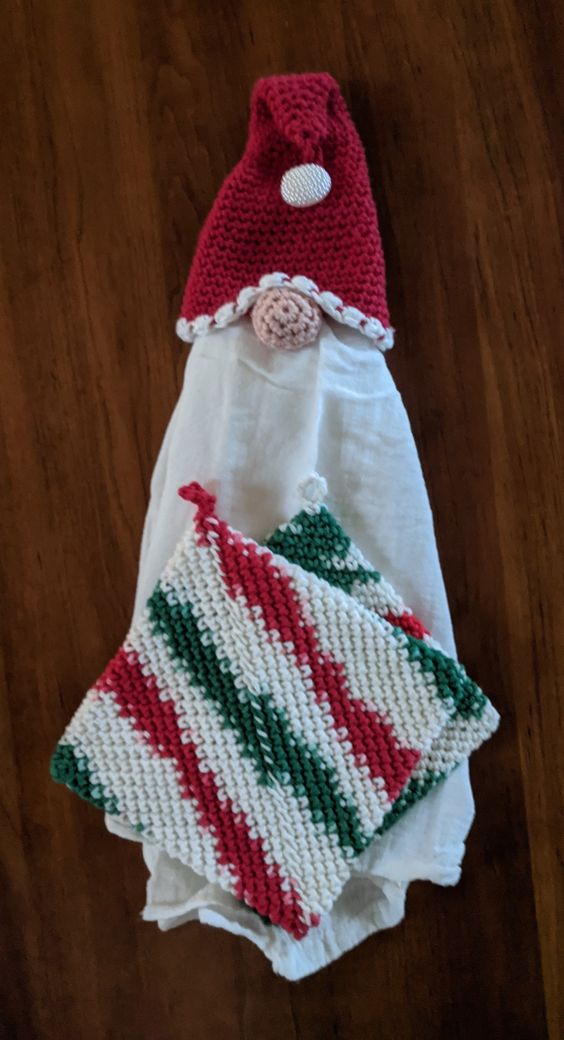
Via Pinterest
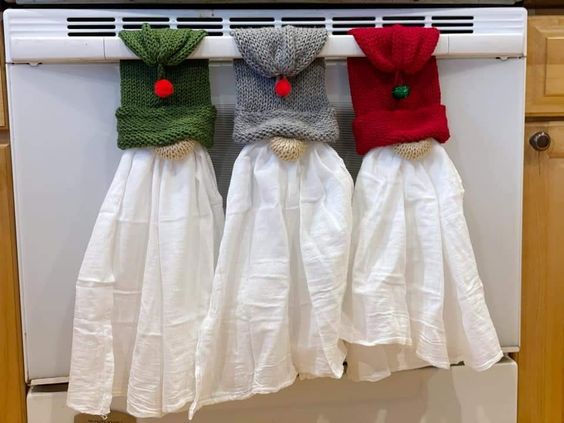
Via ETSY
CHECK MORE CROCHET PATTERNS