How to Crochet a Bag Using a CD

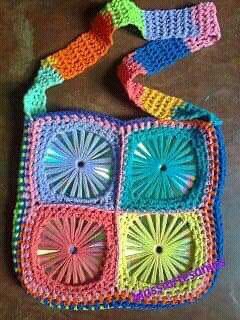
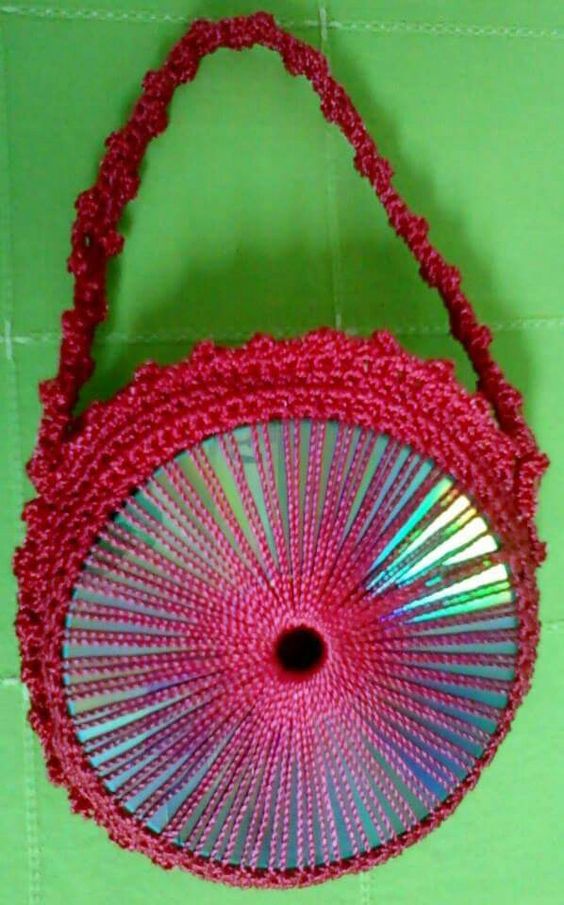
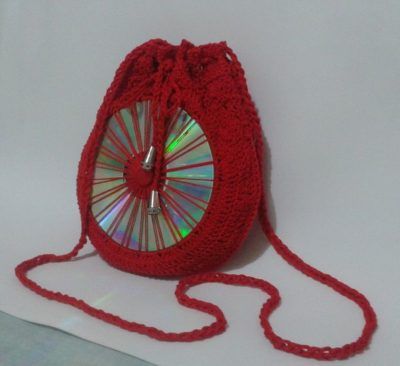
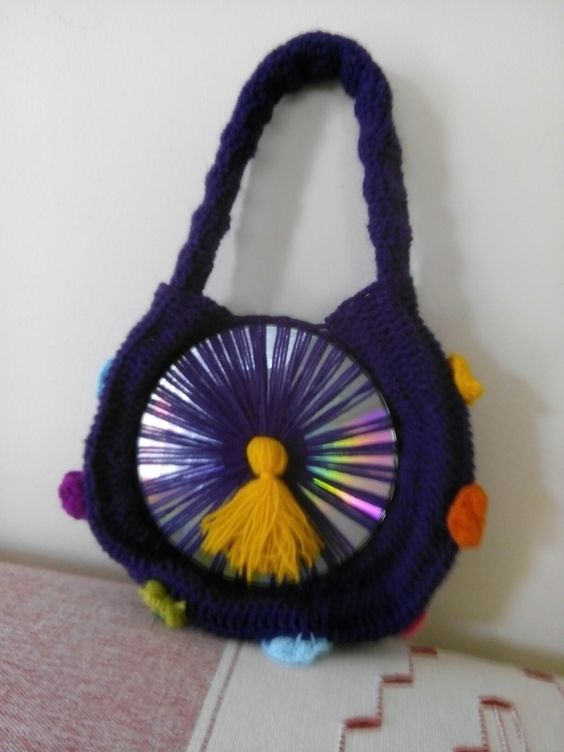
Our suggestion today is one of our favorites. We love crochet and using unusual materials. Today we show you how to make a wonderful bag with crochet and CDs.
A simple and wonderful idea that allows you to make a wide variety of models and styles.
Check out the video tutorial and also some ideas to use as inspiration.
How to Crochet a Bag Using a CD
Simple and perfect, use your imagination to make these beautiful bags.

Crochet a Bag Using a CD ideas


From pinterest.
Sample Stitch Pattern: Basic Single Crochet
To get started, here’s how to create a simple single crochet stitch, which you will use in your CD bag:
Materials Needed
- Yarn in your chosen colors.
- Crochet hook (size G or H).
- Scissors and tapestry needle.
Instructions
- Start with a Slip Knot: Create a slip knot and chain 2.
- Row 1: Insert the hook into the second chain from the hook. Yarn over, pull through, yarn over again, and pull through both loops on the hook. This completes your first single crochet.
- Continue: Repeat this process to create a row of single crochet stitches.
Step-by-Step Instructions for Crocheting a Bag Using a CD
Now that you’re familiar with the basic stitch patterns, let’s dive deeper into the step-by-step process of creating your crochet bag using a CD.
Step 1: Prepare the CD
- Select Your CD: Choose an old CD that you no longer need. Make sure it’s clean and free of scratches.
- Optional Decoration: If desired, you can decorate the CD with paint or washi tape to match your yarn colors.
Step 2: Create the Crochet Base
- Start with a Slip Knot: Create a slip knot with your yarn and attach it to the edge of the CD. You can use a small amount of craft glue to hold the yarn in place if necessary.
- Round 1: Work single crochet stitches evenly around the edge of the CD. You want to create a tight, even row. Aim for about 20-25 stitches around, depending on your yarn and tension.
- Join the Round: Use a slip stitch to join the last stitch to the first stitch in the round.
Step 3: Build the Sides of the Bag
- Continue Crocheting: For the next rounds, continue working in single crochet around, but do not join. This creates a spiral effect for the sides of your bag.
- Increase for Shape: To create a slight bowl shape, increase your stitches every few rounds. For example, you can increase every 5th stitch in a round by working 2 single crochet stitches in the same stitch.
- Height: Continue working until the sides reach your desired height, usually around 5-7 inches.
Step 4: Create the Bag Closure
- Decide on Closure: You can use a drawstring, button, or flap to close your bag. If you choose a drawstring, leave a long section of yarn at the top to use later.
- For Drawstring Closure: When you reach the top of the bag, work a few rows of single crochet without increasing or decreasing. This will create a sturdy top edge for the drawstring.
- For Flap Closure: If you prefer a flap, create a rectangular piece by working back and forth in rows that can fold down over the top of the bag.
Step 5: Create the Handle
- Determine Handle Length: Decide how long you want your handle to be, typically between 20-30 inches.
- Crochet the Handle: Create a chain of the desired length or work in single crochet for a thicker strap.
- Attach the Handle: Securely attach the handle to the sides of the bag, making sure it is evenly spaced.
Step 6: Finishing Touches
- Weave in Ends: Use a tapestry needle to weave in any loose ends from your crochet work.
- Add Embellishments: Consider adding decorative elements like beads, flowers, or charms to personalize your bag further.
Creating a crochet bag using a CD is a fun and eco-friendly project that combines creativity with sustainability. With this step-by-step guide, you can craft a beautiful and functional bag that reflects your personal style. Embrace the art of crochet and enjoy using your handmade creation for everyday outings or special occasions!
CHECK MORE CROCHET PATTERNS