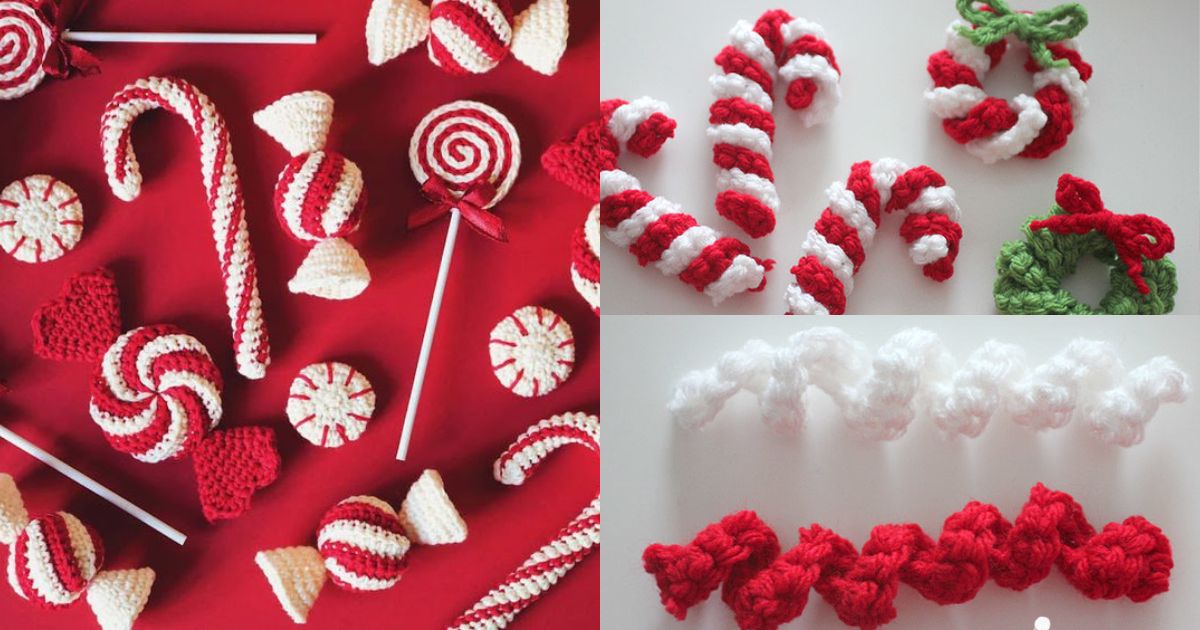
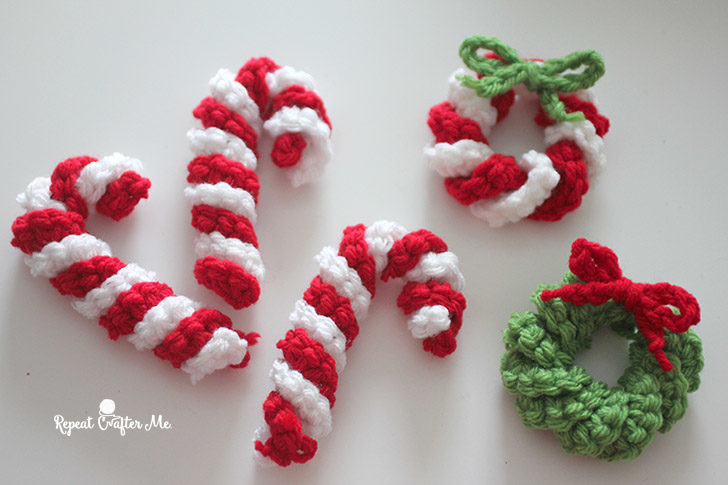
How to Crochet a Candy Cane- Free Pattern

In the world of crafting, there's something truly special about creating your own holiday decorations.
Crocheting a candy cane is not only a delightful way to add a personal touch to your Christmas decor but also a great project for beginners and experienced crocheters alike.
In this step-by-step guide, we'll show you how to crochet a candy cane that will add a touch of sweetness to your festive season. So, let's get started on this creative journey!
How to Crochet a Candy Cane
You can use different yarn types, but keep in mind that the thickness of the yarn will affect the size of your candy cane.
You can add ribbons, bows, or even glitter to make your candy cane even more festive.
Step-by-Step Guide
1. Making the Foundation Chain
To start, let’s make the candy cane base.
- Step 1: With white yarn, create a slip knot and chain 30 (or longer for a bigger candy cane).
- Step 2: This chain will serve as the foundation for the candy cane stripes.
Adjust the length of the chain based on how big you want your candy cane. A longer chain makes a larger candy cane.
2. Working in Stripes
Creating the candy cane’s iconic stripes is both simple and customizable. Follow these steps to get the perfect red and white twist.
- Step 1: Switch to the red yarn and make a single crochet (SC) in each stitch across the chain. At the end of the row, cut the yarn and leave a small tail.
- Step 2: Change back to the white yarn and single crochet (SC) in each stitch across.
- Step 3: Continue alternating between the red and white yarn every row, working each color in single crochet stitches. You can create wider stripes by working 2-3 rows per color or keep it thin with one row per color.
For a more structured look, use double crochet (DC) stitches instead of single crochet in each row to create a looser, more open effect.
3. Shaping the Candy Cane
To give your candy cane its classic curve:
- Step 1: Insert a pipe cleaner or craft wire through the middle of the crochet piece. This will help the candy cane bend and hold its shape.
- Step 2: Carefully bend one end of the candy cane to form a hook, similar to a real candy cane.
4. Finishing Touches
Now that the candy cane shape is ready, it’s time to add final details:
- Weave in the Ends: Use a tapestry needle to hide any loose ends of yarn.
- Optional Add-ons: Add a small crochet bow or a bell to the top of the candy cane for an extra festive look.


Tips for a Perfect Candy Cane:
- Experiment with different yarn textures to create unique candy cane designs.
- Adjust the size of your candy cane by adding or reducing the number of rounds.
- Get creative with color combinations; try green and white for a twist on the classic candy cane.
Now that you've learned how to crochet a candy cane, let's answer some common questions to help you with this holiday project.

Learn how to crochet a candy cane with this step-by-step guide. Perfect for beginners and a fun holiday decoration project. Get creative this Christmas!
CHECK MORE CROCHET PATTERNS