How to Crochet a Cookie for Beginners
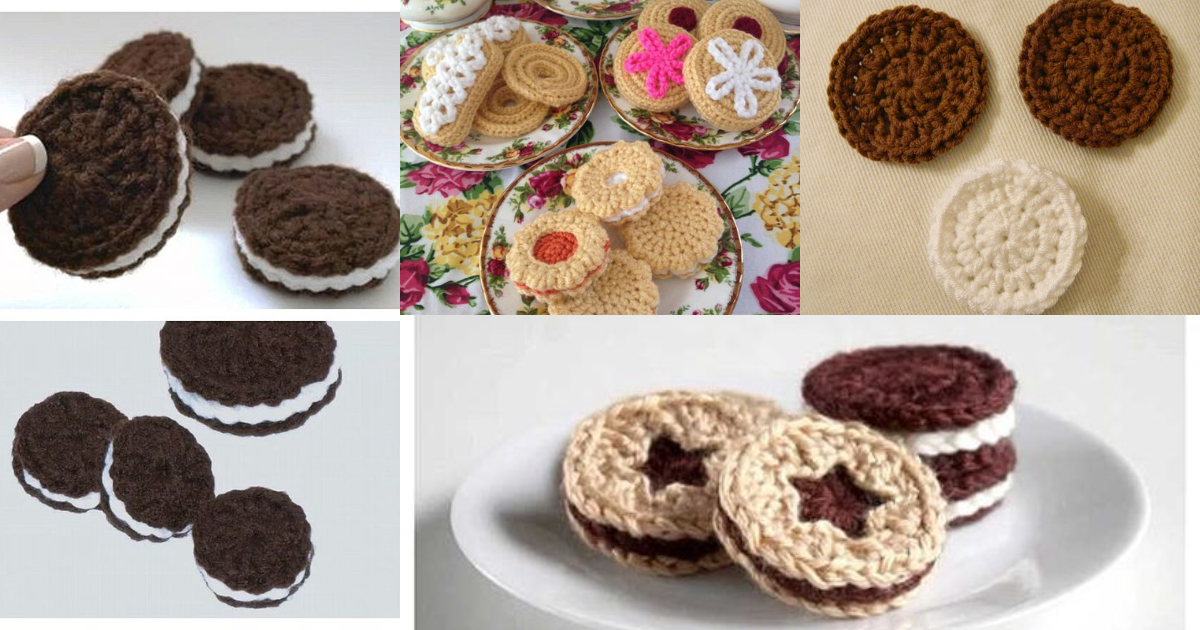
Crocheting is a wonderful hobby that allows you to create beautiful and unique items using just a simple hook and yarn.
If you're a beginner looking for a fun and easy crochet project, why not try crocheting a cookie? In this article, we will guide you step by step on how to crochet a cookie, even if you have never picked up a crochet hook before.
Crocheting a cookie is a delightful way to add a touch of sweetness to your craft projects. Whether you want to make a cute keychain, a decorative applique, or a fun toy, crocheted cookies are versatile and adorable. Follow our easy instructions below and let's get started on this delightful crochet adventure!
Materials:
Before we begin, gather the following materials:
Yarn: Choose a color that resembles a cookie, such as light brown or beige.
Crochet Hook: Select an appropriate hook size based on the thickness of your yarn. A size G (4.0 mm) hook is commonly used for medium-weight yarn.
Scissors: A good pair of scissors will help you trim the yarn neatly.
Fiberfill: This will be used for stuffing the cookie if you want a plump and three-dimensional result.
Yarn Needle: You'll need a needle with a large eye for weaving in loose ends.
Step-by-Step Instructions
Follow these step-by-step instructions to crochet your very own delicious-looking cookie:
Step 1: Start with a Magic Ring
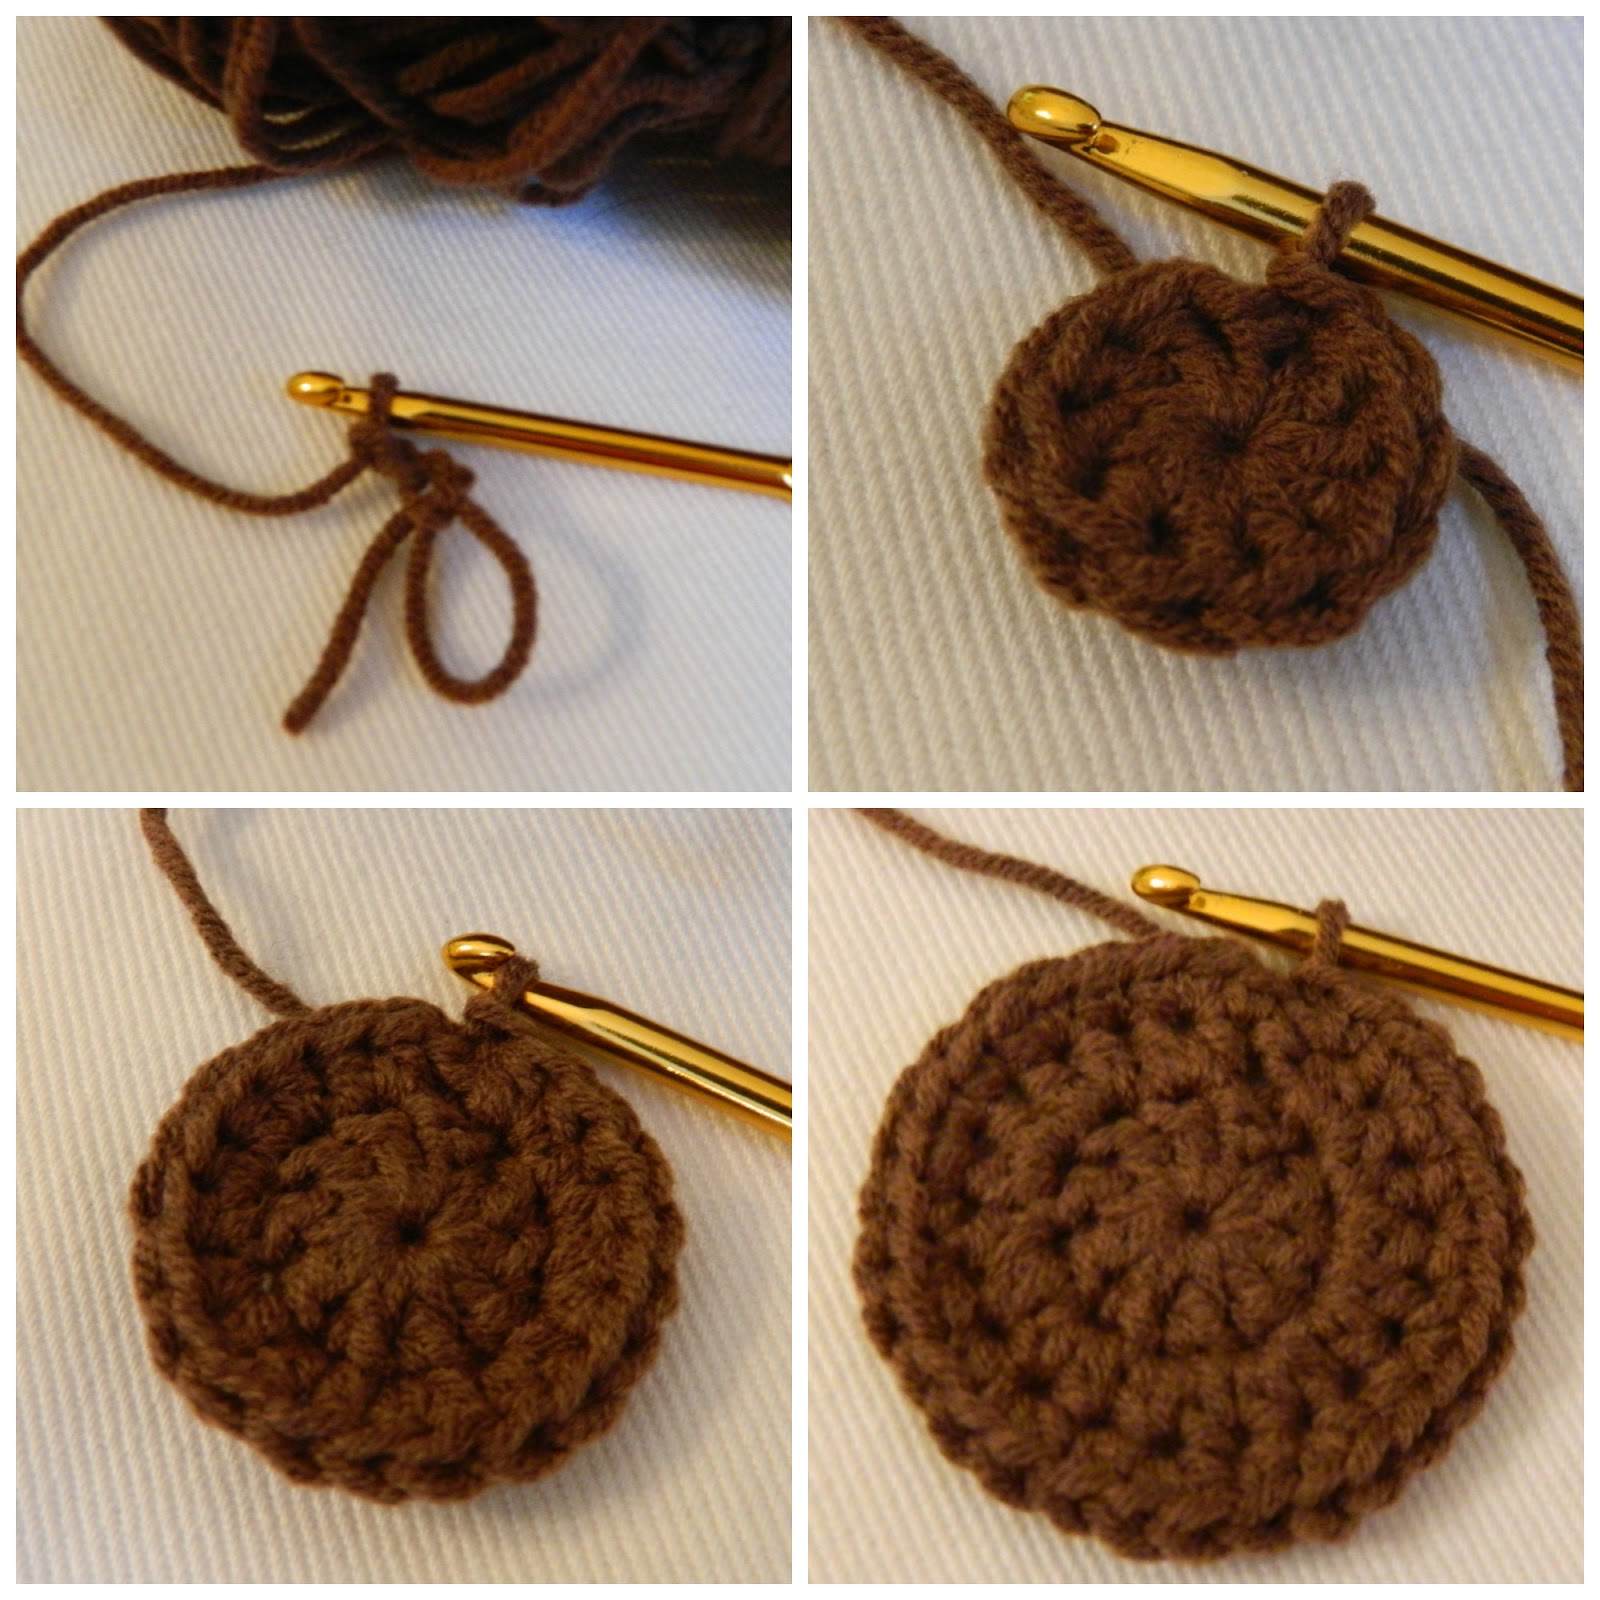
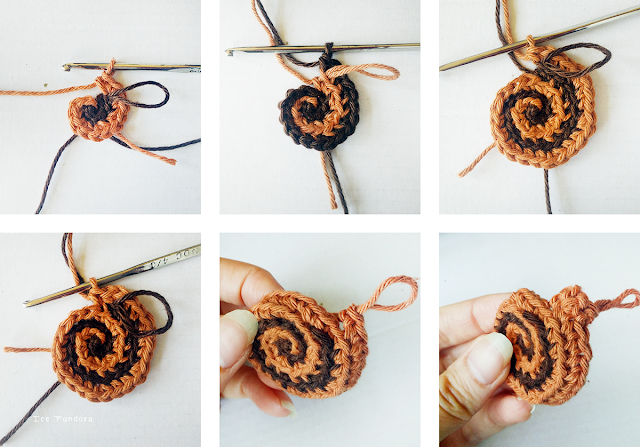
To begin, create a magic ring by making an adjustable loop with your yarn. Insert your hook into the ring, yarn over, and pull up a loop. This will serve as the center of your cookie.
Step 2: Work the First Round
In the first round, crochet single crochet stitches (sc) into the magic ring. Continue working in a spiral, placing 6 sc stitches in total around the ring. This will form the foundation of your cookie.
Step 3: Increase Stitches
In the second round, increase the number of stitches by working two single crochet stitches into each stitch from the previous round. Repeat this process six times, resulting in a total of 12 stitches in the second round.
Step 4: Continue Increasing
Continue to increase the number of stitches in each round by adding an extra single crochet stitch between increases. Work three single crochet stitches into every second stitch from the previous round, repeating this process six times.
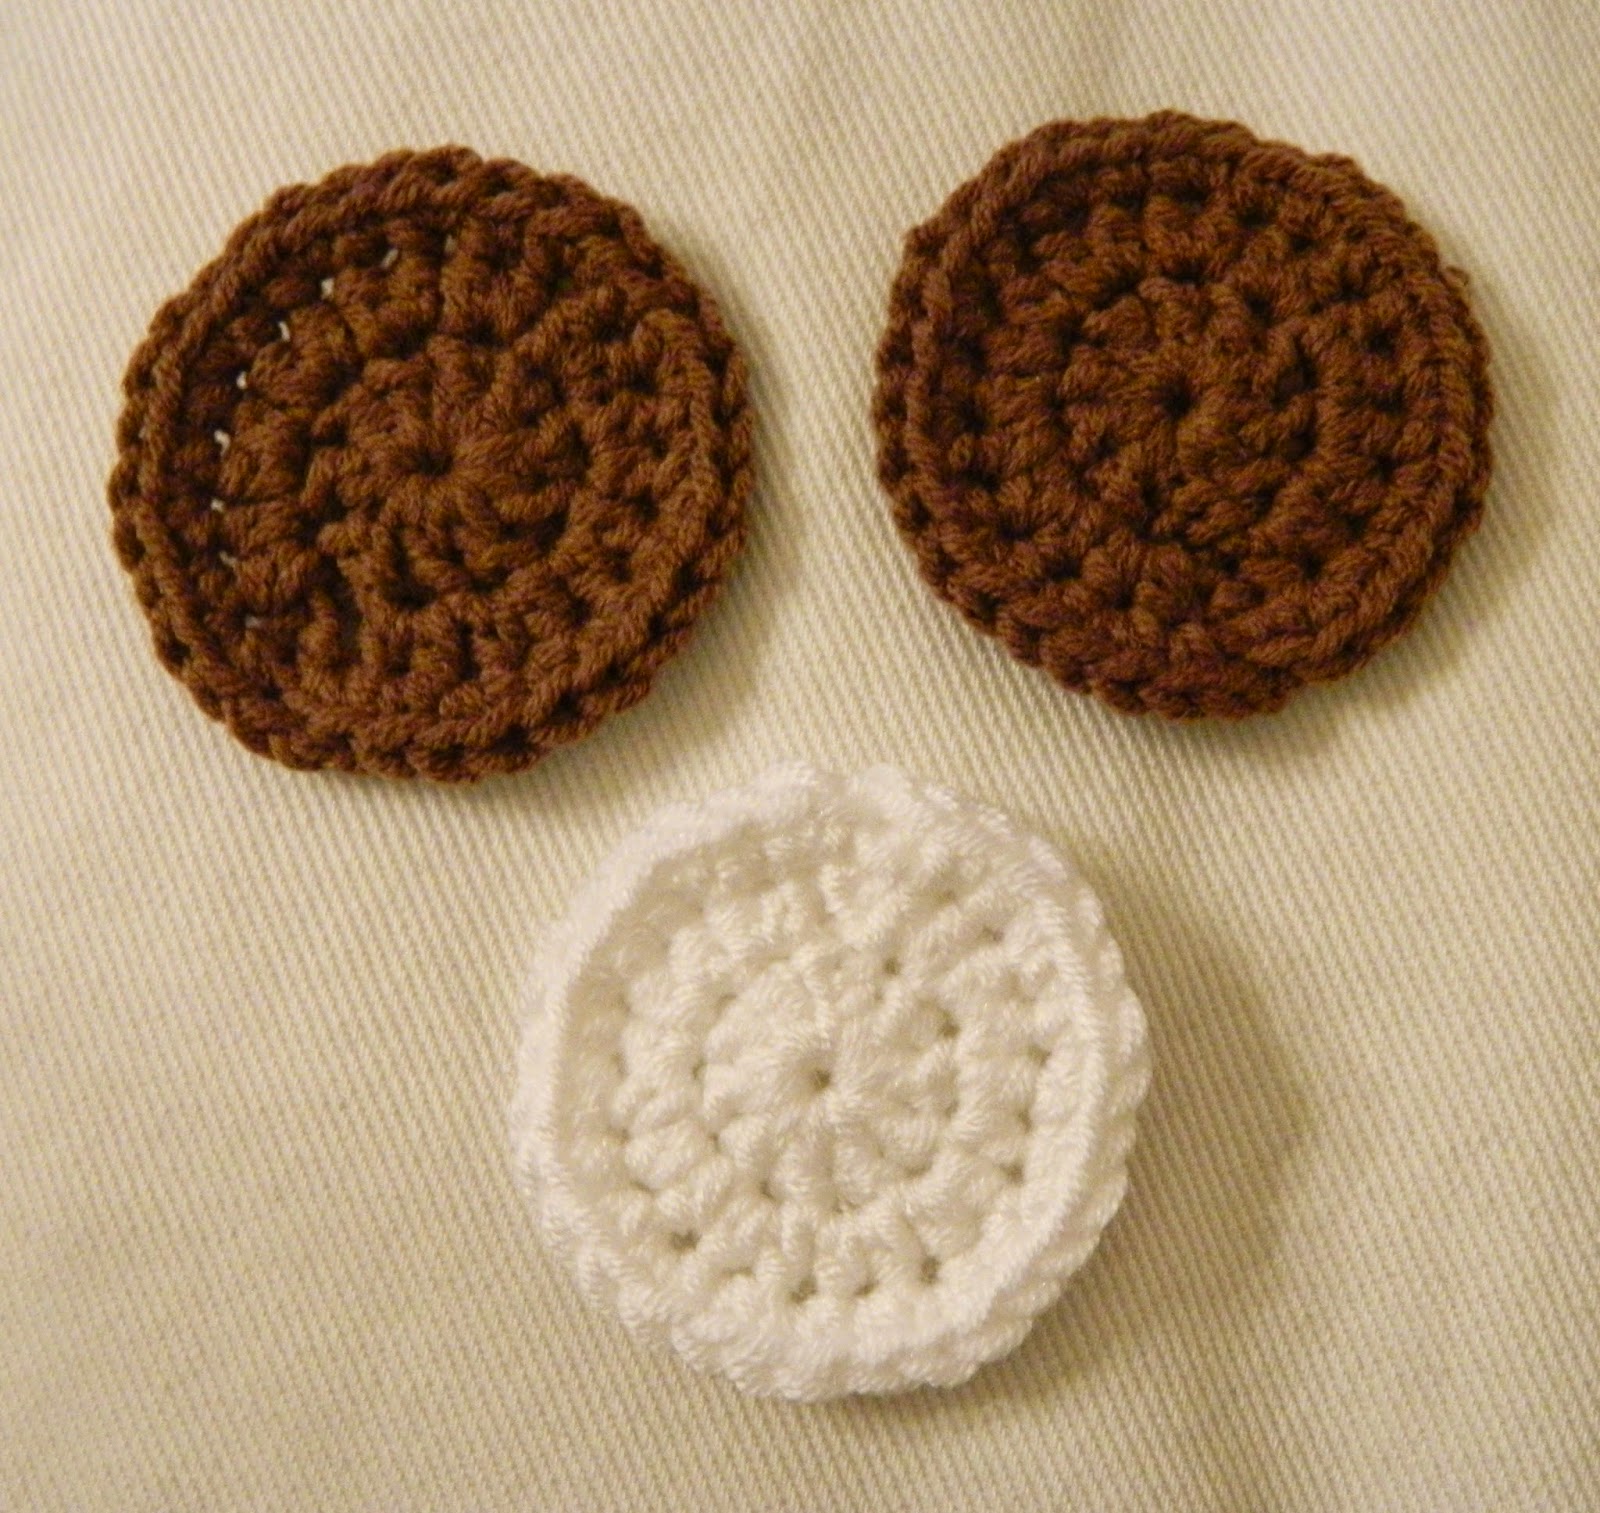
Once you have achieved the desired size of your cookie, begin to decrease the number of stitches in each round. Work a single crochet decrease (sc2tog) every second stitch, repeating this process six times. This will gradually shape the cookie.
If you want a three-dimensional cookie, now is the time to stuff it with fiberfill. Carefully add the stuffing to the center of the cookie, ensuring it is evenly distributed. Continue crocheting as you stuff.
To finish the cookie, close the opening by slip stitching through both loops of the final stitches. Fasten off and weave in any loose ends using a yarn needle. Trim the excess yarn with scissors.

Crochet Cookie Ideias
Congratulations! You have successfully crocheted your very own cookie. This delightful project is perfect for beginners who want to explore the world of crochet.
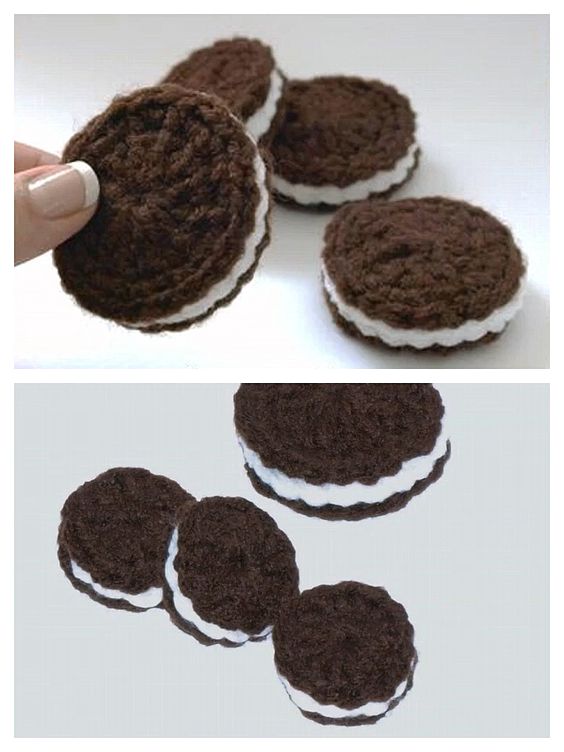
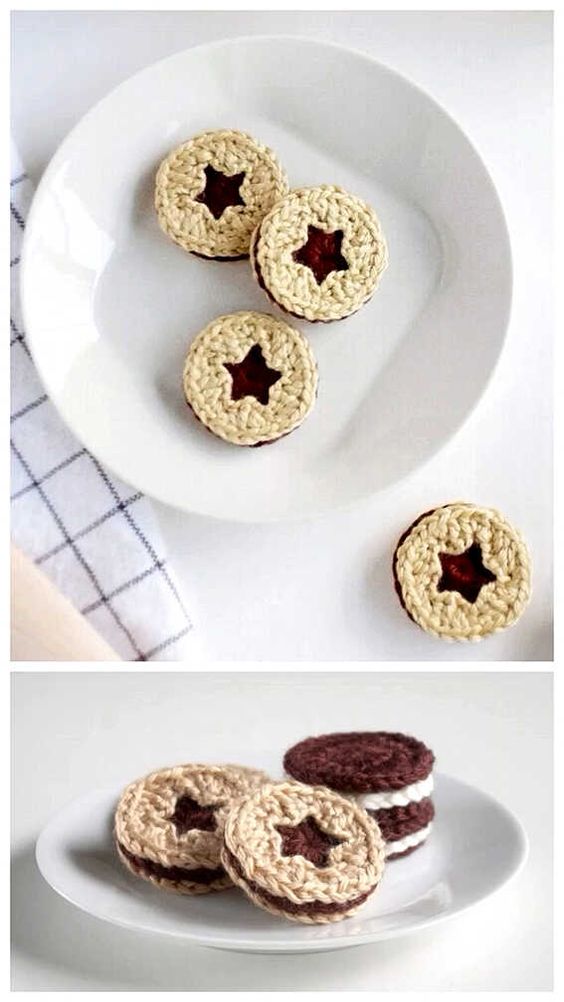
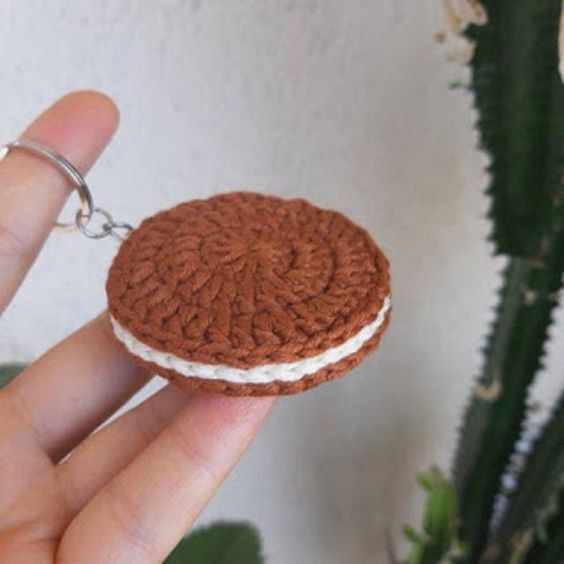
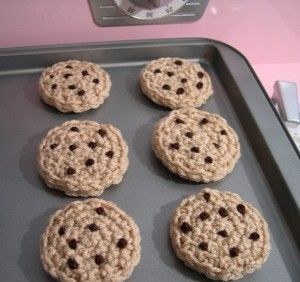
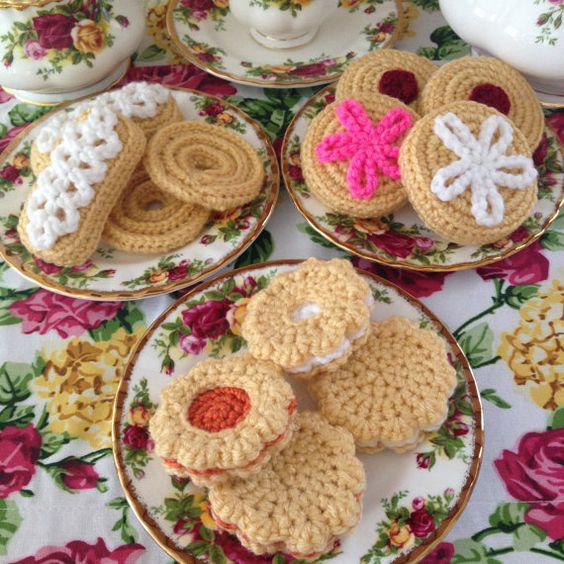
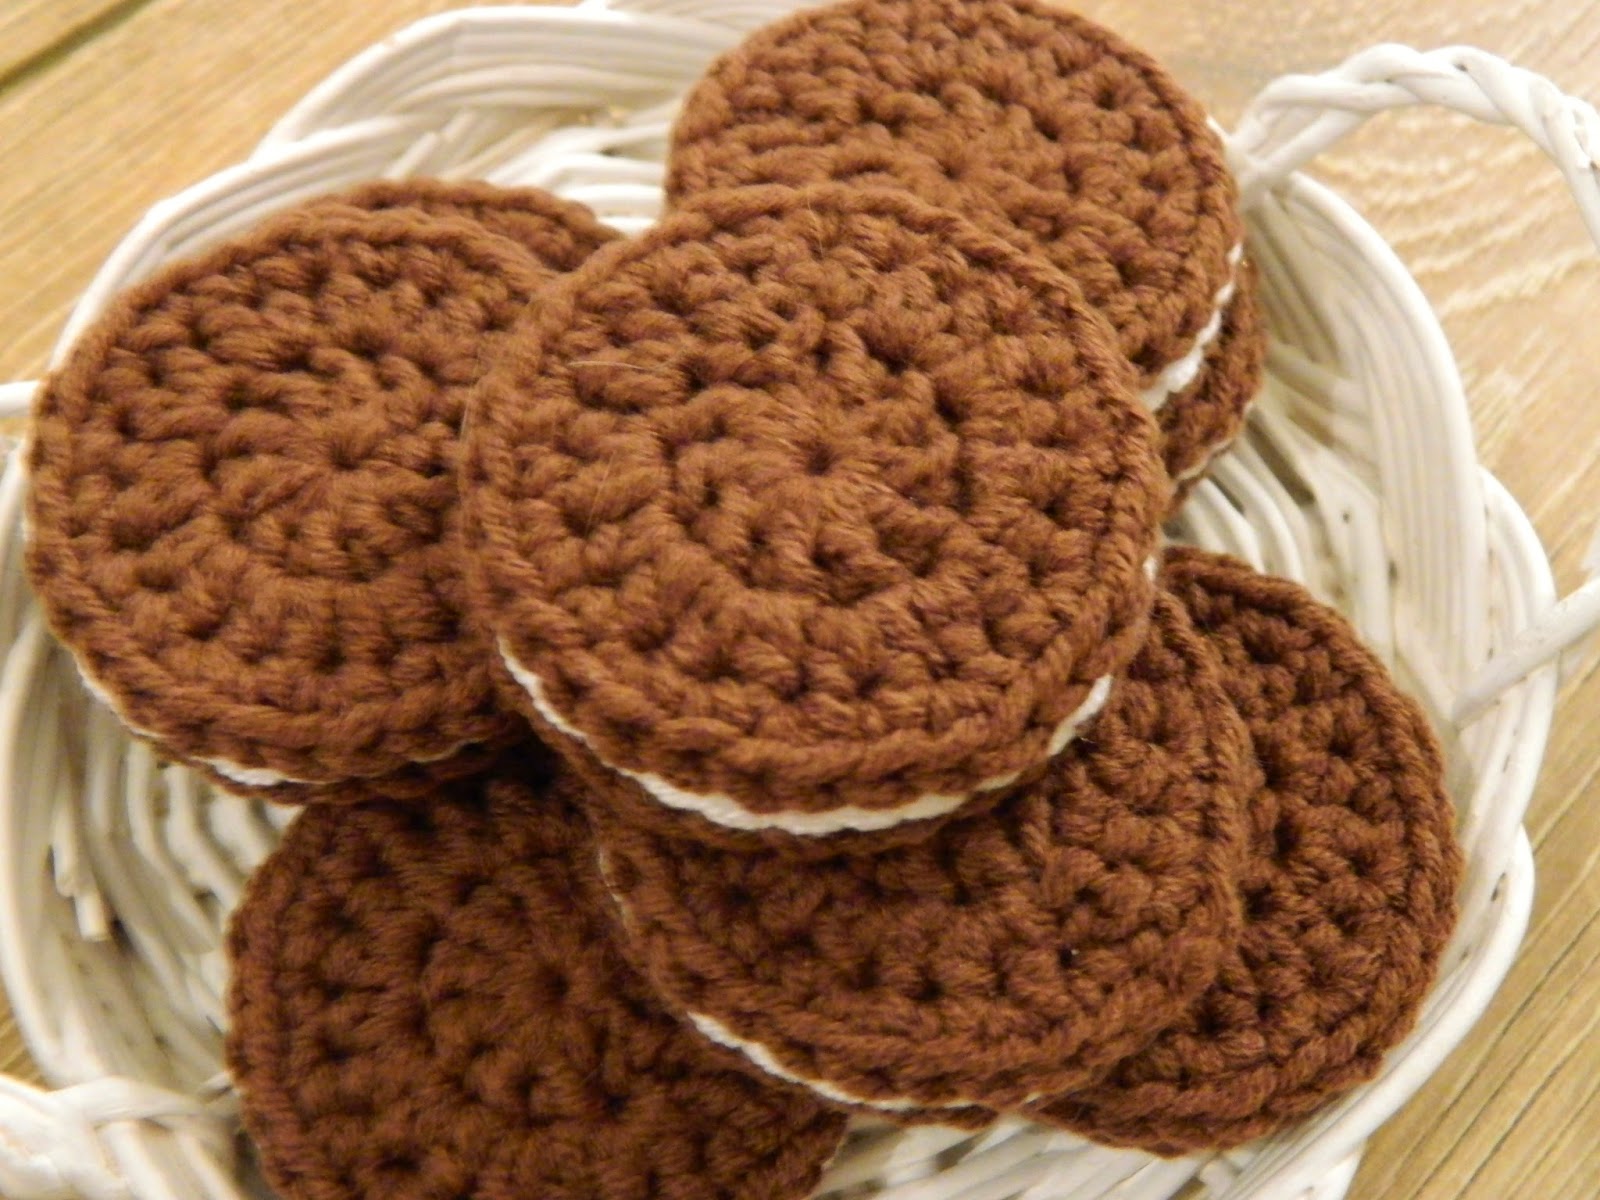
Let your creativity shine by experimenting with different yarn colors and adding embellishments like sprinkles or chocolate chips. Crocheted cookies make charming gifts and can be used in various crafts.
CHECK MORE CROCHET PATTERNS