How to crochet a floor pouf
The floor pouf is an almost mandatory accessory in the decoration of a home. In addition to being functional because you can use it to sit, it is perfect to complement your home decor.
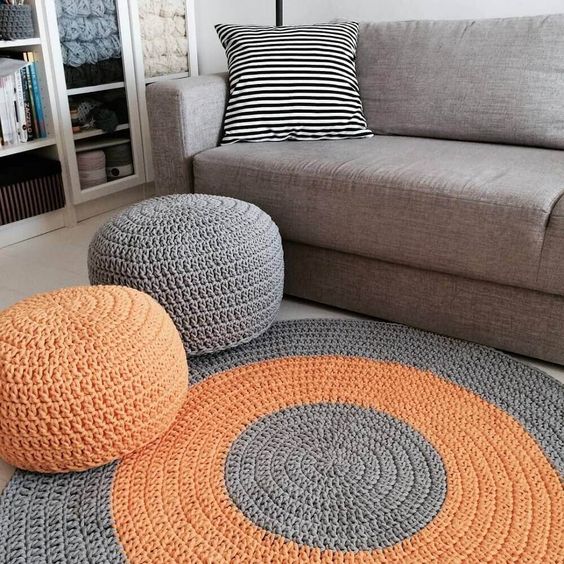
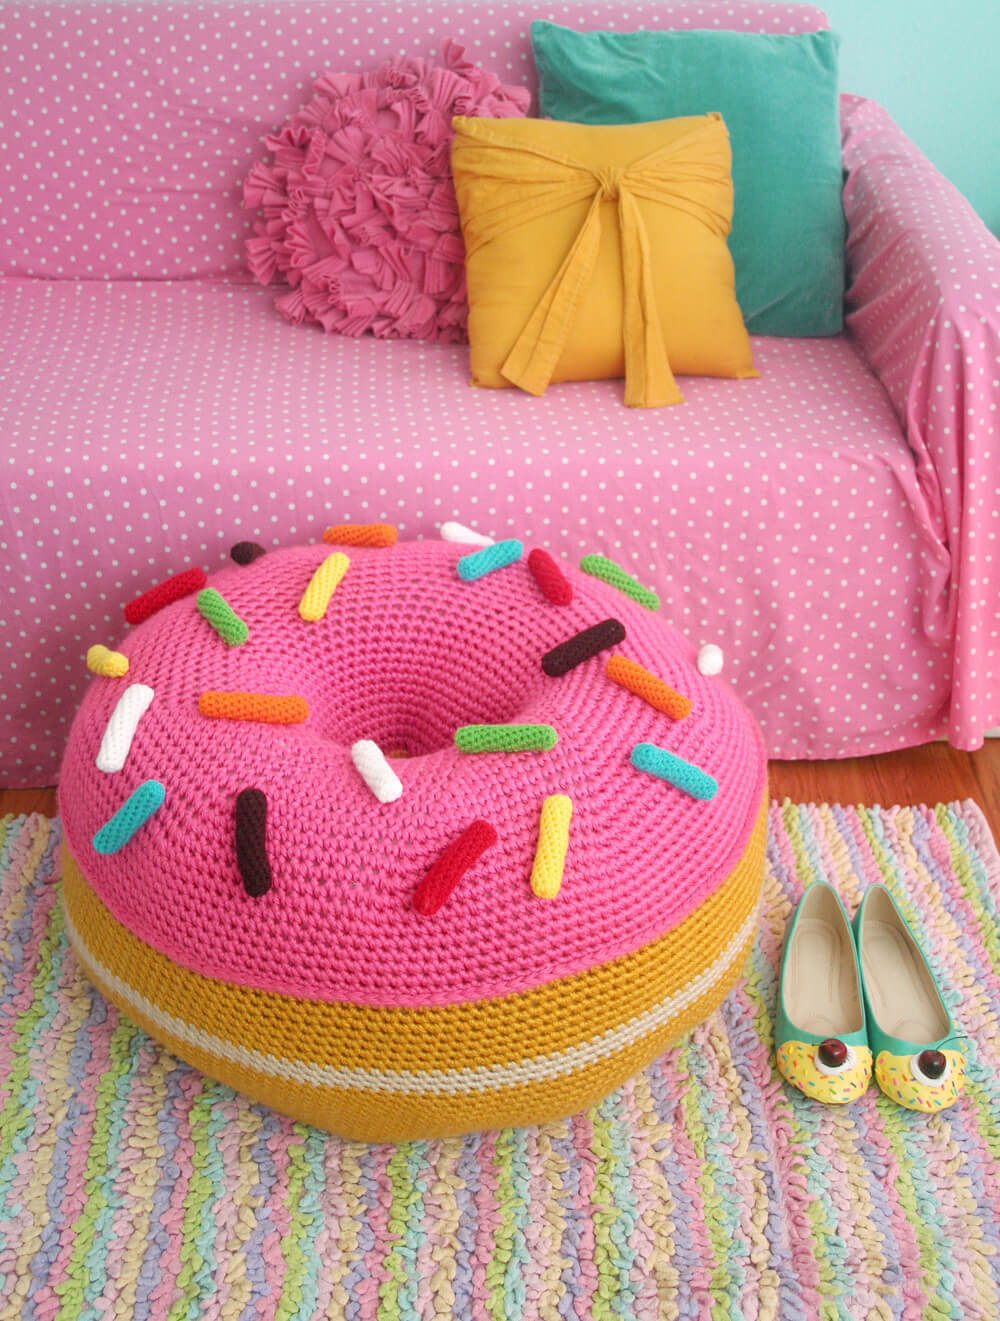
Crochet floor poufs are simply wonderful. With a touch of modernity they combine with various spaces and also with different styles.
There are lots of floor pouf ideas for sale, but crocheted poufs completely transform any environment.
Table
How to crochet a floor pouf
Check out the video with the step by step.

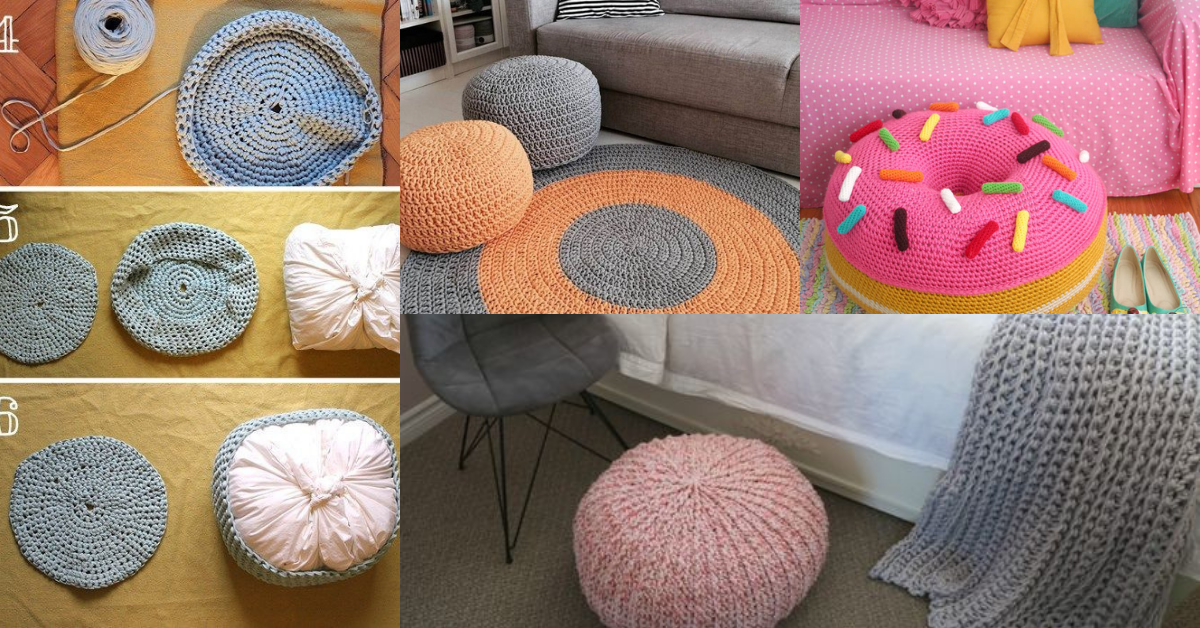
Ideas for using crochet floor poufs in your home decor
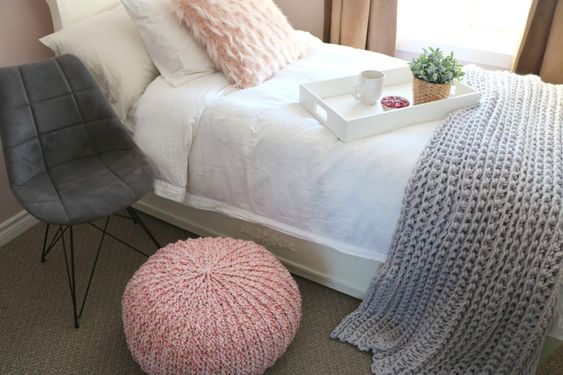
They can be used in different spaces, perfect for a child's room, or to be placed in the room.
Via: Realizart Crochê
Step-by-Step Guide: How to Crochet a Floor Pouf
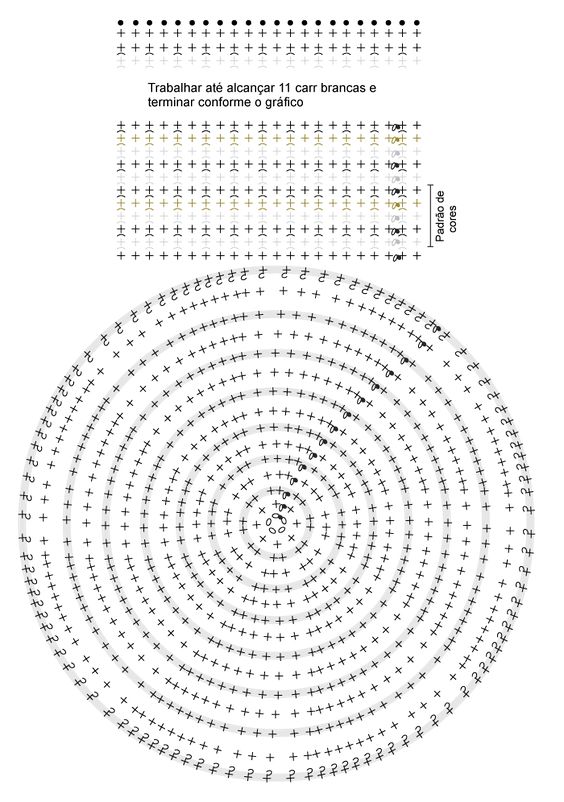
Step 1: Crochet the Base of the Pouf
- Make a Magic Circle: Start by creating a magic ring with your yarn. This will be the center of the pouf.
- Round 1: Chain 3 (counts as the first double crochet). Work 11 double crochets (DC) into the magic ring. Pull the ring tight to close the circle.
- Round 2: In the next round, increase each stitch by working two double crochets (DC) into each stitch from the previous round. You should now have 24 stitches.
- Round 3: In the next round, increase by making 1 double crochet into the first stitch and 2 double crochets into the next stitch. Repeat this around the entire circle. You’ll now have 36 stitches.
- Round 4 and Beyond: Keep increasing in the same manner (1 DC in the first stitch, 2 DC in the next) until the base of your pouf reaches the desired size. Typically, the diameter of the pouf should be around 18-24 inches, but you can adjust it to suit your space.
Step 2: Crochet the Sides
- Build the Sides: Once you’ve reached the size of the base, stop increasing and begin working in rounds without increasing. This will start to build the sides of your pouf.
- Round 1: Continue crocheting in double crochet around the edges, placing one double crochet in each stitch around. Keep the stitches loose enough so the pouf remains flexible.
- Continue Rounds: Keep crocheting in rounds, without increasing, until the height of the pouf reaches your desired measurement. Usually, around 12-18 inches works well for most poufs.
Step 3: Close the Top
- Decreasing: Once you’ve reached the top of the pouf, it’s time to close it. To do this, begin to decrease stitches by crocheting two double crochets together.
- Finish: Continue decreasing until you have just a small hole left. At this point, you can fasten off the yarn, leaving a long tail to sew the opening closed.
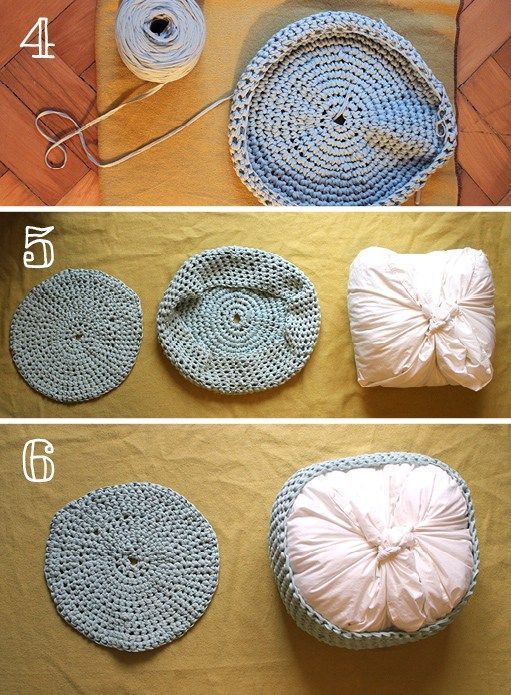
Step 4: Stuff the Pouf
- Add Fill: Turn your pouf inside out if necessary and begin stuffing it with fiberfill or foam. Ensure it’s filled enough to provide support and structure, but not too much that it becomes overly stiff.
- Test the Firmness: Press down on the pouf to check its firmness. Add more stuffing if needed to achieve your preferred level of softness or firmness.
Step 5: Close the Opening
- Sew the Top Closed: Use a needle and thread to sew up the remaining hole at the top of the pouf. Make sure to sew tightly to avoid any stuffing coming out.
- Weave in Loose Ends: Finally, weave in any loose yarn ends using a yarn needle to complete your pouf.
CHECK MORE CROCHET PATTERNS