How To Crochet a Handbag/Purse And a Wallet
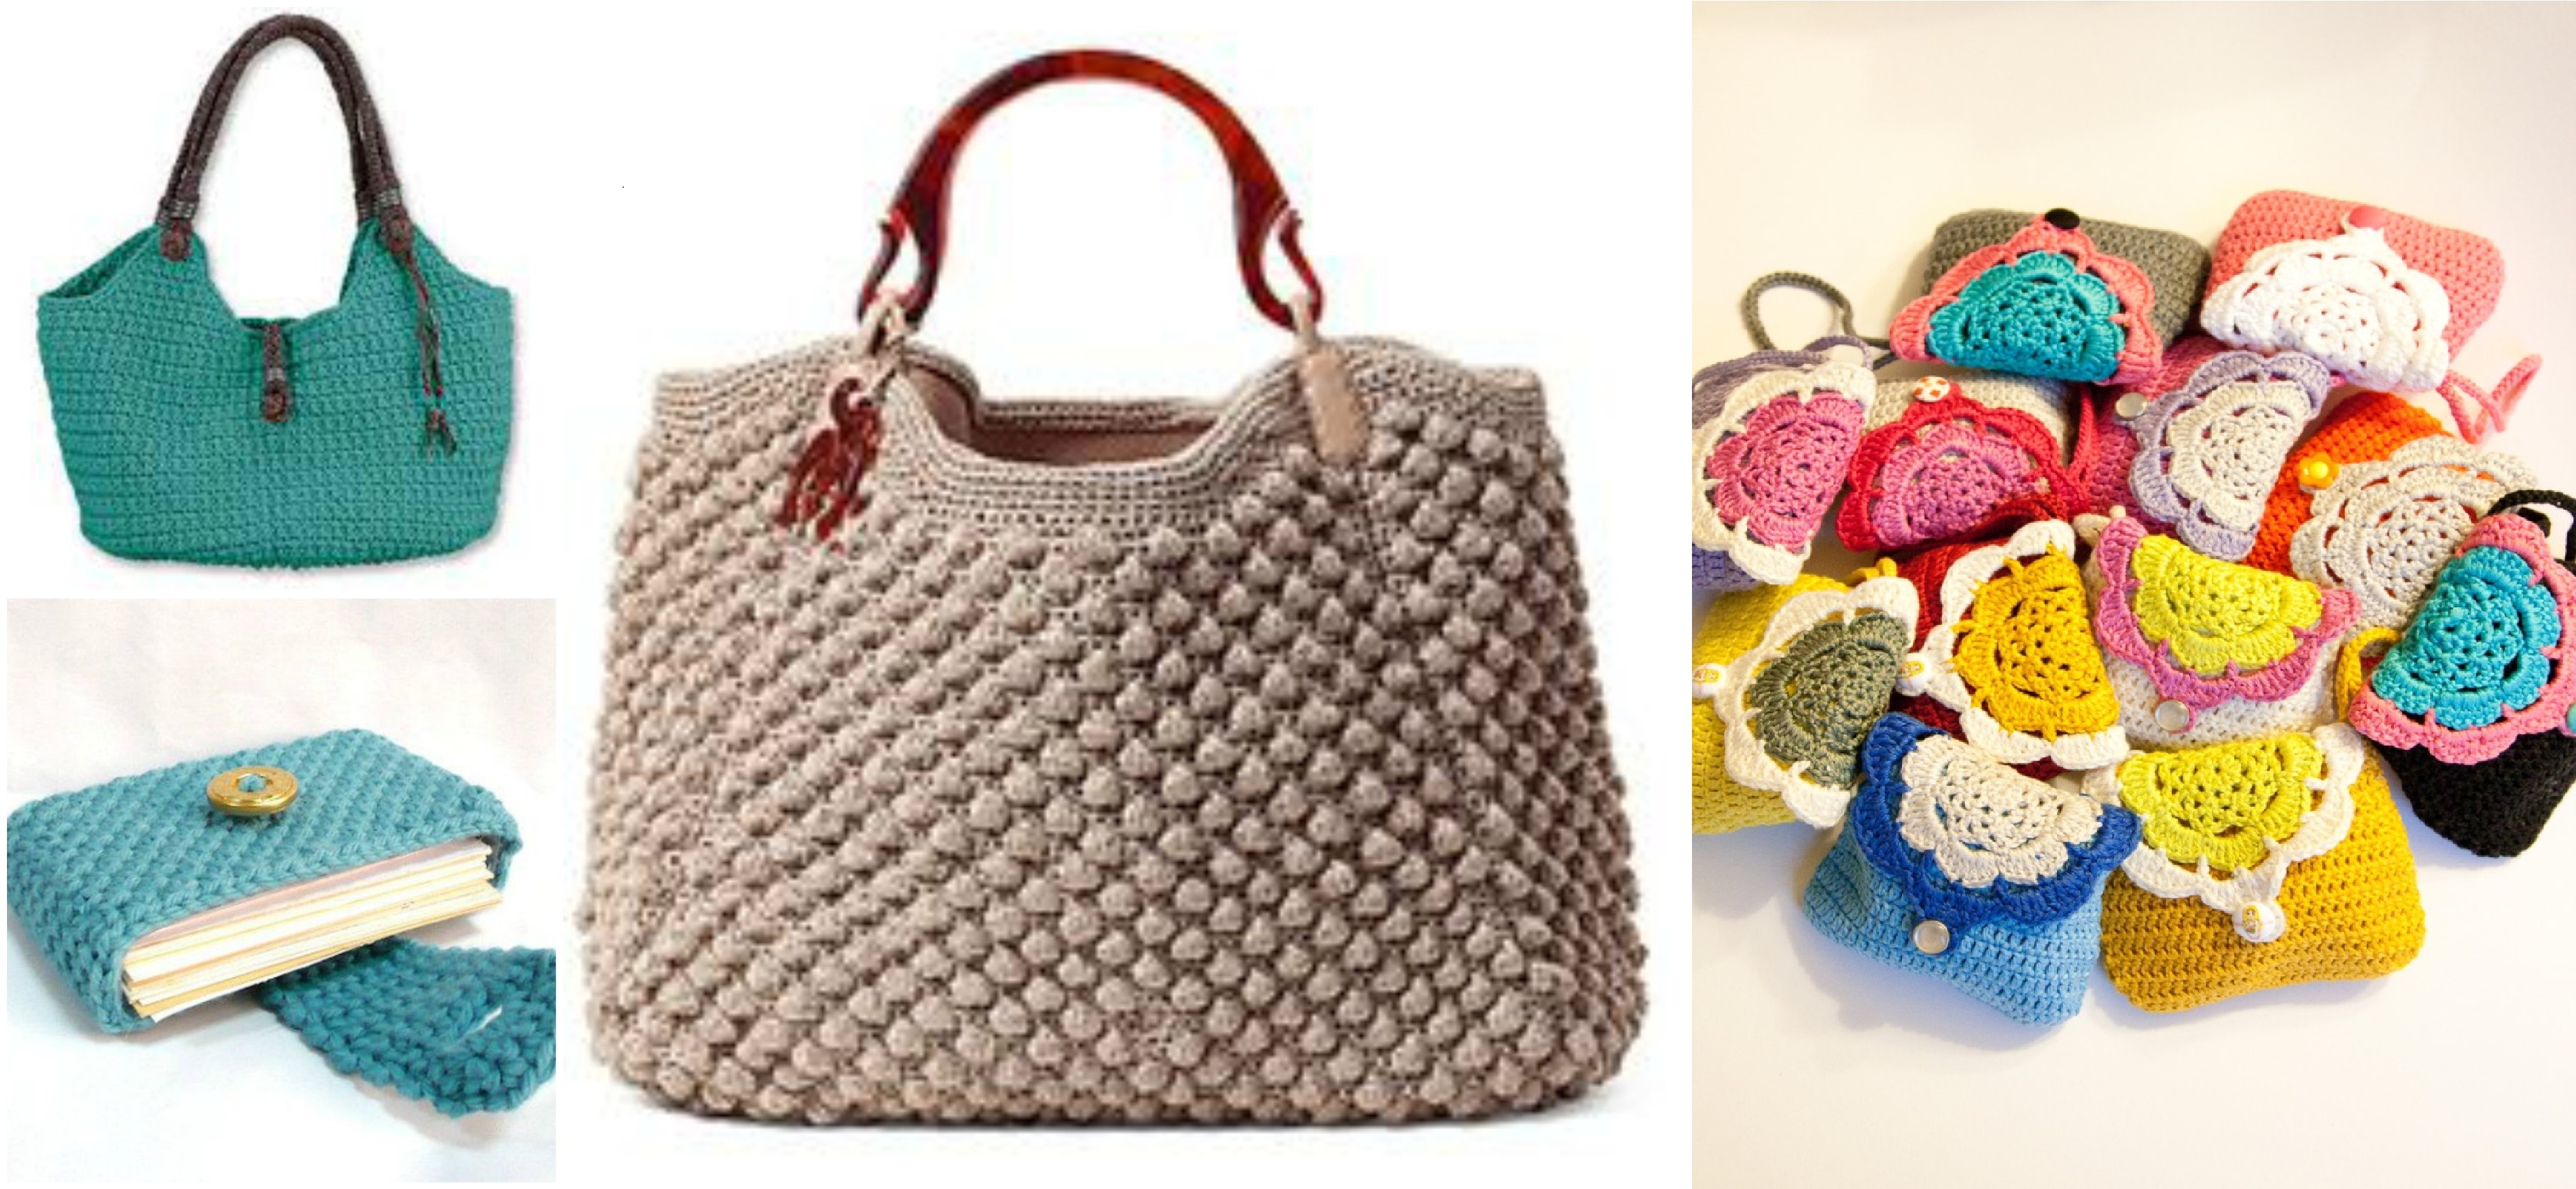
crochet purse wallet

Today we are going to take a little break in our “Winter Preparing Marathon” and we are going to present you and article about the crochet things that are very useful,

Every clothes have their season, when you should wear it, but our today’s article is about a thing that is has no seasons. Of course we are talking about a handbag/purse and a wallet.

It is a great feeling when you make something yourself, like it and use it, so these inspired us to share with you this research.

If you follow our instructions and tutorial then it will become very easy to crochet them and trust me that you family, friends and yourself will be surprised by the result.

Table
  1. How To Crochet a Handbag
  2. How Tu Crochet a Wallet
    1. Materials Needed for a Crochet Handbag and Wallet
    2. Crochet Handbag Pattern
    3. Crochet Wallet Pattern

How To Crochet a Handbag

hqdefault

How Tu Crochet a Wallet

hqdefault

Materials Needed for a Crochet Handbag and Wallet

Before you start, gather the following materials:

  • Yarn: Use sturdy, medium to bulky-weight yarn for a durable, structured bag. Cotton yarn works well for stability.
  • Crochet hook: Select the recommended hook size for your yarn, usually between 4mm and 6mm.
  • Scissors: For trimming yarn ends.
  • Darning needle: To weave in ends and sew parts together.
  • Lining fabric (optional): Adds structure and durability to your handbag and wallet.
  • Zipper or magnetic snap: To close the bag and wallet securely.

Crochet Handbag Pattern

This pattern features a simple yet stylish design for an everyday crochet handbag. Adjust the size by changing the starting chain length and the number of rows.

Abbreviations

  • ch – Chain
  • sc – Single Crochet
  • dc – Double Crochet
  • sl st – Slip Stitch
  • st(s) – Stitch(es)
  • inc – Increase (work 2 stitches in the same stitch)

Step 1: Start with the Base

The base of the handbag is worked in a rectangular shape, which forms the foundation.

  1. Foundation Chain: Ch 40 (or your desired width for the bag base).
  2. Row 1: Sc in the second ch from the hook and in each ch across. Ch 1, turn.
  3. Rows 2-6: Sc in each st across. Ch 1, turn.

Tip: Add more rows if you want a thicker base.

Step 2: Create the Body of the Bag

After finishing the base, work around the edges to form the body of the bag in a continuous spiral.

  1. Round 1: Sc around the edges of the rectangle, placing 3 sc in each corner for a smooth turn. Continue in the round without joining.
  2. Round 2 and beyond: Work dc in each st around. Continue in rounds until the bag reaches your desired height, typically around 12-15 inches.

Step 3: Add Straps

Crochet two sturdy straps for your bag.

  1. Strap Foundation: Ch 60 (or desired length).
  2. Row 1: Sc in the second ch from the hook and in each ch across. Ch 1, turn.
  3. Row 2-4: Sc across for a thicker strap. Fasten off.

Attach each strap securely to the inside of the bag, spacing them evenly.

Step 4: Optional Lining and Closure

Adding a fabric lining gives the bag more structure and durability.

  1. Cut lining fabric: Measure and cut a piece of fabric to fit inside the bag.
  2. Sew lining: Hand-stitch or machine-sew the lining inside the bag.
  3. Add closure: Attach a zipper or magnetic snap at the top for secure closure.

Crochet Wallet Pattern

The matching wallet is a smaller, rectangular piece with a fold-over flap and button closure.

Step 1: Start with the Body of the Wallet

  1. Foundation Chain: Ch 25 (or your desired width).
  2. Row 1: Sc in the second ch from the hook and in each ch across. Ch 1, turn.
  3. Rows 2-15: Sc in each st across for the main body of the wallet. Ch 1, turn at the end of each row.

Step 2: Create the Flap

Extend the body by creating a flap to fold over the wallet.

  1. Row 16-20: Continue working in sc, decreasing one st at each end of the row to shape the flap.

Step 3: Add a Button Loop

Create a loop for the button closure.

  1. Button Loop: Ch 5, sl st to the edge of the flap to form a loop. Adjust the chain length for your button size.

Step 4: Attach a Button and Optional Lining

Sew a button to the body of the wallet to complete the closure, and add fabric lining for added structure if desired.

  1. Sew the button: Attach a button to the front of the wallet, aligning it with the loop.
  2. Add lining: Cut and sew fabric to fit inside for extra durability.

Start crocheting and after you finish tell us you opinion, share your impressions with us . Enjoy

How useful was this post?

Click on a star to rate it!

Average rating 3.4 / 5. Vote count: 5

No votes so far! Be the first to rate this post.

CHECK MORE CROCHET PATTERNS