How To Crochet a Rose
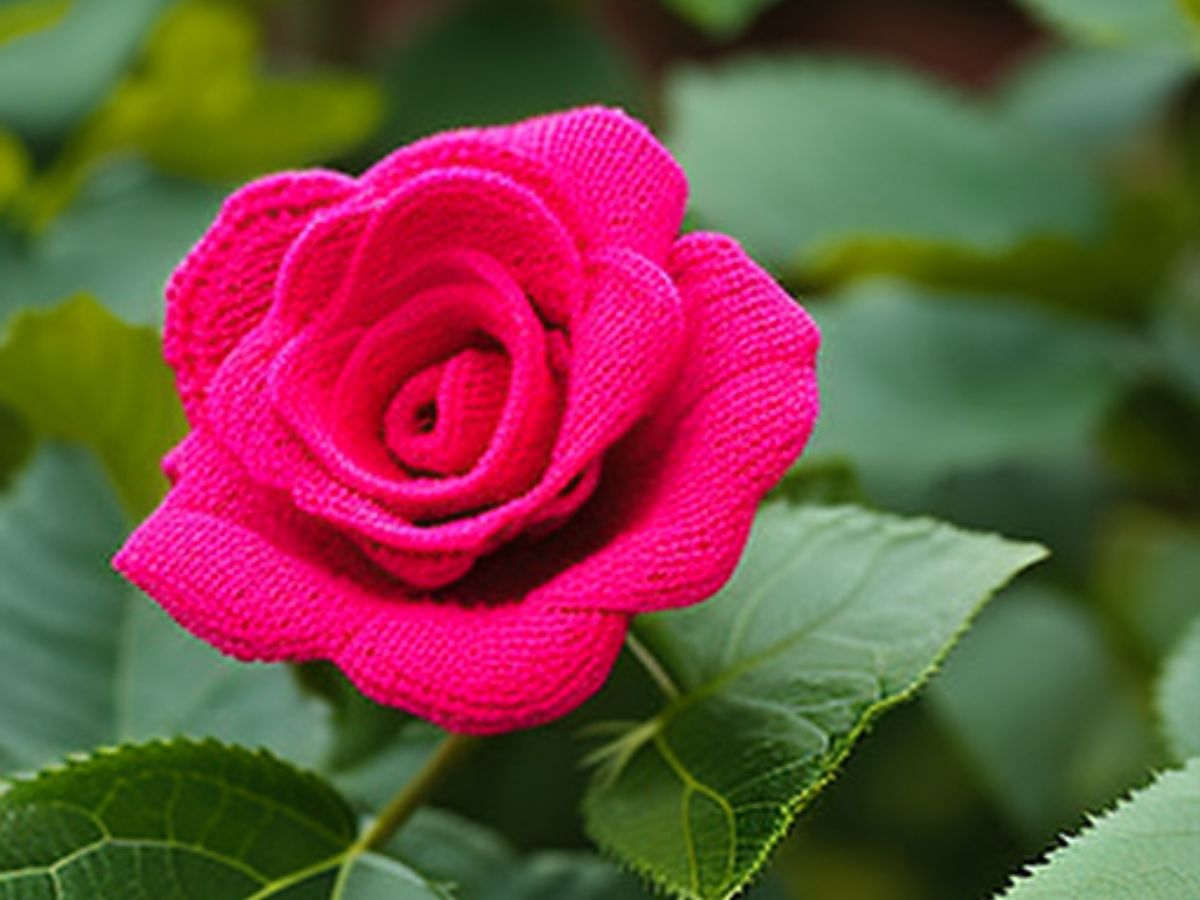
Roses are one of the most beautiful flowers in the world. With its very special characteristics, the rose has become one of the most appreciated and widely used flowers to offer.
There are roses for all tastes, the most common, but also the rarest. There are roses of almost every color.
Who likes roses, today we show you how to crochet roses. A wonderful option to decorate your home, or to offer.
How To Crochet A Rose
Crochet roses are not only beautiful but also versatile, making them a perfect addition to various projects such as home decor, accessories, and gifts.
Whether you’re a seasoned crocheter or a beginner looking to explore new skills, learning to crochet a rose can be a rewarding experience.
Check out the step-by-step videos and even some ideas we've separated to use as inspiration.


Crochet Rose Ideas
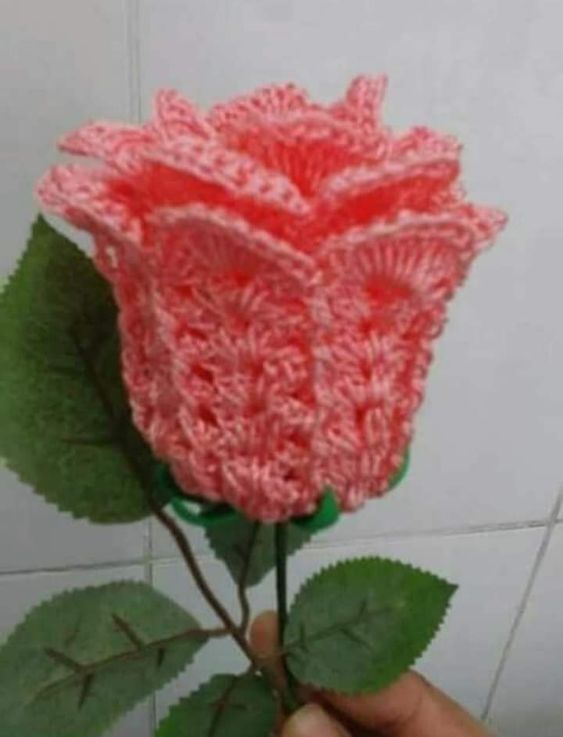
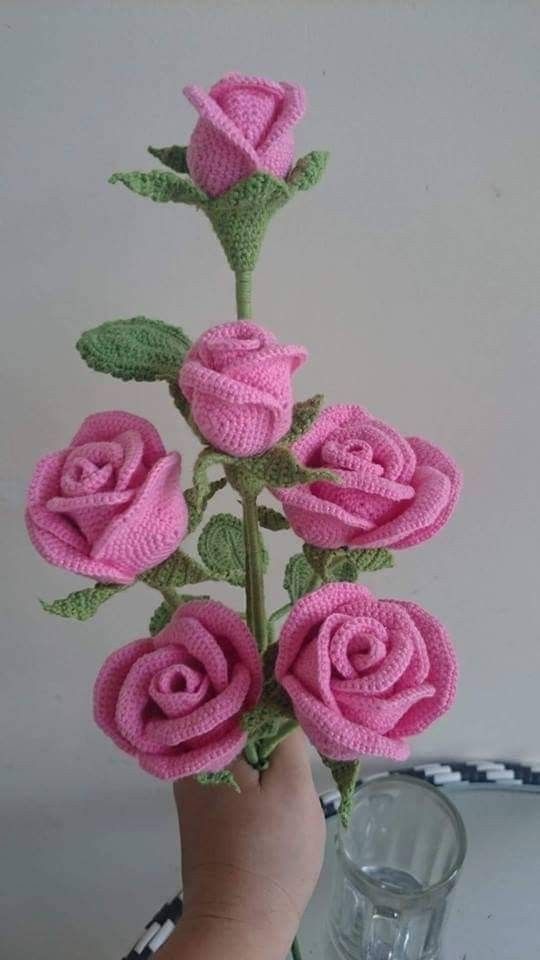

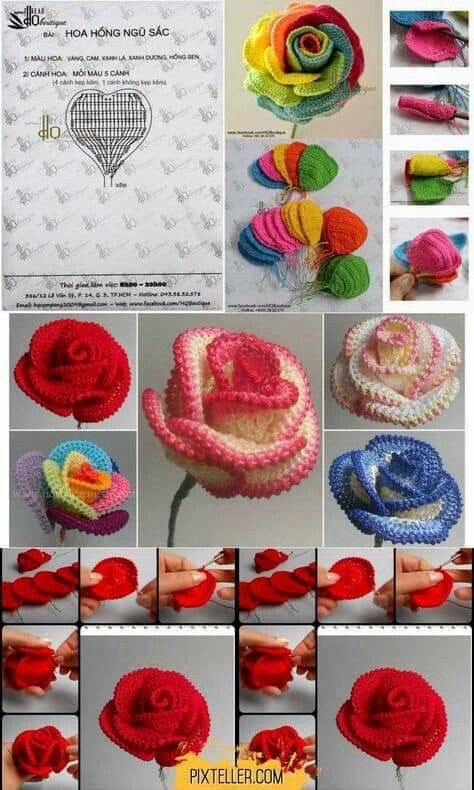
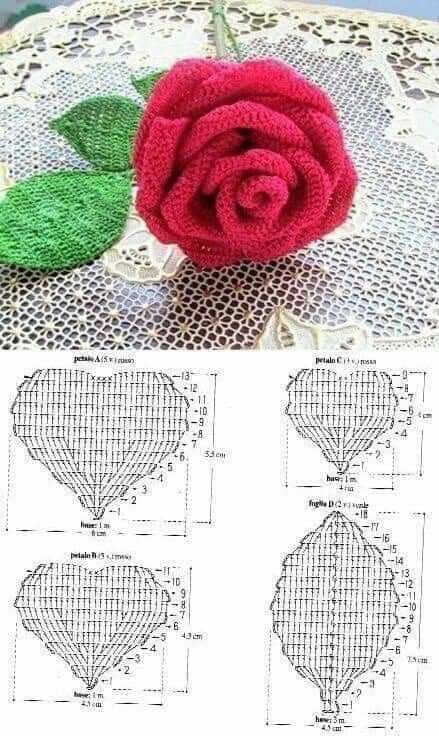
Step-by-Step Instructions for Crocheting a Rose
Step 1: Start with the Center of the Rose
- Create a Magic Ring:
- This method allows you to crochet in the round without a hole in the center.
- To create a magic ring, wrap the yarn around your fingers, forming a loop, and hold it with your thumb.
Magic Ring Instructions: - Insert your hook into the ring, yarn over, and pull up a loop. - Round 1:
- Work 6 single crochets (sc) into the magic ring. Pull the ring tight to close it.
- Join with a slip stitch (sl st) to the first sc.
- Round 2:
- Ch 1, and work 2 sc in each stitch around. You should have 12 sc at the end of this round.
- Join with a sl st to the first sc.
Step 2: Create the Petals
- Round 3:
- Ch 1, then sc in the first stitch, 2 sc in the next stitch. Repeat around. You should have 18 stitches now.
- Join with a sl st to the first sc.
- Round 4:
- Ch 1, sc in the first 2 stitches, 2 sc in the next stitch. Repeat around. You should have 24 stitches now.
- Join with a sl st to the first sc.
Step 3: Shape the Rose
- Creating the Petals:
- Switch to a double crochet (dc) for the petals.
- For each petal, do the following:
- Ch 3 (counts as your first dc), then work 1 dc in the same stitch, ch 2, and sl st into the same stitch. This forms the petal.
- Repeat this for each stitch around, spacing the petals evenly.
- Final Rounds:
- Continue with additional rounds to add more petals, or adjust the number of dc based on how full you want your rose to be.
Step 4: Finishing Touches
- Forming the Flower:
- After finishing the petals, gently roll the flower towards the center to create a rose shape.
- Use the tail of your yarn to secure the base by stitching it together at the bottom.
- Weave in Ends:
- Use a yarn needle to weave in any loose ends for a polished look.
Step 5: Optional Embellishments
- Adding Details:
- You can add small leaves by crocheting simple leaf shapes and attaching them to the base of the rose.
- Experiment with beads or buttons in the center for added detail.
Learn how to crochet a beautiful rose with our detailed step-by-step guide. Perfect for home decor and accessories, discover tips and variations for your handmade flowers!
CHECK MORE CROCHET PATTERNS