How to Crochet an Earflap Hat
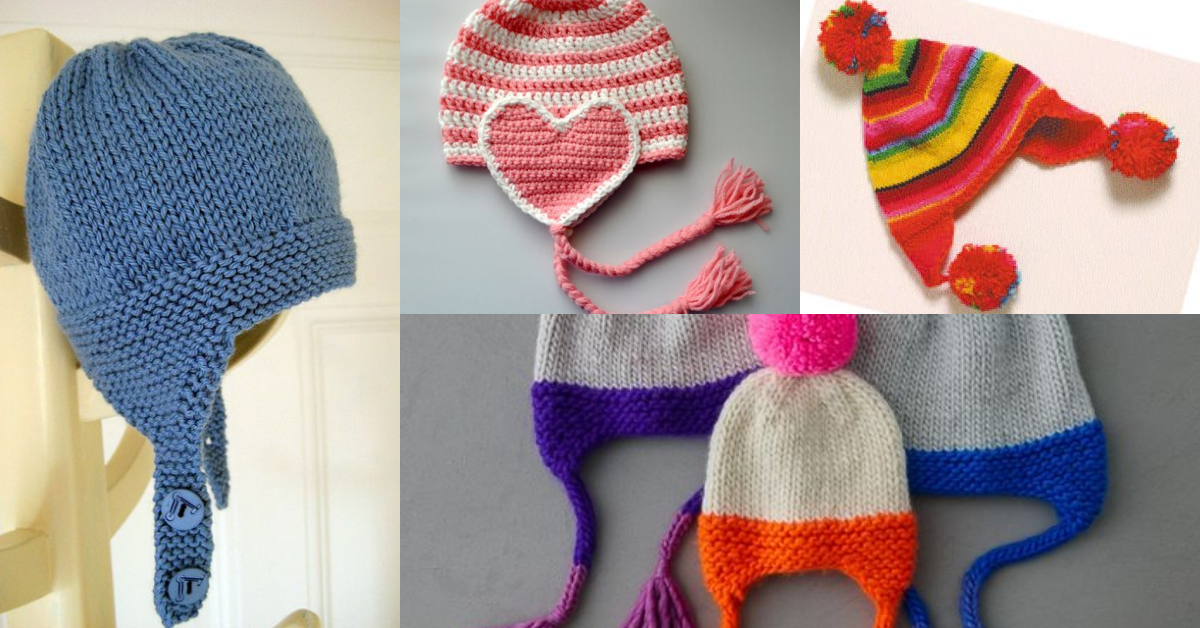
Crochet hats are perfect for protecting your head on the coldest days. Protection is even greater with corrosions that protect the ears.
For children or adults there are many models of beanies with ears, options for all styles and tastes.
Check out a video tutorial and even more ideas to get inspired.
See also: Easy Crochet hats patterns for beginners
How to Crochet an Earflap Hat
Crocheting an earflap hat is a fun and practical project that combines warmth and style, perfect for chilly weather. Whether for kids or adults, earflap hats offer extra protection against the cold by covering the ears and tying securely under the chin.
In this guide, you’ll learn everything you need to know about crocheting your own cozy earflap hat—from materials to step-by-step instructions.
With some simple techniques, you’ll have a finished hat ready for winter in no time!
Watch the video step by step.

Crochet an Earflap Hat Ideas
From the simplest to the most elaborate, beanies with ears are perfect for those who like to be stylish even in the cold.
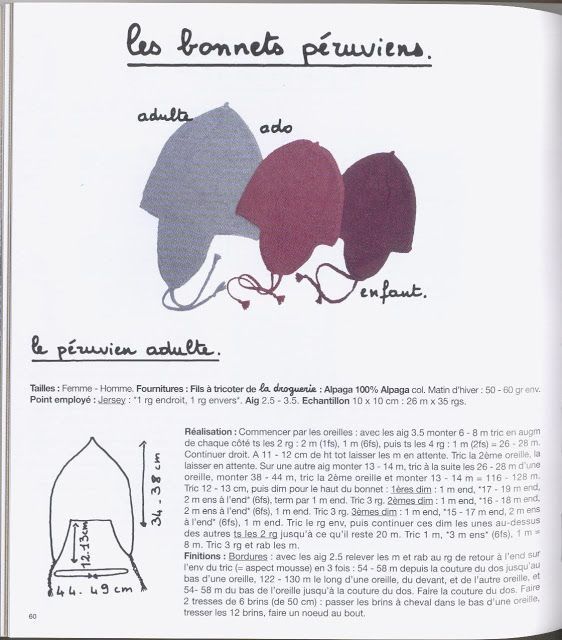
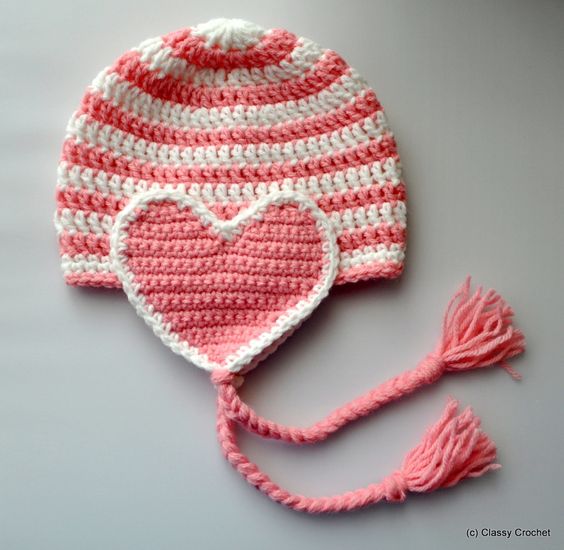
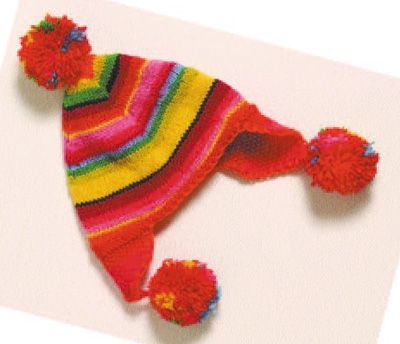
Via: bluemarguerite.com
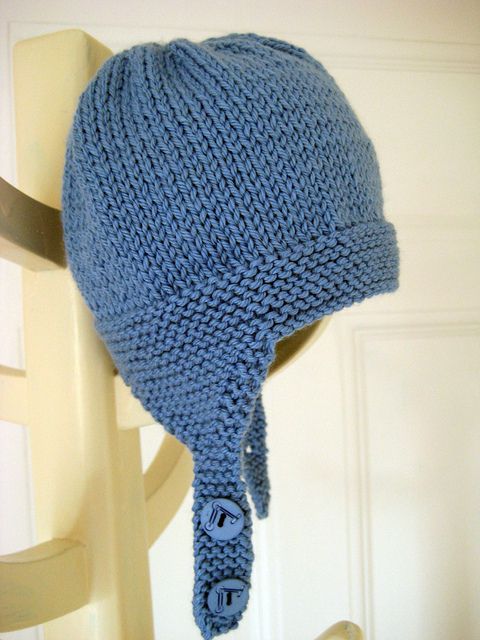
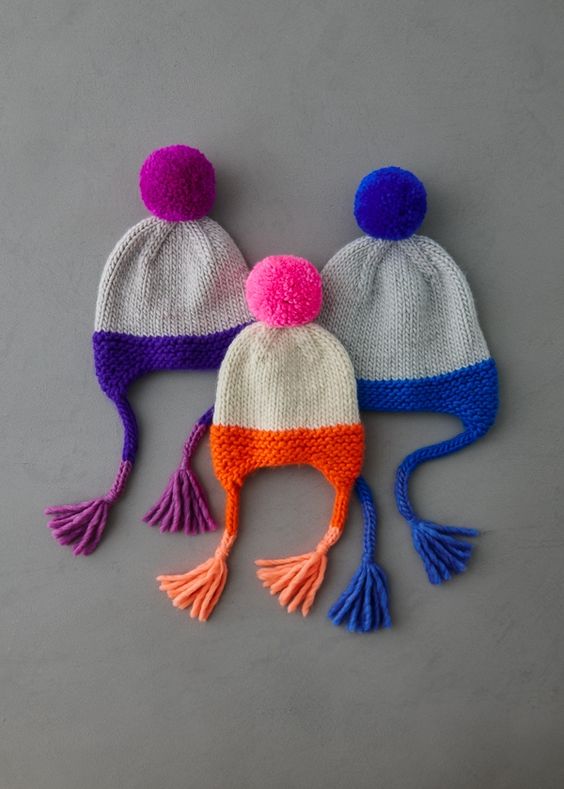
Step-by-Step Guide: Crochet an Earflap Hat
Step 1: Start with the Crown of the Hat
- Foundation Round: Begin with a magic ring or chain four and join to form a circle.
- Round 1: Work 10 half-double crochets (hdc) into the circle. Join with a slip stitch.
- Round 2: Increase in each stitch by working two hdc in each. You should now have 20 stitches.
Foundation Tip: Using a magic ring will allow you to tighten the center for a more professional look.
Step 2: Build the Body of the Hat
- Rounds 3-6: Continue increasing as follows:
- Round 3: 2 hdc in the first stitch, 1 hdc in the next stitch. Repeat around.
- Round 4: 2 hdc in the first stitch, 1 hdc in each of the next 2 stitches. Repeat around.
- Round 5: 2 hdc in the first stitch, 1 hdc in each of the next 3 stitches. Repeat around.
- Round 7 and Beyond: Continue without increasing until the hat reaches your desired height, approximately 7-8 inches for adults and 5-6 inches for children.
Step 3: Create the Earflaps
- Positioning: Lay the hat flat, marking the two points on each side where you want to attach the earflaps.
- First Earflap:
- Attach yarn at the marked point.
- Chain 1 and work 10 half-double crochets across.
- Chain 1, turn, and continue with 9 hdc. Repeat, decreasing each row by 1 stitch until you’re left with 1 stitch.
- Second Earflap: Repeat on the other side to create a symmetrical look.
Step 4: Add Ties and Edging
- Ties: Attach yarn at the bottom of each earflap and chain approximately 30 stitches. Cut the yarn and tie off securely.
- Edging: For a finished look, add a single crochet or crab stitch (reverse single crochet) around the entire edge of the hat, including the earflaps.
Step 5: Add Optional Decorative Elements
- Pom-Pom or Tassel: Add a pom-pom or tassel to the top of the hat for extra style.
- Colorful Stripes: Add stripes by changing yarn colors every few rows.
- Appliques: Sew on small crocheted shapes, like hearts or stars, for a personal touch.
Learn how to crochet an earflap hat with this easy guide. Follow step-by-step instructions, from creating the crown to adding earflaps and decorations. Perfect for cozy winter wear!
CHECK MORE CROCHET PATTERNS