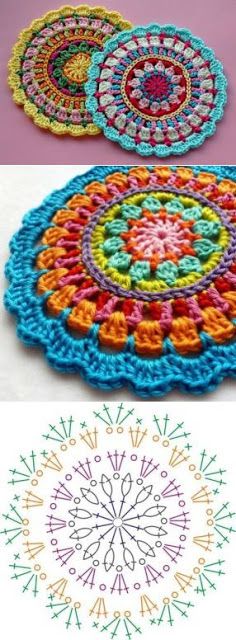
How to crochet a super easy mandala
Mandalas means circle. Mandalas are very much associated with a mystical and relaxing side. They are drawings of concentric geometric shapes, that is, made from a center.
The result of colors and patterns is perfect and very beautiful. In addition to its spiritual part, the mandala is also increasingly used in home decoration.
Mandalas are perfect for those who like different details in their home decor.
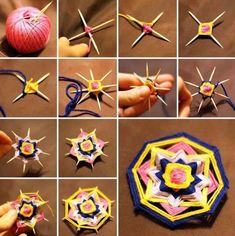
Crochet Mandala Tutorial

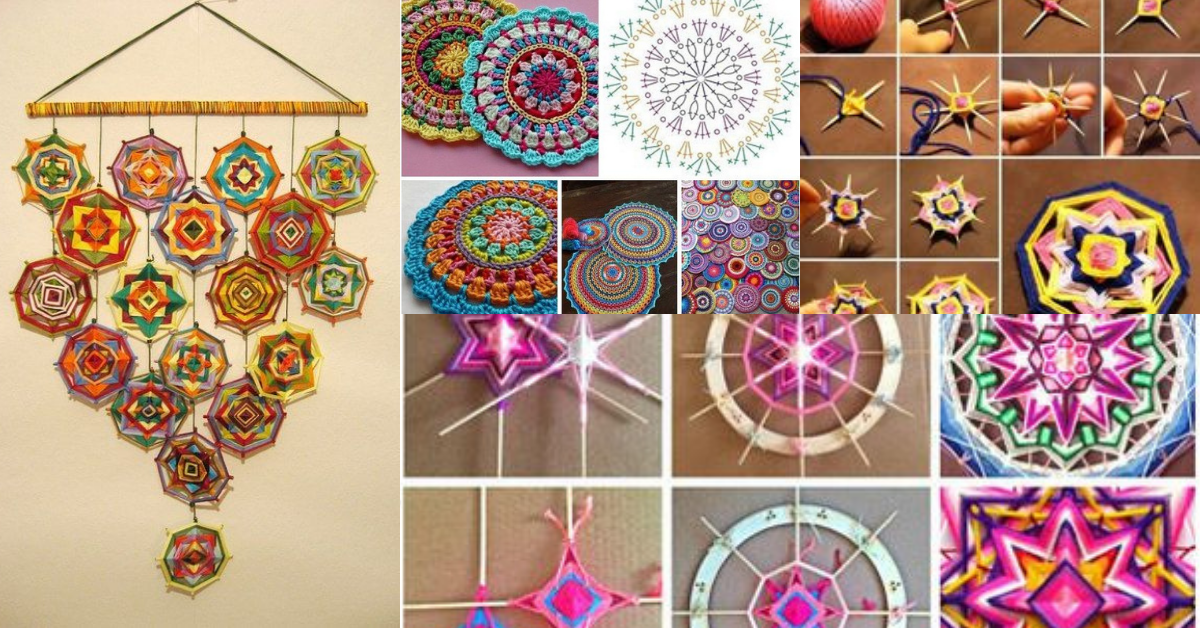
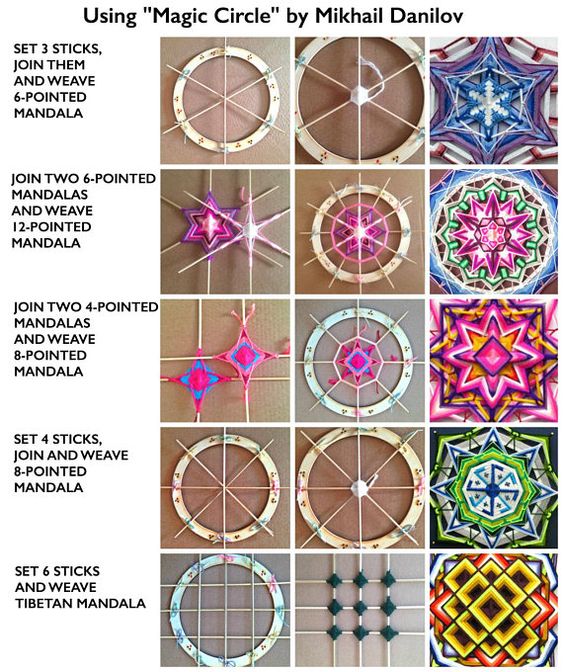
Crochet Mandala Ideas
Check out the step by step and some wonderful ideas.
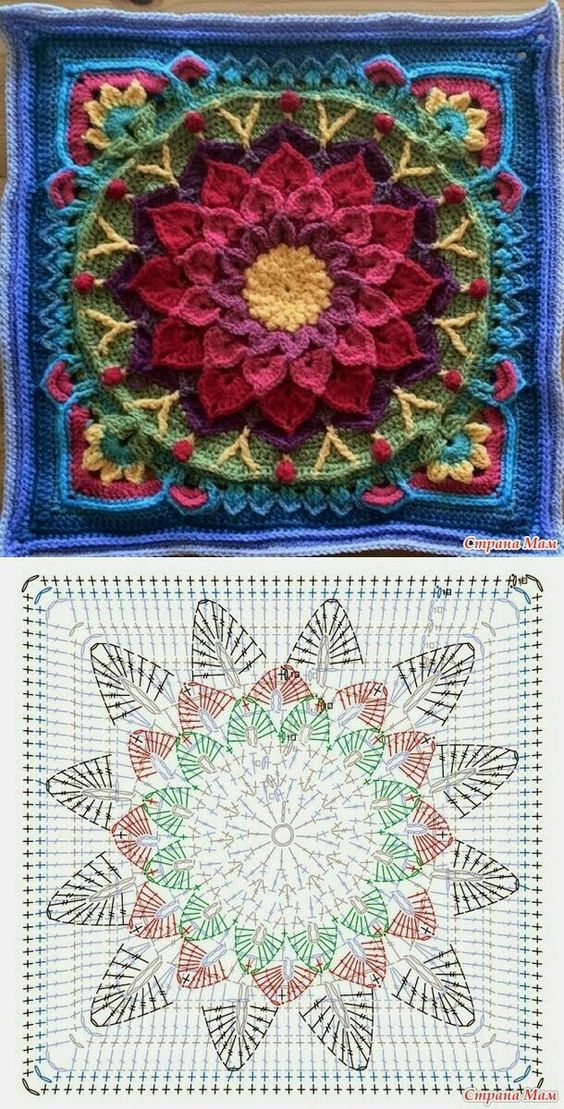
Via: crocheepontos.blogspot.com.br
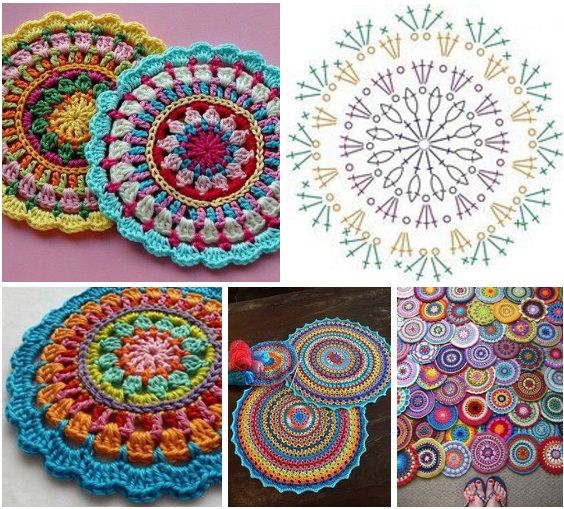
Via: artesanatoalicearteira.blogspot.com
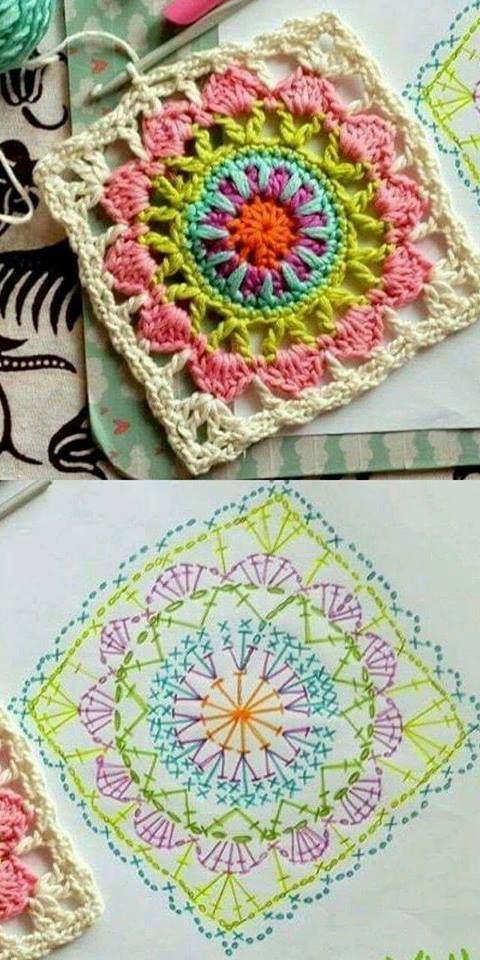
Via: postila.ru
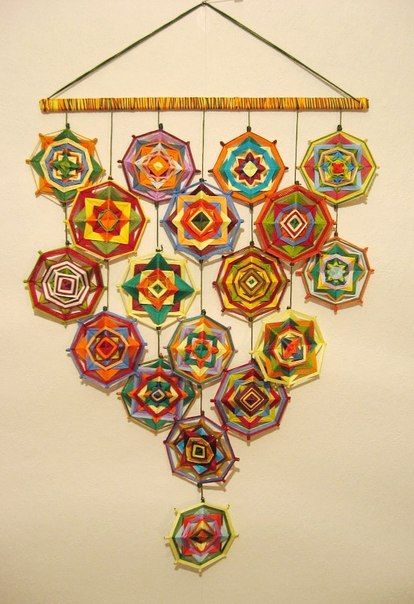
Via pinterest
Via: solium.ru
Materials You’ll Need
Before you start, gather the following materials:
- Yarn: Choose a soft yarn like acrylic, cotton, or wool. You can use multiple colors to create a vibrant mandala.
- Crochet Hook: For beginners, a 4mm (G-6) or 5mm (H-8) crochet hook is a great starting point, depending on your yarn thickness.
- Tapestry Needle: To weave in ends after completing the mandala.
- Scissors: To trim the yarn once you’ve finished.
Steps to Crochet a Super Easy Mandala
Step 1: Start with a Magic Ring
A magic ring (also called a magic circle) is the foundation for many mandala projects. It’s ideal because it creates a tight center without leaving a hole.
- Create a loop: Wrap the yarn around your fingers and insert your hook into the loop.
- Chain 2: This will count as your first double crochet stitch.
- Double crochet into the loop: Yarn over, pull through, and make 2 double crochets into the magic ring.
- Repeat for more stitches: Continue making double crochets into the ring until you have 12 double crochets in total (this can vary depending on the size of your mandala).
Step 2: Close the Magic Ring
- Pull the yarn end: Gently pull the tail of the yarn to tighten the magic ring.
- Join with a slip stitch: To close the round, insert your hook into the top of the first double crochet stitch, yarn over, and pull through both loops on the hook.
Step 3: Round 2 – Build Up with More Stitches
- Chain 3: This counts as your first double crochet stitch.
- Double crochet in the same stitch: In the next stitch, make 2 double crochets.
- Repeat in each stitch: Work 2 double crochets in every stitch around the ring.
- Join with a slip stitch: Close this round by joining the last stitch with a slip stitch into the top of the initial chain 3.
Now, you should have a round with 24 double crochets. This will create the first layer of your mandala.
Step 4: Round 3 – Add Some Color and Texture
- Change colors (optional): If you want to add a new color, join your new color with a slip stitch at any point of the round.
- Chain 3: This counts as your first double crochet stitch.
- Double crochet into the next stitch: After chaining, double crochet into the next stitch.
- Add a small chain between double crochets: To create a more textured look, chain 1 between each double crochet.
Repeat the pattern around the mandala until you reach the end of the round. Join with a slip stitch to close.
Step 5: Round 4 – Work with Shells
- Chain 3: This counts as the first double crochet.
- Make a shell: In the next stitch, crochet 5 double crochets into the same stitch to form a shell.
- Skip one stitch: Skip the next stitch and work a shell into the following stitch.
- Repeat around: Continue making shells around the mandala, skipping one stitch between each shell.
Once you complete the round, join with a slip stitch to close.
Step 6: Round 5 – Final Touches
- Chain 3: Again, this counts as the first double crochet.
- Crochet in each stitch: Double crochet into each stitch around.
- Add finishing touches: You can continue adding more rounds to the mandala, playing with different stitch combinations such as half double crochets, single crochets, or shells. Just make sure to maintain symmetry.
- Weave in ends: Use a tapestry needle to weave in all the yarn ends.
Step 7: Optional – Add a Border
If you want to make your mandala pop, add a simple border using single crochet or slip stitch around the edge. You can even create a scalloped edge for extra detail by alternating between double crochet and chain 1 spaces.
CHECK MORE CROCHET PATTERNS