How to Crochet Espadrilles: Crafting Your Own Stylish
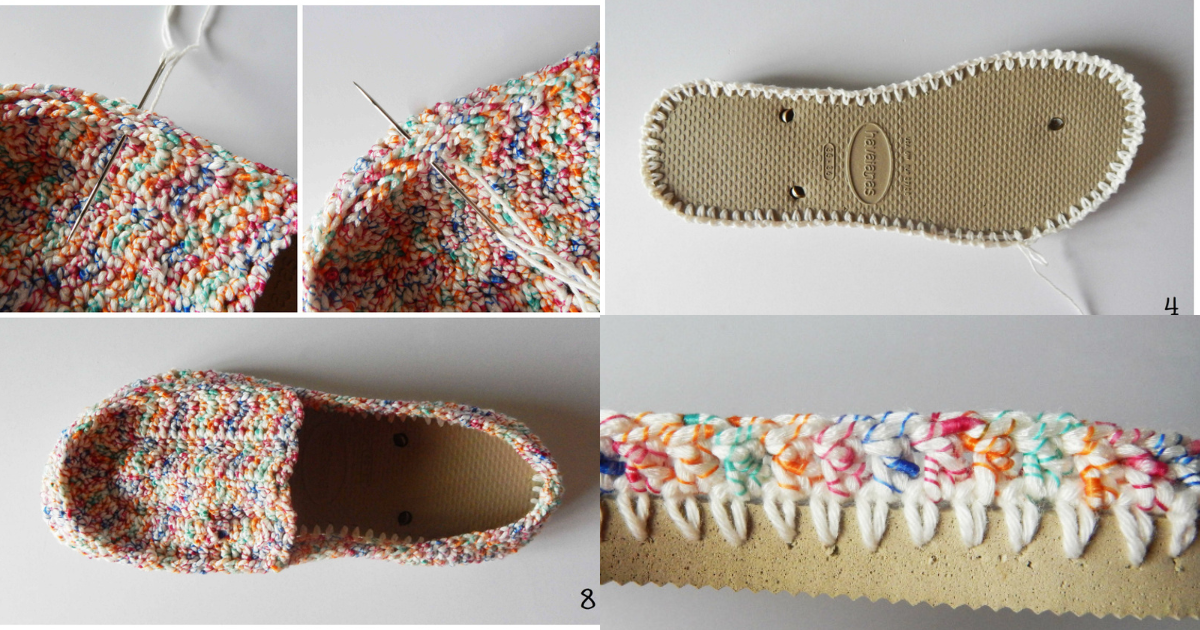
Crocheting espadrilles can be a rewarding and creative endeavor for anyone interested in making their own stylish and comfortable footwear.
In this step-by-step guide, we will take you through the process of crocheting espadrilles from scratch.
Whether you're a beginner or an experienced crocheter, you can create a unique pair of espadrilles that reflect your personal style.
How to Crochet Espadrilles
Materials:
Before we dive into the crocheting process, let's gather all the materials you'll need for this project:
Crochet hook (size G or H)
Cotton yarn (choose colors of your preference)
Scissors
Tapestry needle
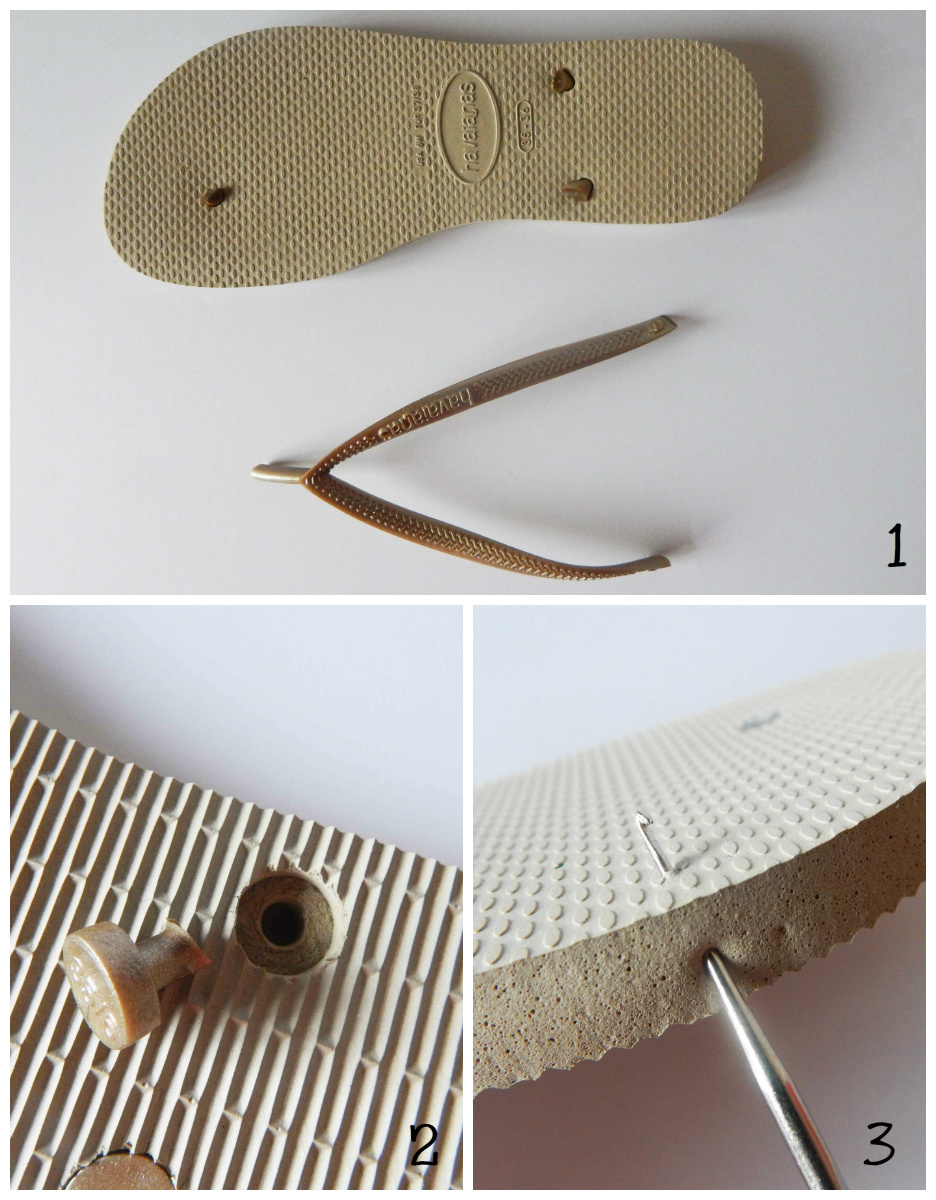
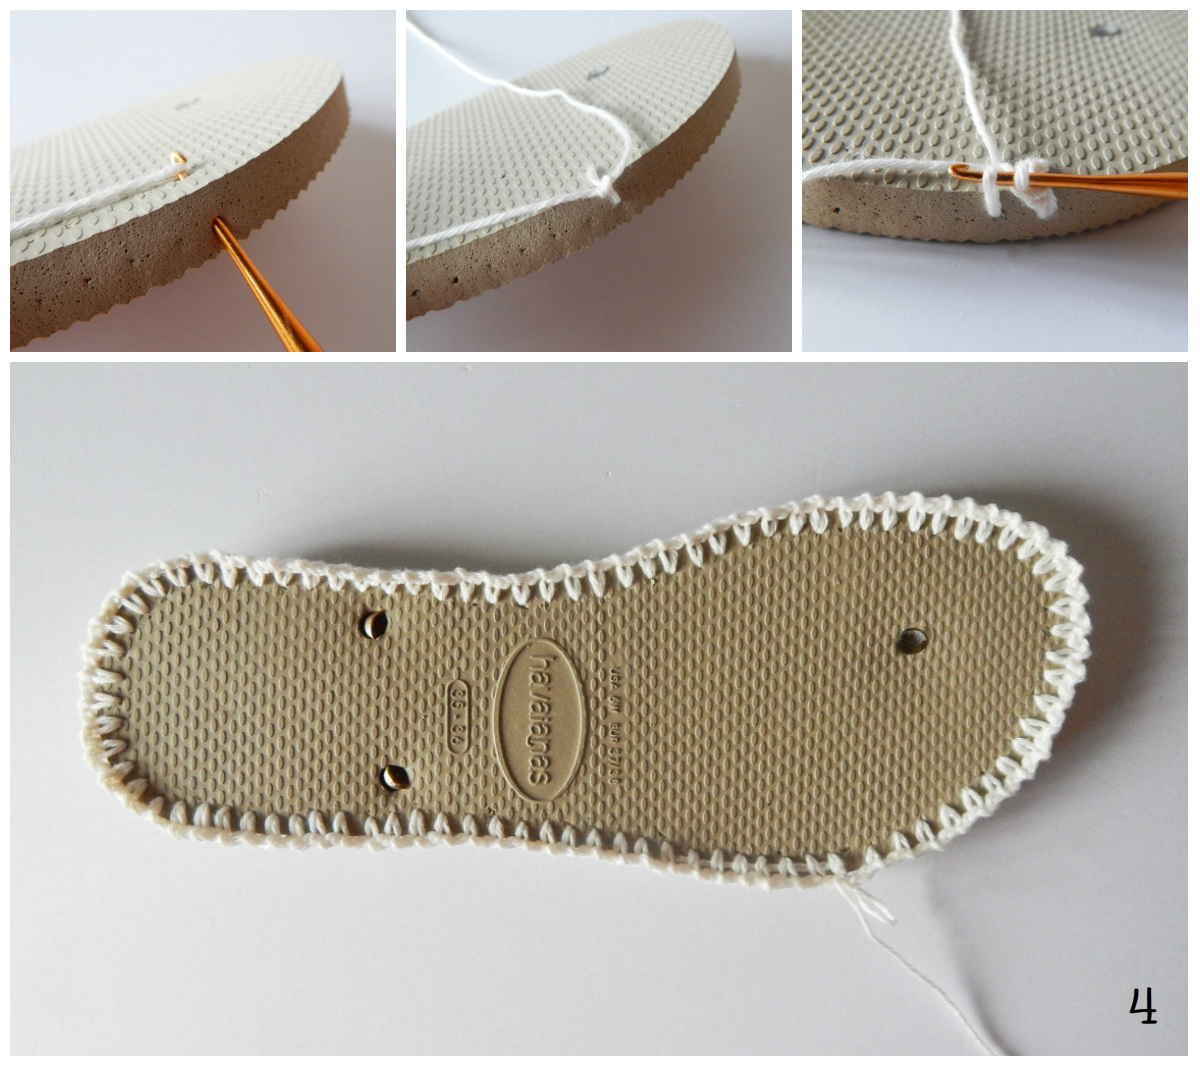
Shoe soles (for the base of the espadrilles)
Choosing the Pattern
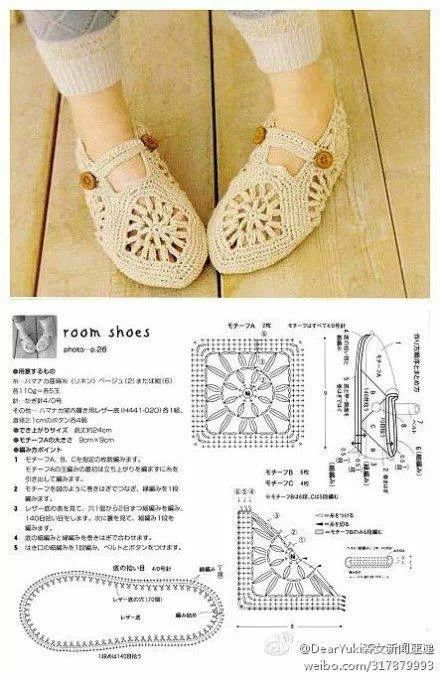
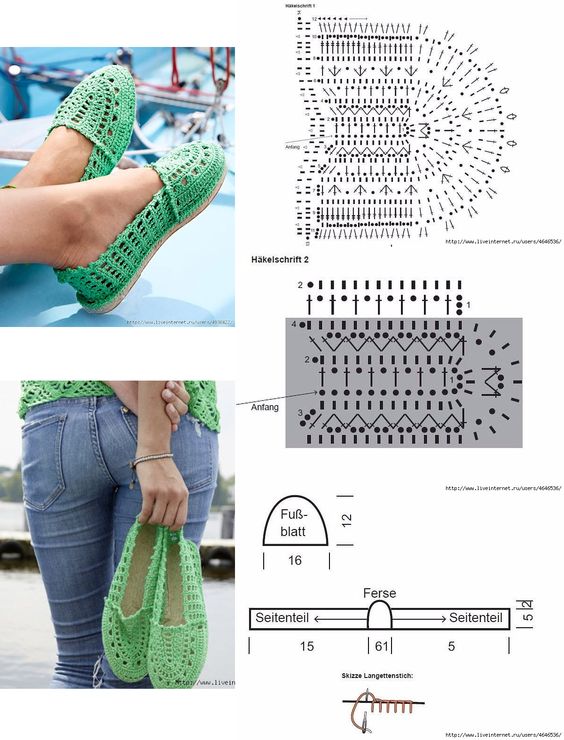
The first step in creating your crocheted espadrilles is to choose a pattern that suits your taste and skill level.
There are numerous patterns available online, ranging from simple to intricate designs. Pick a pattern that you find appealing and matches your level of expertise in crocheting.

Step-by-Step Crocheting Process
Creating the Toe Strap
- Start with a slip knot on your crochet hook.
- Chain a sufficient number of stitches to reach the desired length of the toe strap.
- Single crochet in the second chain from the hook and continue single crocheting across.
- Fasten off and weave in any loose ends.
Crafting the Espadrille Upper
- Begin with a slip knot on the crochet hook.
- Work a chain that matches the circumference of your foot at the ball (usually around 8-10 inches).
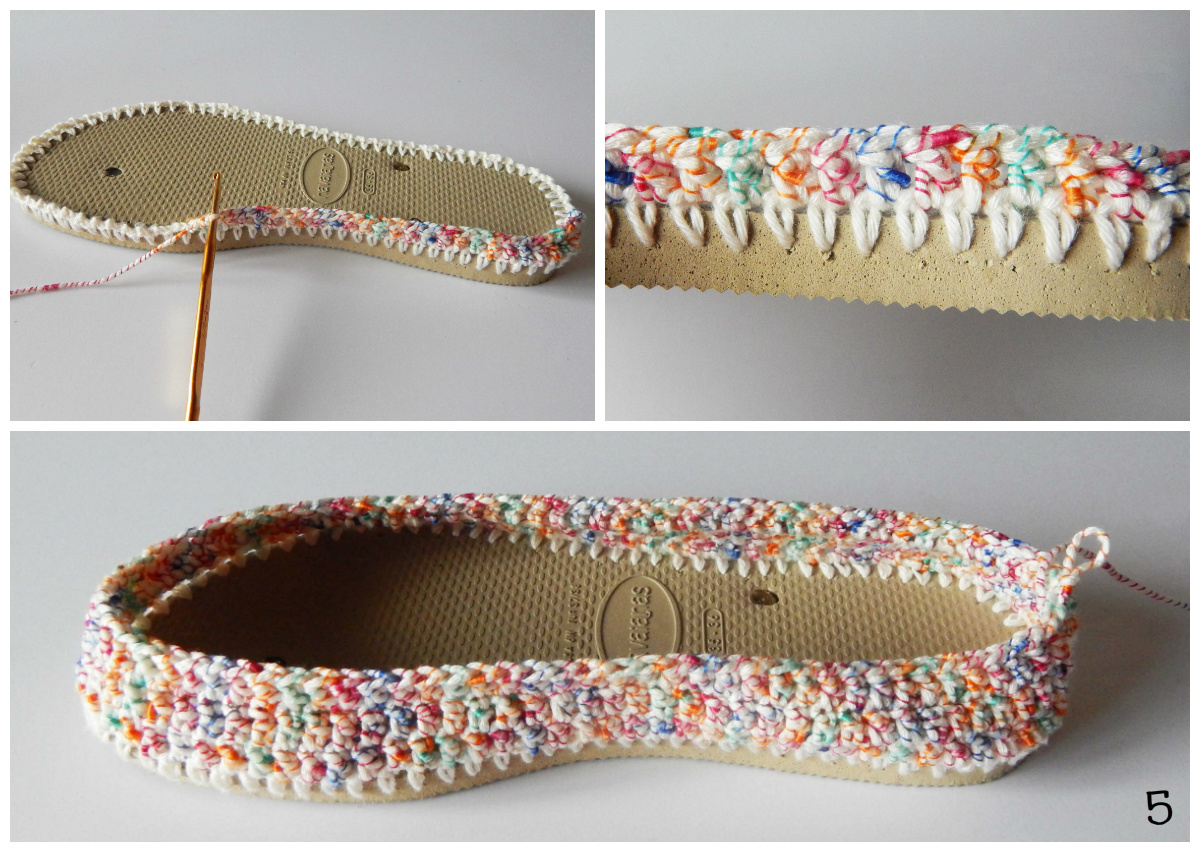
- Single crochet in each chain stitch until you complete the first row.
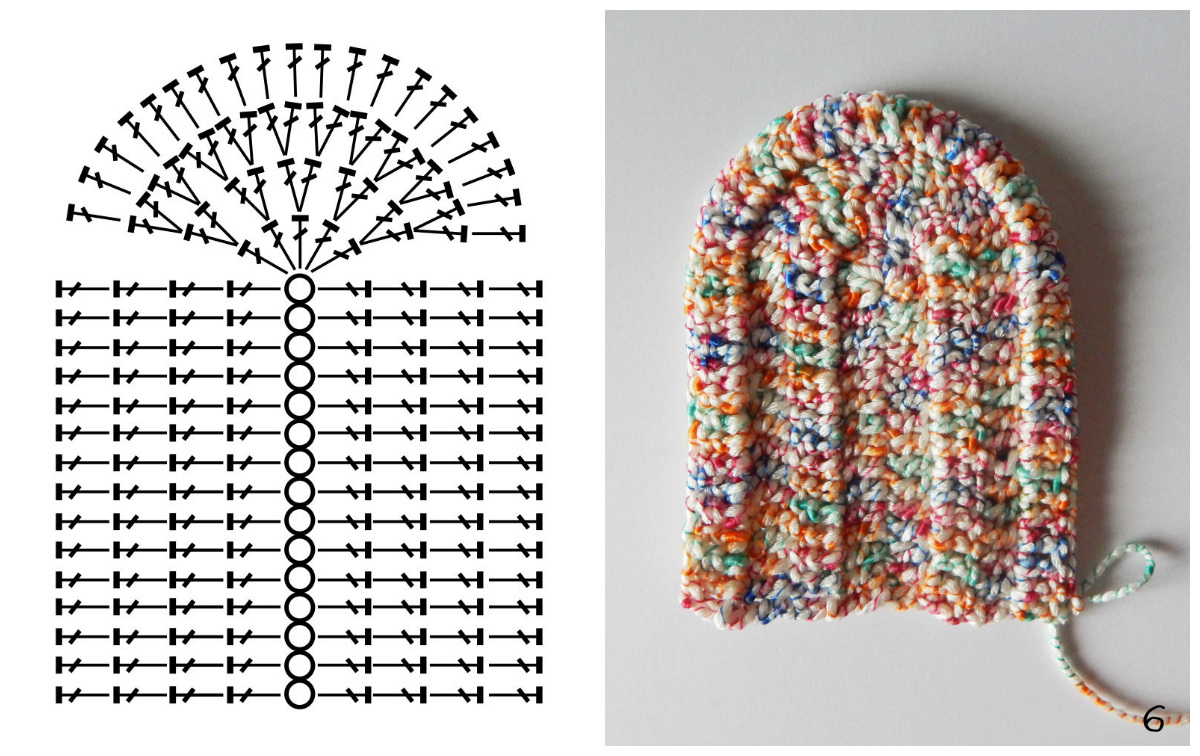
- Continue single crocheting in each stitch for the subsequent rows until the piece covers the width of your foot.
- Shape the sides by adding or reducing stitches as needed for a snug fit.
- Fasten off and weave in any loose ends.
Joining the Toe Strap and Upper
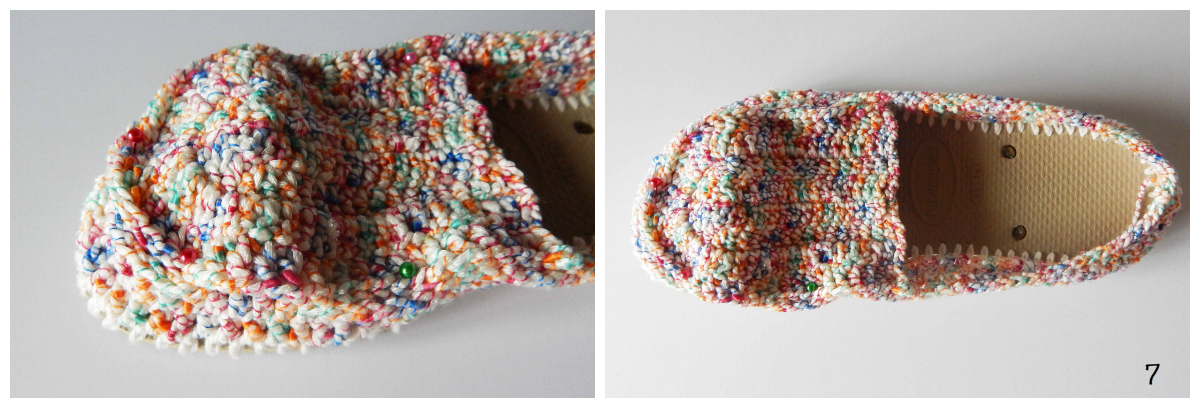
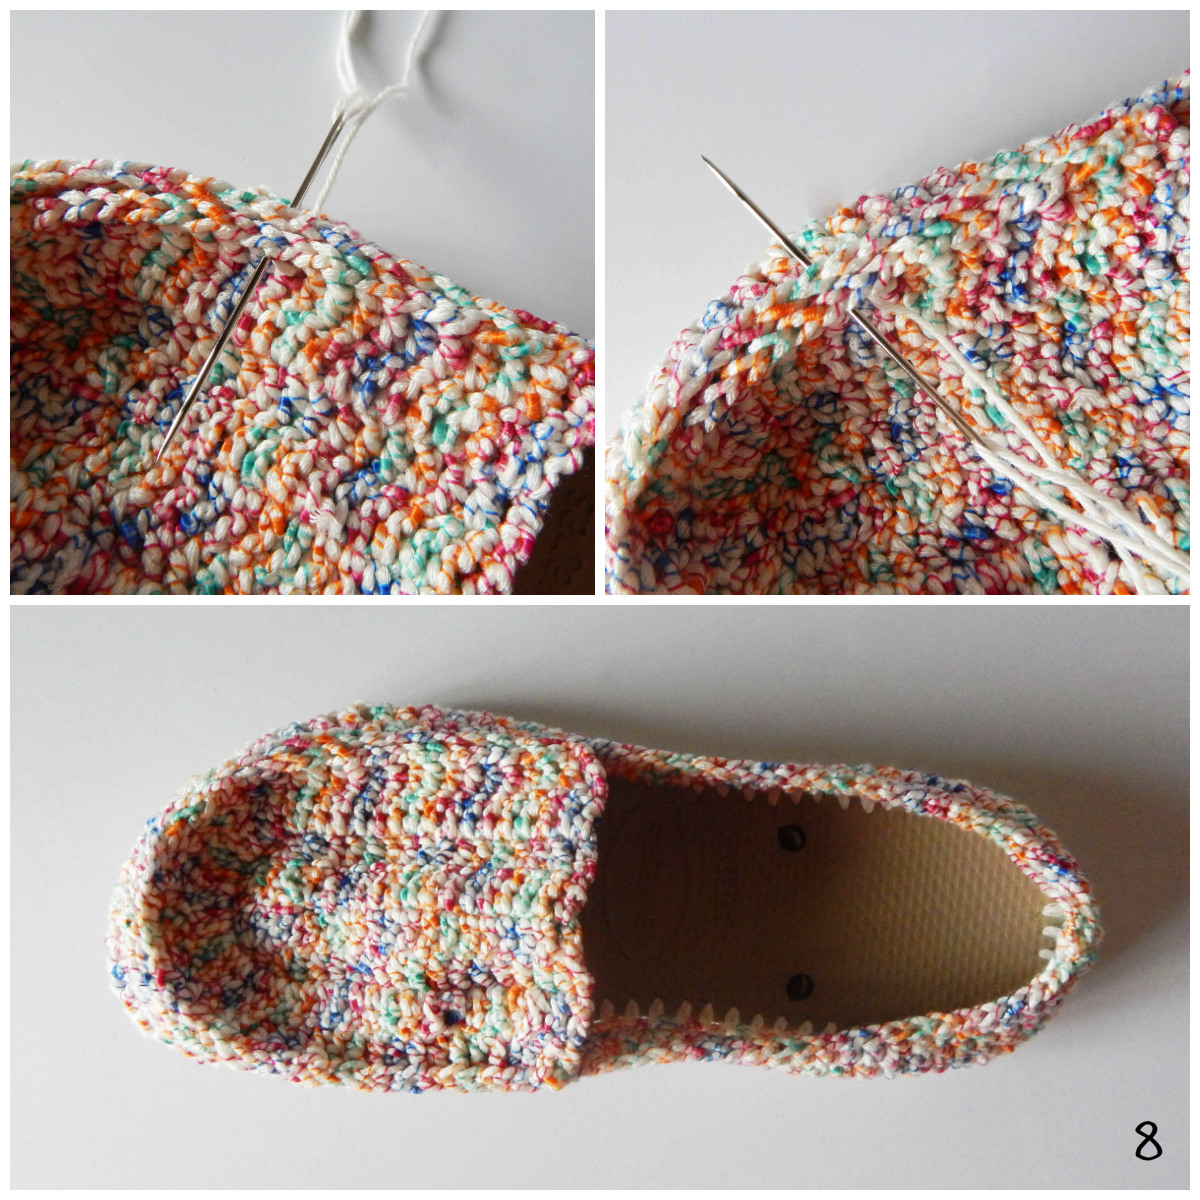
- Align the toe strap and upper piece, making sure the upper covers the sides of your foot.
- Use the tapestry needle to sew the toe strap onto the upper, securing them together.
armarinhosaojose.blogspot.com
Finishing Touches
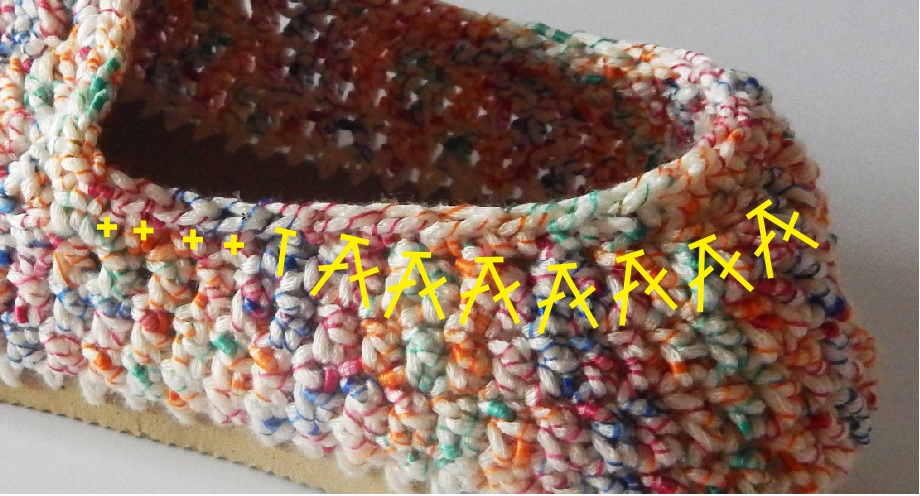
With the basic structure complete, you can add personalized touches to your espadrilles, such as crocheted flowers, buttons, or beads. Let your creativity flow!
Crafting your own crocheted espadrilles is a fun and fulfilling way to express your creativity while making practical footwear.
By following this step-by-step guide and infusing your own unique style, you'll have a fantastic pair of espadrilles that you'll be proud to wear.
CHECK MORE CROCHET PATTERNS