How to Crochet Flip Flop Keychain: A Fun and Creative DIY Project
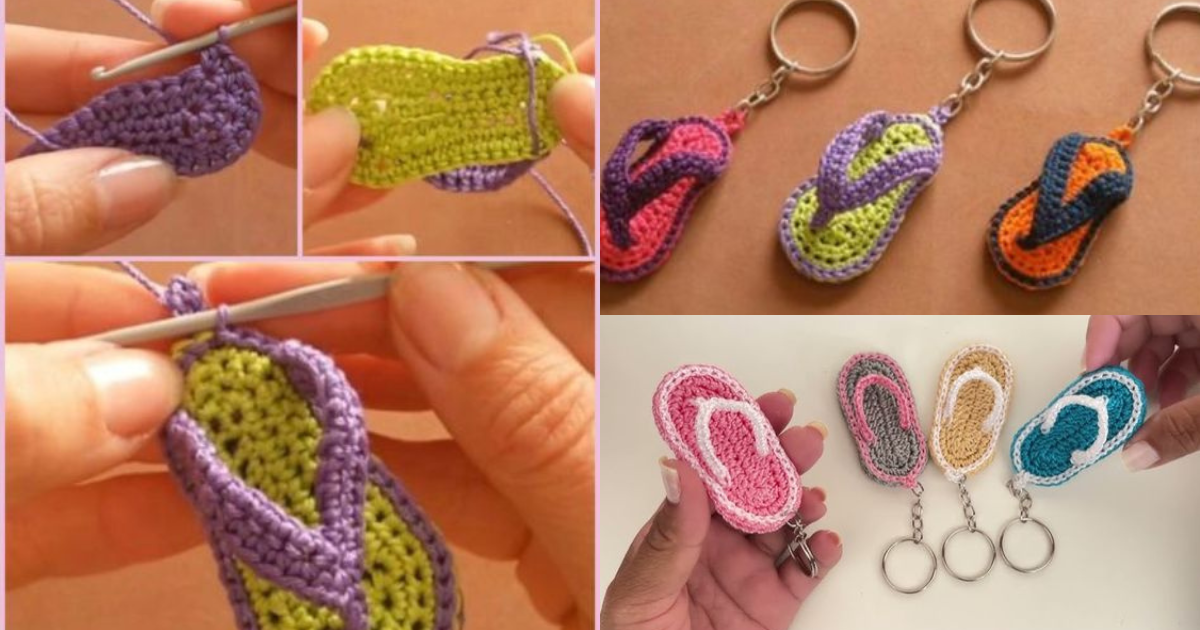
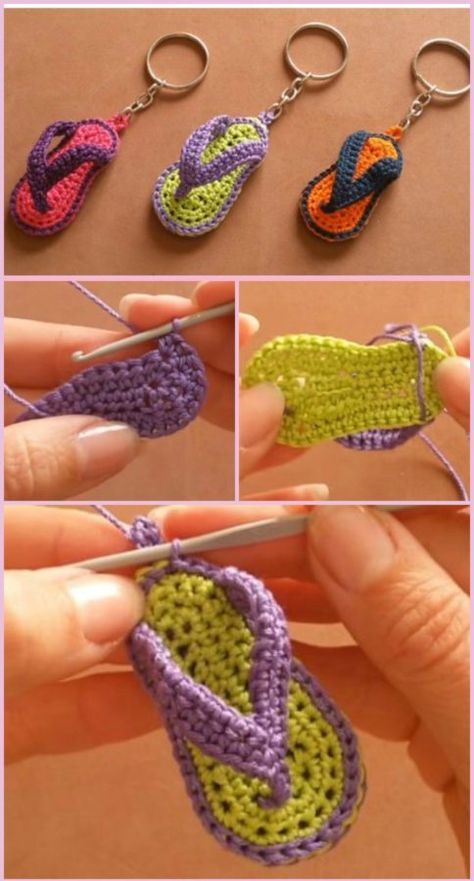
Are you looking for a fun and creative DIY project? Crocheting a flip flop keychain is a great way to show off your crafting skills and add a touch of personality to your keys.
In this article, we will guide you through the process of creating your very own crochet flip flop keychain, step by step. So grab your crochet hook and let's get started!
How to Crochet Flip Flop Keychain:
Crochet is a versatile and enjoyable craft that allows you to create beautiful and functional items using just a hook and some yarn. Making a crochet flip flop keychain is a great project for both beginners and experienced crocheters alike.
It's a small and quick project that can be completed in just a few hours, making it perfect for those who are new to crocheting or those who want a quick and satisfying project.
Materials:
Before we dive into the crochet process, let's gather all the materials you'll need for this project. Here's a list of items you'll need:
- Crochet hook (size G/6 or 4.0mm)
- Worsted weight yarn in your preferred colors
- Yarn needle
- Scissors
- Keychain ring
- Stitch markers (optional)
Make sure you have all these materials ready before we move on to the next steps.

Crocheting the Sole of the Flip Flop
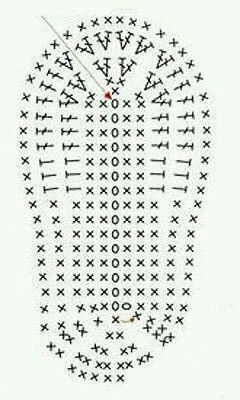
The sole of the flip flop is the base of your keychain and provides stability and structure. To crochet the sole, follow these steps:
- Create a chain of 12 stitches.
- Single crochet into the second stitch from the hook and each stitch across.
- Turn your work and single crochet into each stitch across the row.
- Repeat step 3 until the sole reaches your desired length. This will depend on the size of your keychain and personal preference.
- Once the sole is the desired length, fasten off the yarn and weave in any loose ends.
Creating the Straps
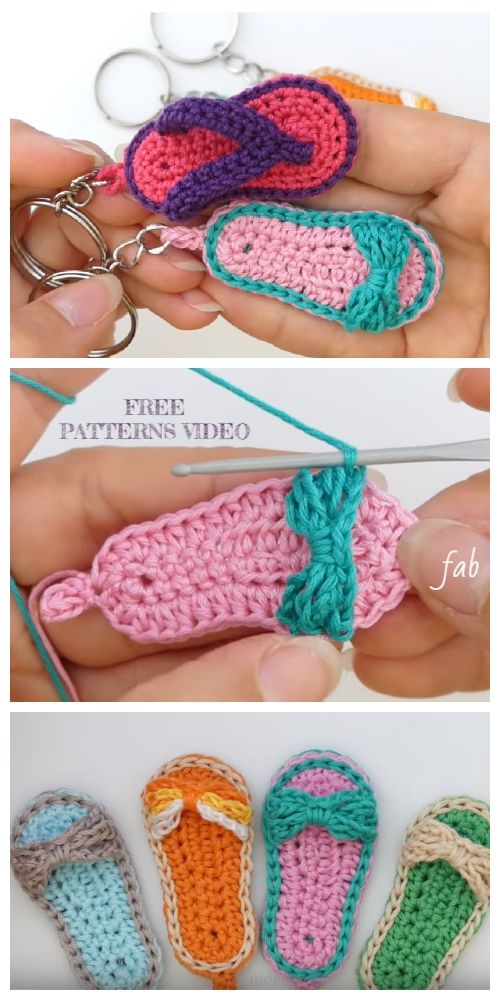
Now it's time to add the straps to your flip flop keychain. The straps will give your keychain its characteristic flip flop shape. Follow these steps to create the straps:
- Attach your yarn to one end of the sole.
- Create a chain of 7 stitches.
- Single crochet into the second stitch from the hook and each stitch across.
- Turn your work and single crochet into each stitch across the row.
- Repeat step 4 until the strap reaches your desired length.
- Once the strap is the desired length, fasten off the yarn and weave in any loose ends.
- Repeat steps 1-6 to create the second strap on the other side of the sole.
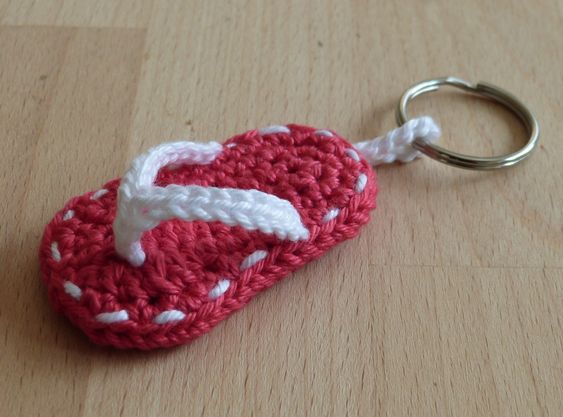
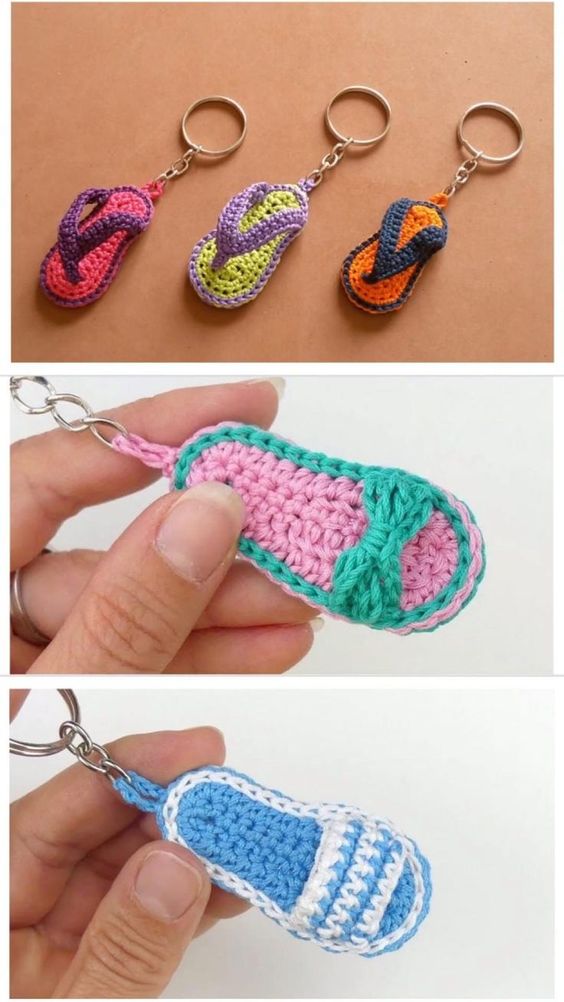
Once you're satisfied with the design of your flip flop keychain, it's time to add the final touches. Here's what you need to do:
Attach the keychain ring to one end of the sole.
Trim any excess yarn and secure the ends to prevent unraveling.
Give your keychain a gentle tug to ensure everything is securely attached.
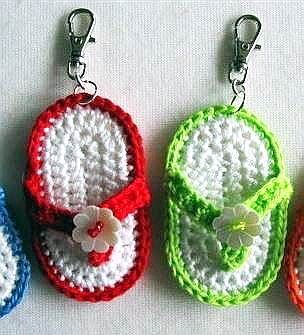
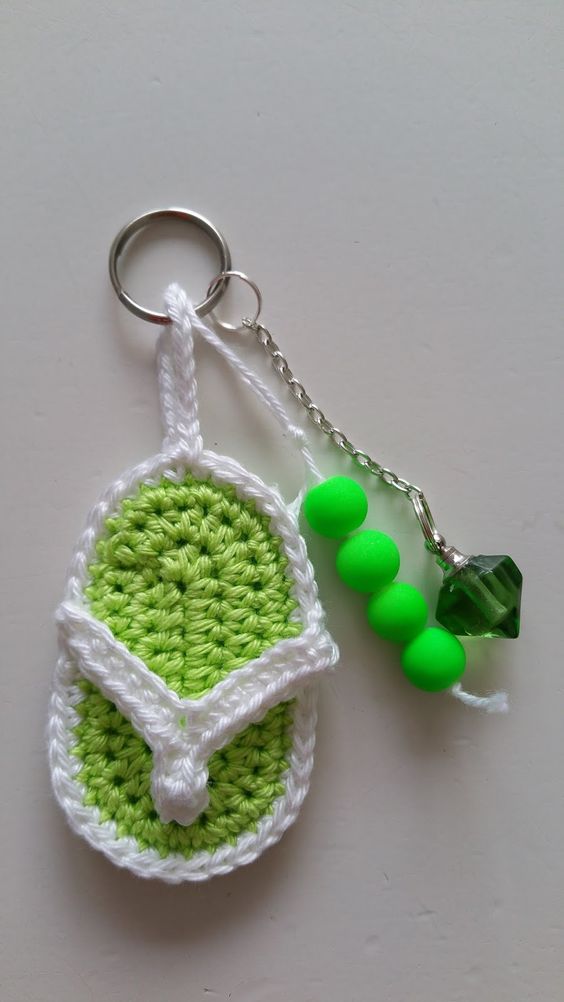
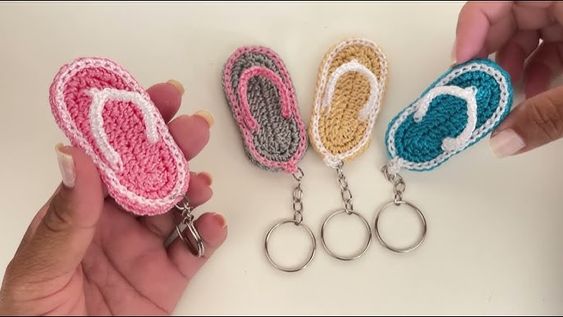
Congratulations! You've successfully crocheted your very own flip flop keychain. Now you can proudly display it on your keys or give it as a thoughtful handmade gift to someone special.
Crocheting a flip flop keychain is a fun and creative project that allows you to showcase your crochet skills and add a touch of personality to your keys. With just a few basic crochet stitches and some simple materials, you can create a unique and eye-catching accessory. So why not give it a try?
Grab your crochet hook, choose your favorite colors, and start crocheting your own flip flop keychain today!
CHECK MORE CROCHET PATTERNS