How to Crochet Flower Hot Pad - Ideas and tutorial
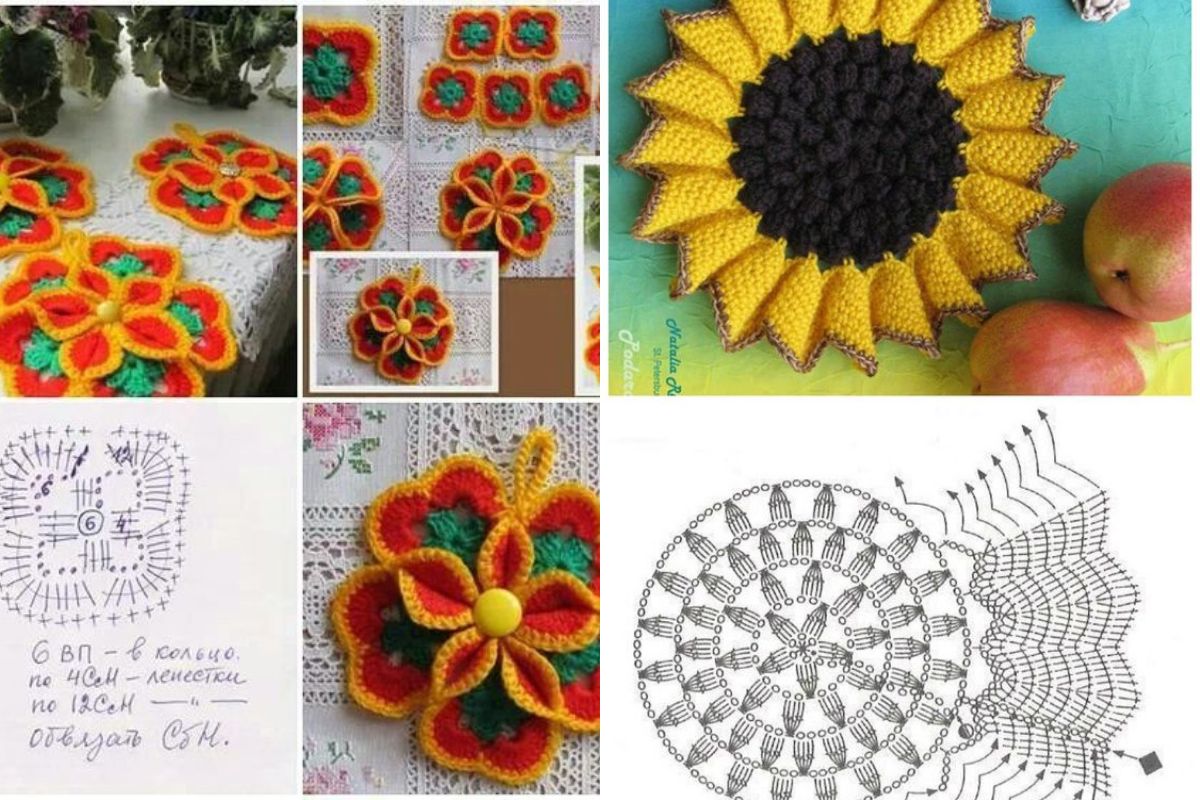
Many people do not dispense with potholders, they are used to place hot pots on the table or to pick up pots. Crochet is perfect for making this kitchen accessory.
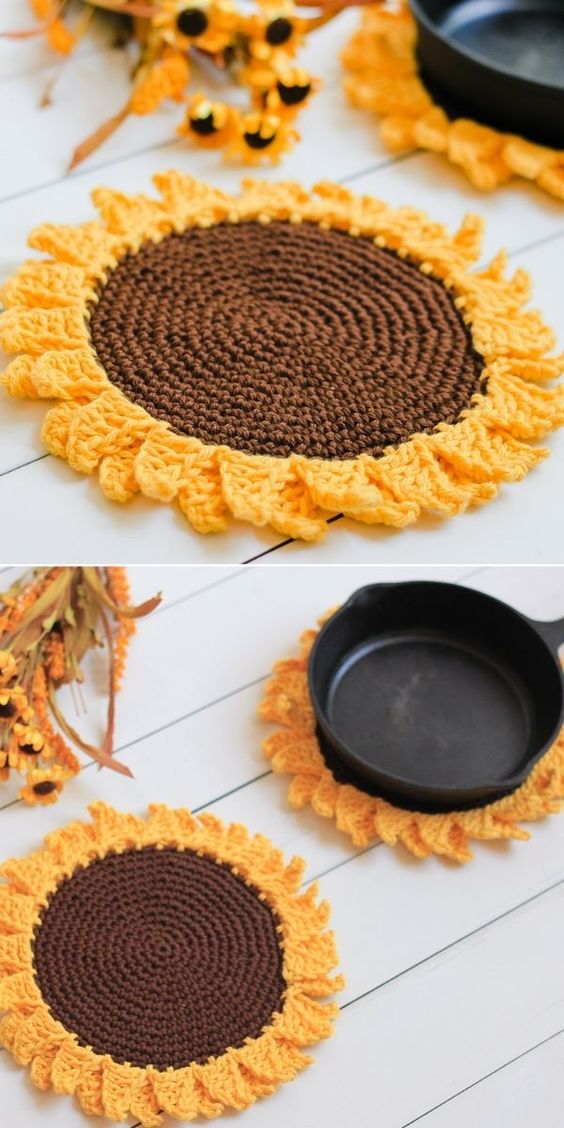
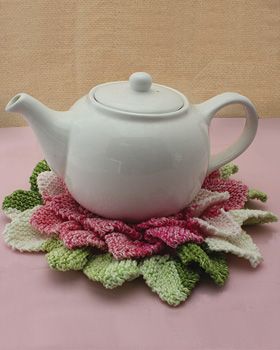
We have already shown some crochet potholder ideas here, but today we are going to focus our attention on models inspired by flowers.
Check out some ideas and models of flower nursery pot holders here. Get inspired by the ideas we have separated for you.
How to Crochet Flower Hot Pad
Check out the step-by-step here and also the ideas we separate.

Crochet Flower Hot Pad Ideas
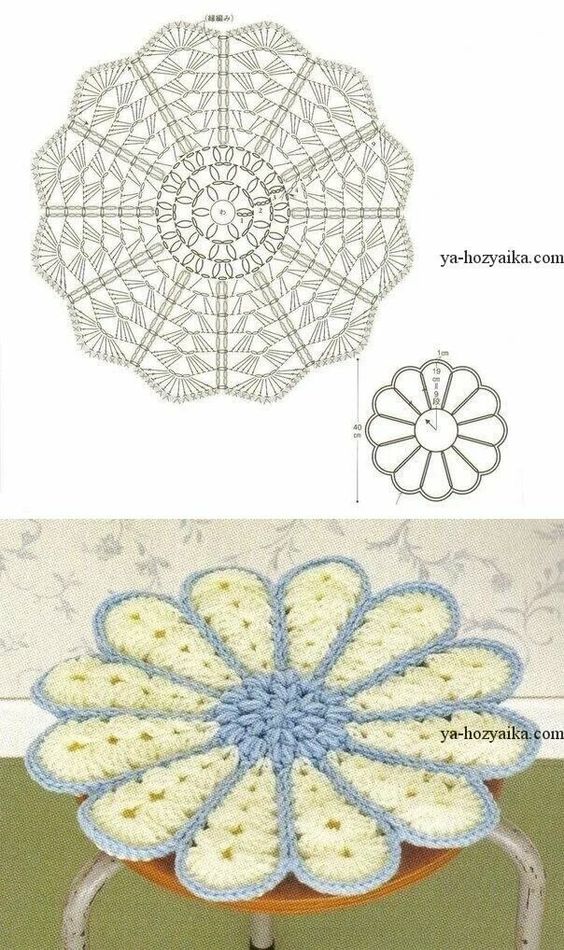
Via: blog.naver.com
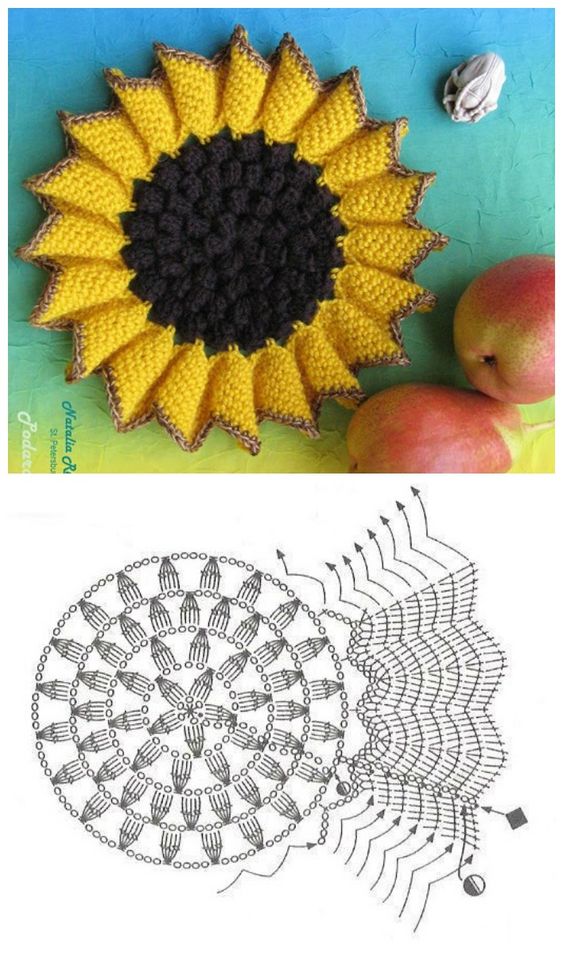
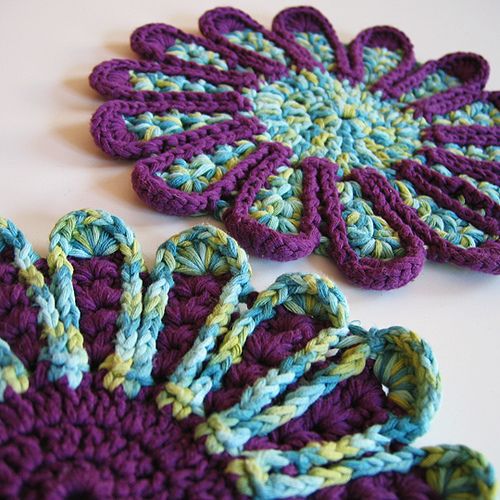
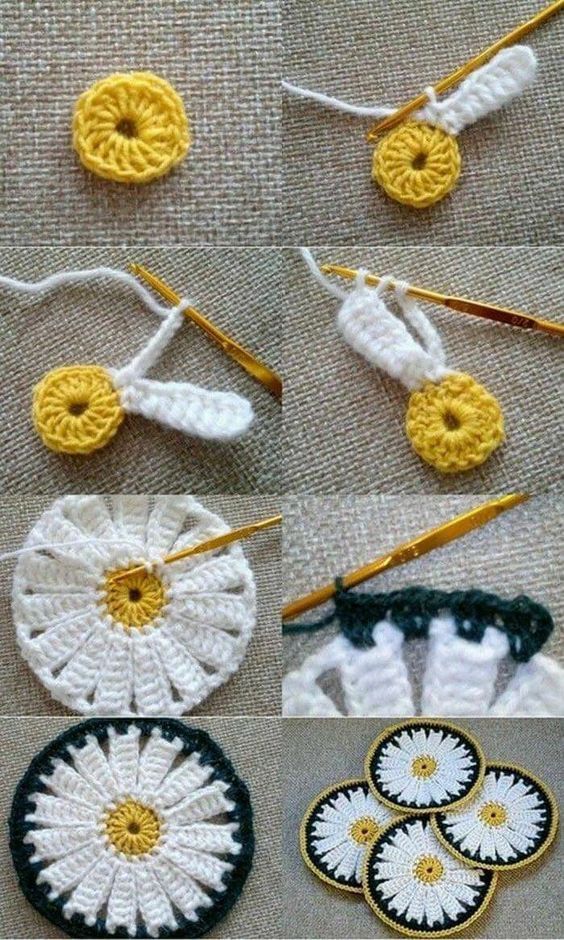
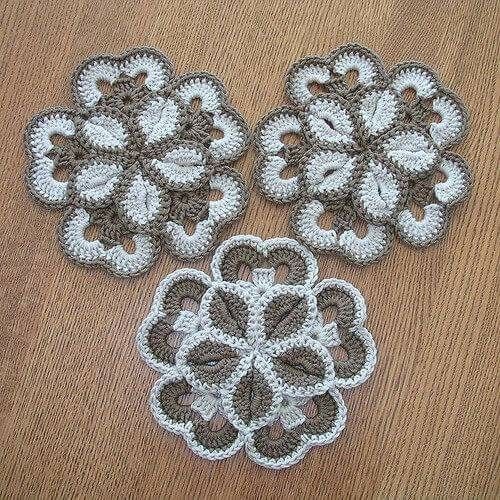
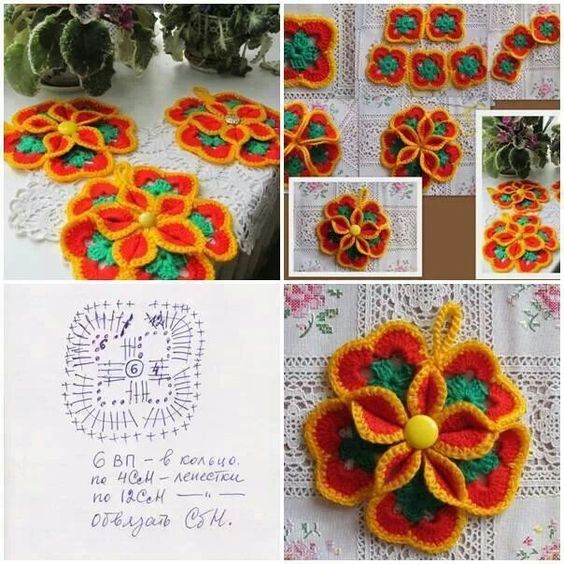
Materials Needed
Before you start, gather the following supplies:
- Yarn: Use a durable, heat-resistant yarn like cotton. Opt for colors that mimic real flowers or add a pop of brightness.
- Crochet Hook: A 4.0mm to 5.5mm hook works well with medium-weight yarn.
- Scissors: To cut your yarn after each section.
- Yarn Needle: For weaving in ends and sewing layers together.
Step-by-Step Guide: How to Crochet a Flower Hot Pad
1. Start with the Center
The center of the flower hot pad will serve as the base for the petals.
- Magic Ring: Begin with a magic ring and work 12 double crochets (DC) into the ring. Pull tight to close the ring.
- Round 2: Chain 2, work 2 DC in each stitch around, and join with a slip stitch.
- Round 3: Work 1 DC in the first stitch, 2 DC in the next stitch around the ring. Continue this pattern until you have a round that is slightly larger than the intended size of your flower’s center.
2. Create the Petals
With the center complete, it’s time to create the iconic petals that bring the flower hot pad to life.
- Attach New Color: Attach a contrasting color yarn to start your first petal.
- Chain 5: Work 3 treble crochets (TRC) into the next stitch, then chain 5 and slip stitch in the same stitch to form a petal.
- Repeat Around: Continue this pattern, working one petal in every 2-3 stitches until you complete a full circle of petals.
- Fasten Off: Secure the yarn and cut, leaving a long enough tail to weave in later.
3. Add Layers for Thickness and Heat Protection
For better heat insulation, consider adding more layers to your hot pad.
- Second Layer (Optional): Repeat the process for the center and petals to create a second layer, slightly smaller than the first.
- Join the Layers: Place the second layer behind the first and sew them together using a whip stitch or slip stitch around the edges.
- Final Edging: To secure both layers, crochet a single crochet (SC) edging around the hot pad, incorporating both layers.
Learn how to make a beautiful and functional crochet flower hot pad with this step-by-step tutorial. Discover creative ideas, care tips, and customization options to craft the perfect hot pad for your home or as a gift!
With this crochet flower hot pad project, you can create something practical and decorative for your home that will always be a conversation starter! Let me know if you'd like any additional details or ideas.
CHECK MORE CROCHET PATTERNS