How to crochet mini pouch with pearl
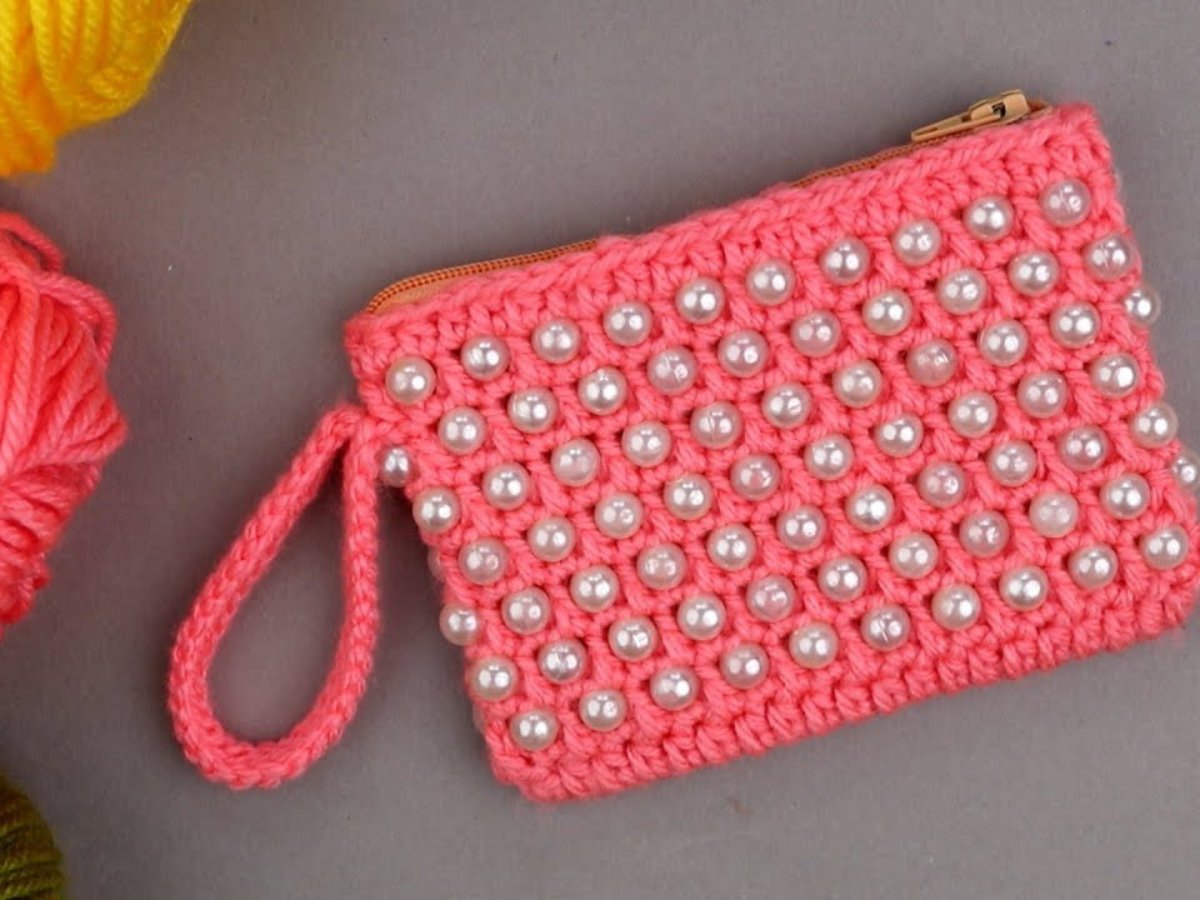
Coin purses or mini purses made in crochet are simply perfect for anyone looking for a different and original style. But we can elevate its beauty by putting on pearls.
Crochet with pearls is a simple and wonderful option to completely transform your work.
Check out some ideas for crochet purses with pearls here. Watch the video to see the step by step.
How to crochet mini pouch with pearl
A crochet mini pouch with pearls is the perfect combination of elegance and functionality. Whether it’s used to store small items, as a decorative accessory, or as a charming gift, this mini pouch adds a sophisticated touch to any ensemble. With a few simple steps, you can create a beautiful crochet pouch that’s adorned with delicate pearls, offering a timeless look.

Ideas mini pouch with pearl
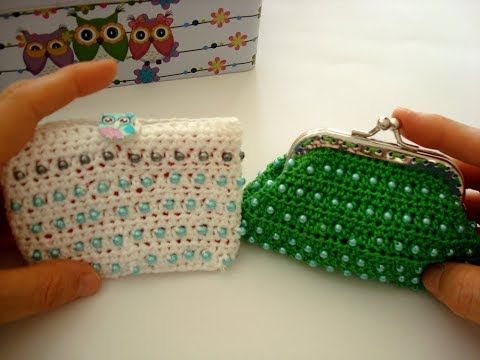
There are models and styles for all tastes, you just need to find your favorite.
We selected some ideas to use as inspiration.
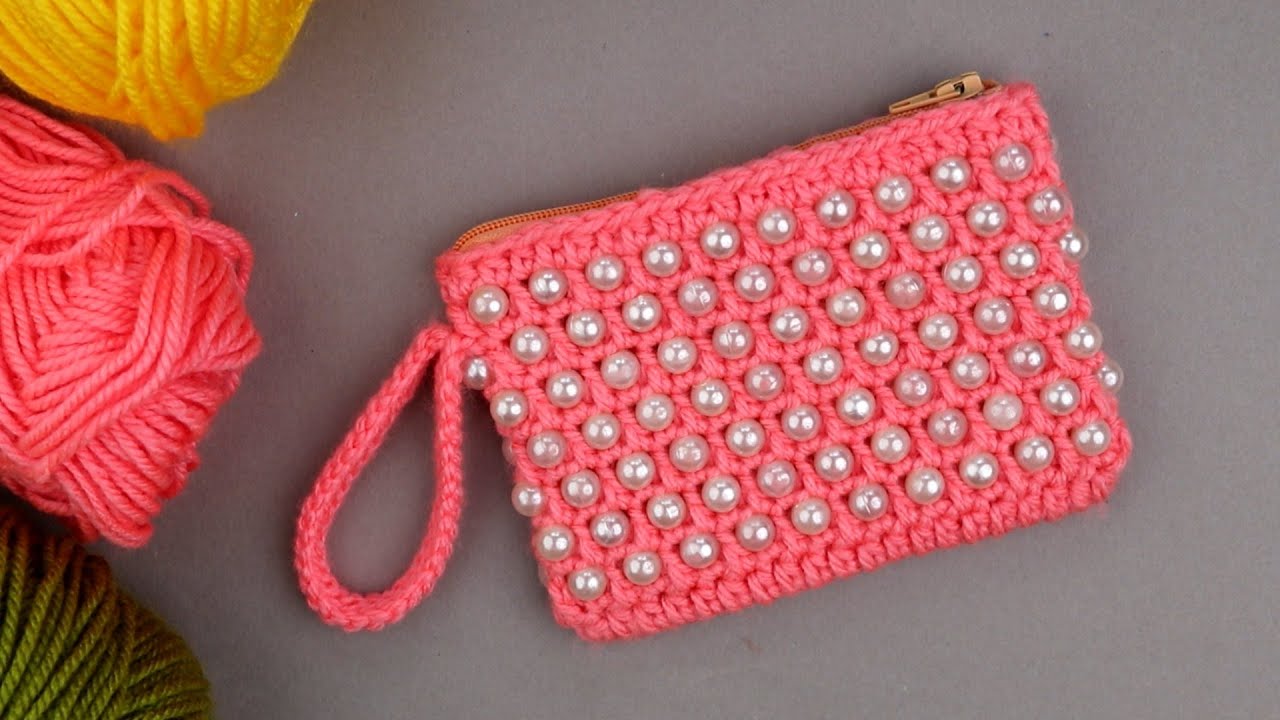
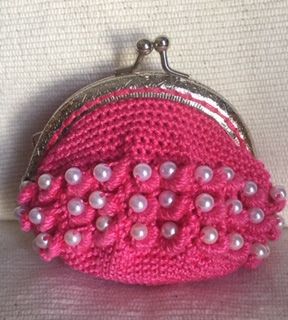
Via Pinterest
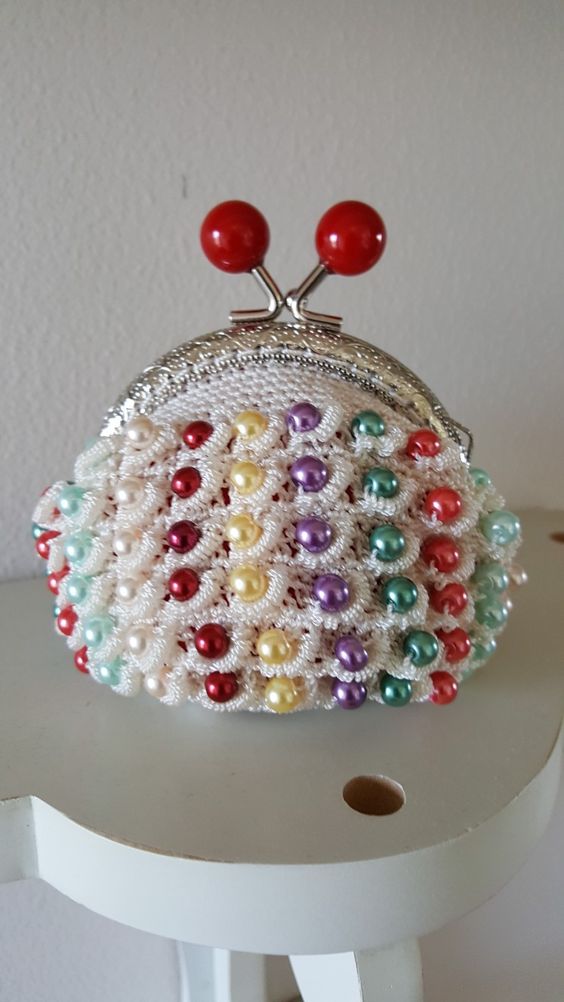
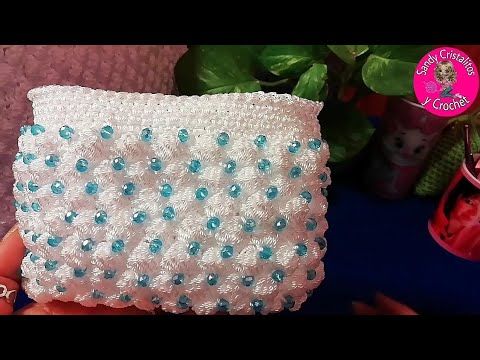
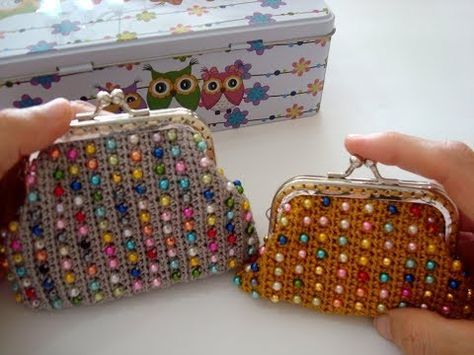
Crochet Mini Pouch with Pearl
Step 1: Create the Foundation Chain
- Chain 20 stitches: This will form the width of the pouch. Adjust the number of chains if you’d like a larger or smaller pouch.
- Slip Stitch to Join: Join the chain into a loop by slip stitching into the first chain. Make sure the chain is not twisted.
Tip: Use a slightly smaller hook size than your yarn label recommends. This helps create a tighter stitch, giving the pouch a more structured shape.
Step 2: Work in Rounds to Form the Base
- Round 1: Chain 1 and work single crochet (SC) stitches around the loop, ensuring even tension.
- Continue Rounds: Repeat single crochet rounds without increasing or decreasing. This forms the cylindrical shape of the pouch.
- Check Length: Continue crocheting in rounds until the pouch reaches your desired height, usually around 10–12 rounds for a mini pouch.
Step 3: Add Pearls
Adding pearls enhances the elegance of the pouch. Here’s how to do it:
- Thread the Pearls: Use a yarn needle to thread pearls onto your yarn. Alternatively, add each pearl individually as you crochet.
- Attach Pearls in Pattern:
- Plan a pattern, such as placing pearls on every second or third stitch in the next round.
- Crochet each pearl into place by inserting the hook through the yarn and pearl together, then completing a single crochet stitch.
Pro Tip: Space pearls evenly to create a balanced, elegant look. You can follow a grid pattern or a random arrangement.
Step 4: Shape the Top Edge
To give your pouch a finished look, try one of these edging styles:
- Slip Stitch Border: Simply slip stitch around the last round for a clean, polished edge.
- Scalloped Edge: For a decorative look, use a shell stitch (5 double crochets in one stitch, skip the next stitch, and repeat) to create a scalloped finish.
- Picot Edge: Chain 3, slip stitch into the same stitch, skip one stitch, and repeat.
Step 5: Make a Drawstring Closure
- Chain the Drawstring:
- Chain a length that wraps around the pouch’s top twice. Slip stitch to finish.
- Weave the Drawstring:
- Using a yarn needle, weave the drawstring in and out of the stitches around the top edge of the pouch.
- Attach Small Pearls to the Ends:
- Add a pearl to each end of the drawstring for extra elegance, securing it with a knot.
CHECK MORE CROCHET PATTERNS