How to knit a crochet blouse with a circle
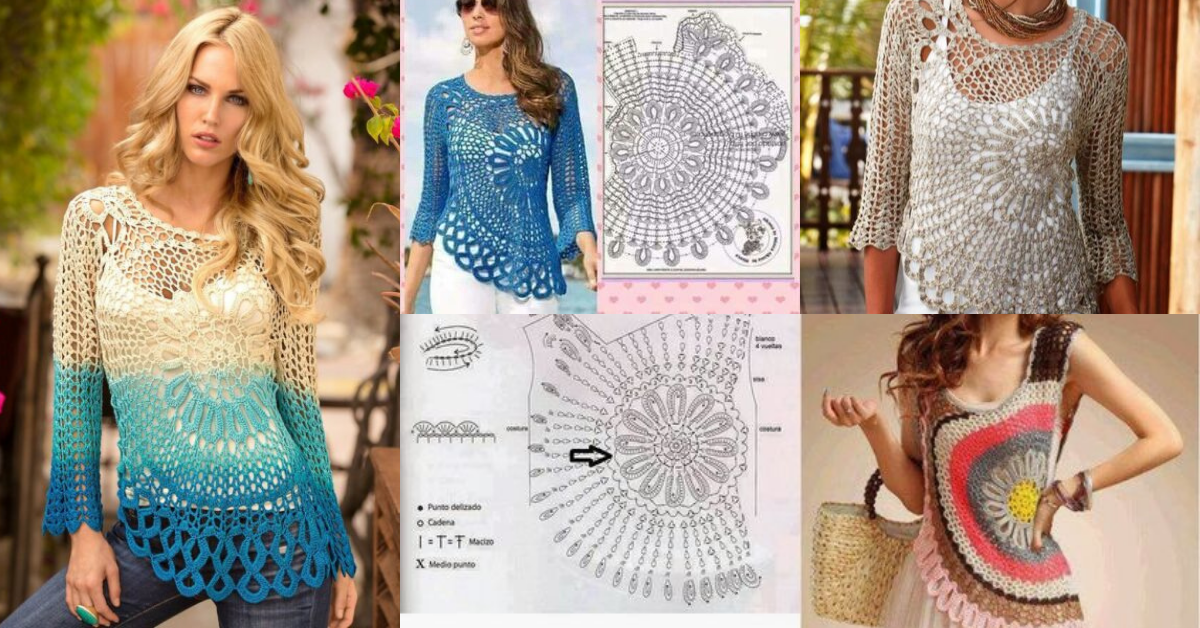
Crochet is very versatile and with it you can make different items, crochet clothes are everyone's favorite. Thinking of people who like crochet clothes, today we bring you a creative and original idea.
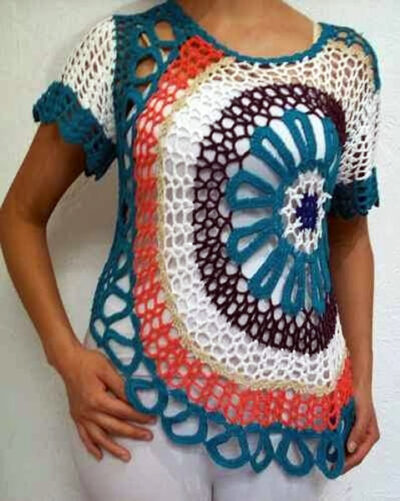
The circular blouse is one of the crochet blouses, in this case the base of this blouse is a circle.
The crochet blouse made with a circle is a simple option that can adapt to different styles, tastes and also for all ages.
See too: Lupine Circle Vest Free Crochet Pattern
Table
Crochet blouse with a circle
Check out some ideas here, the circle can be used in many ways, it all depends on your personal style.
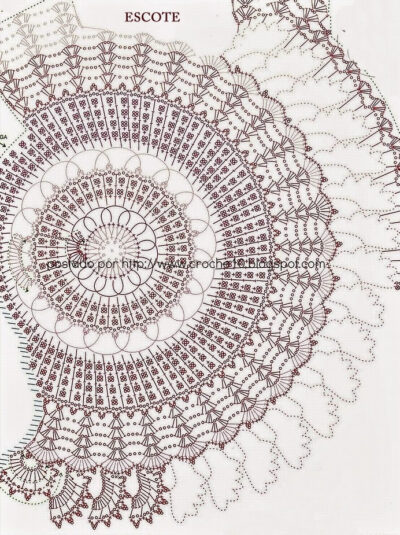
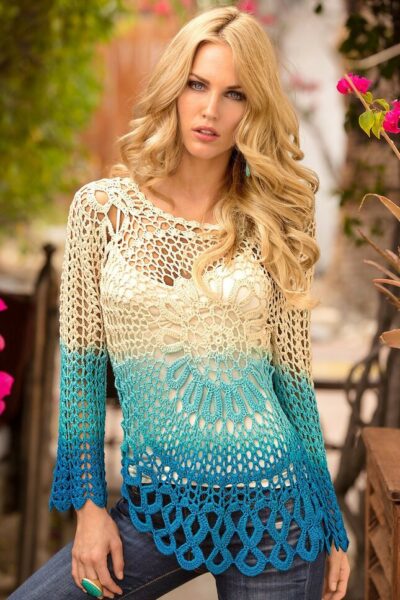
From: divinocrochet.com
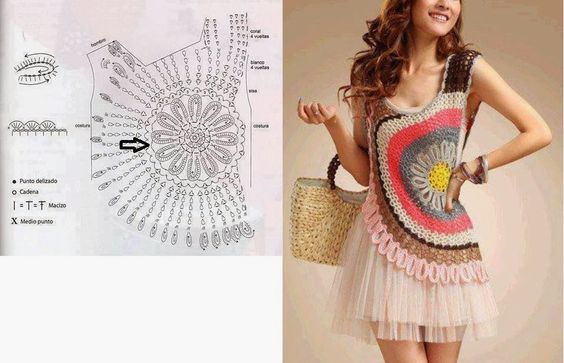
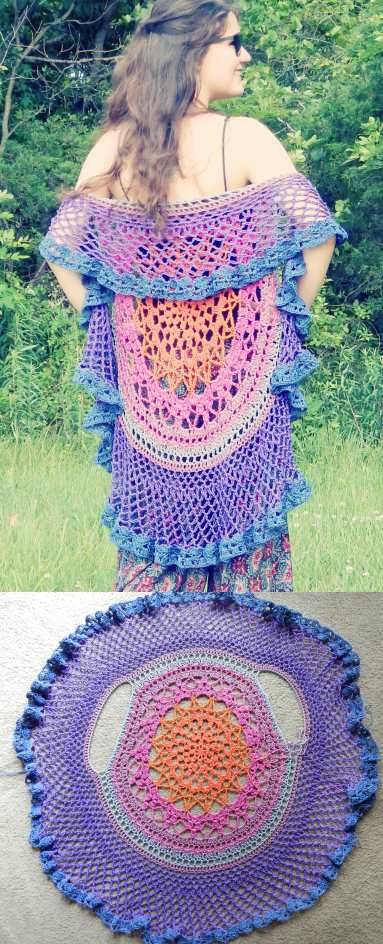
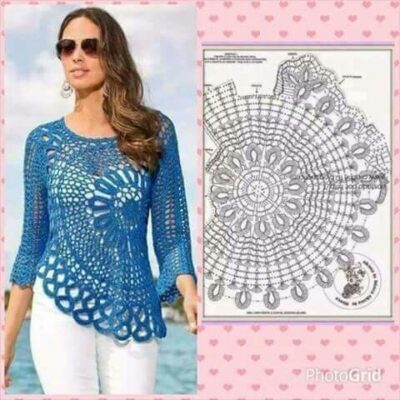
From: divinocrochet.com
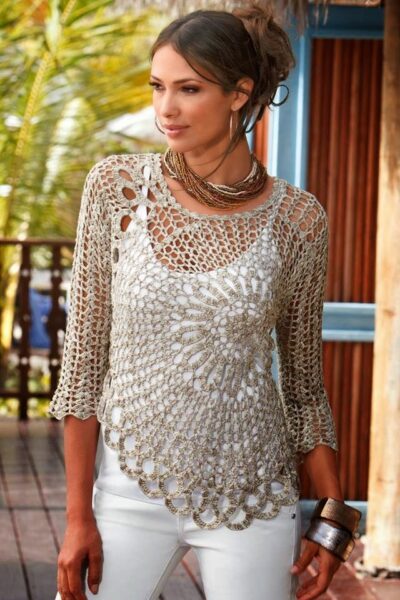
From: eliana-elianaartes.blogspot.com
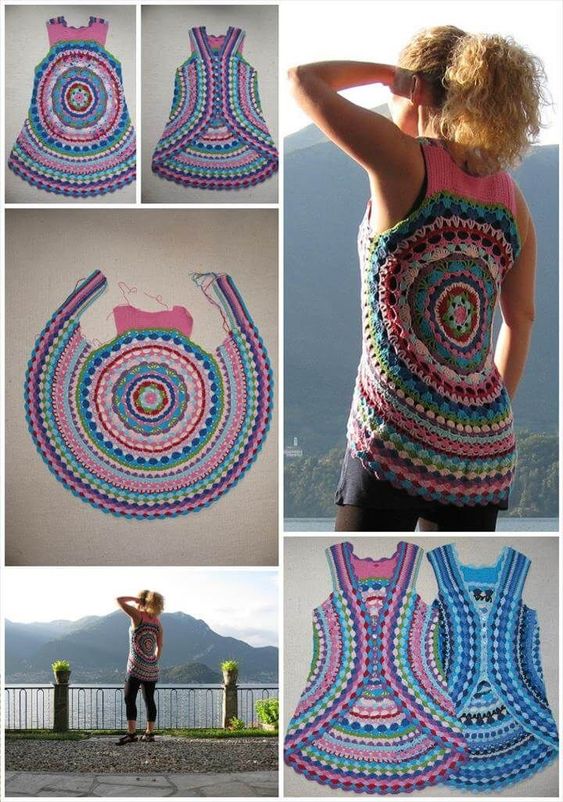
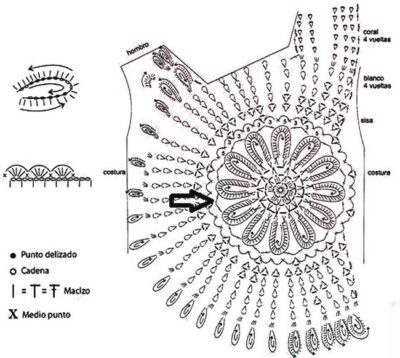
Step-by-Step Instructions for Knitting a Crochet Blouse with a Circle
Step 1: Choose Your Pattern and Size
- Select a Pattern:
- Find a crochet pattern that features a circular design for blouses. Many free patterns are available online, catering to different styles and skill levels.
- Measurements:
- Measure your bust, waist, and desired length for the blouse. These measurements will help determine the size you need to create.
Step 2: Create the Circular Base
- Foundation Chain:
- Start with a magic ring or chain a number of stitches (usually 4-6) to create a loop.
Magic Ring Instructions: - Wrap the yarn around your fingers to form a loop. - Insert your hook into the ring, yarn over, and pull up a loop. - Round 1:
- Work 12 sc into the magic ring. Pull the ring tight to close it and join with a sl st to the first sc.
- Increase for Shape:
- To create a larger circle, increase your stitches in each round:
- Round 2: Ch 1, 2 sc in each stitch around (24 sc).
- Round 3: Ch 1, sc in the first stitch, 2 sc in the next (repeat) (36 sc).
- Continue increasing until your circle reaches the desired diameter.
- To create a larger circle, increase your stitches in each round:
Step 3: Shape the Body of the Blouse
- Work Upwards:
- After reaching the desired diameter, start working in rounds without increases to form the body of the blouse.
- For the body, you can alternate between sc and dc for added texture.
- Creating Armholes:
- When the body reaches the desired length, decide where you want the armholes. Leave a few stitches unworked on either side to create openings.
- Finishing the Body:
- Continue working until the blouse reaches your desired length. Add a decorative border if you like.
Step 4: Create the Sleeves
- Foundation for Sleeves:
- Depending on your pattern, you may need to create sleeves separately or as part of the body.
- If creating separate sleeves, chain enough stitches to match the desired width and length of the sleeve.
- Sleeve Rows:
- Work in sc or dc for the sleeve, following the same technique as the body. Decrease stitches as necessary to shape the sleeve.
- Joining Sleeves to Body:
- Once the sleeves are completed, attach them to the armholes of the body. Use a yarn needle to sew them securely.
Step 5: Finishing Touches
- Add Neckline:
- To finish the neckline, you may want to work a round of sc or dc around the neck to create a polished look.
- Weave in Ends:
- Use a yarn needle to weave in any loose ends for a clean finish.
- Blocking (Optional):
- Lightly steam block your crochet blouse to help it hold its shape.
Step 6: Optional Embellishments
- Add Decorative Edging:
- Consider adding decorative borders around the sleeves and hem with a contrasting color for an eye-catching finish.
- Embellishments:
- Sew on buttons, patches, or additional crochet designs for added flair.
Creative Variations for Your Crochet Blouse
1. Color Combinations
- Instructions: Experiment with different color combinations for the body and sleeves. Try color blocking or ombre effects for a modern twist.
2. Themed Patterns
- Instructions: Use themed yarns or patterns to create seasonal or holiday blouses, such as pastel colors for spring or warm tones for autumn.
3. Different Sleeve Styles
- Instructions: Experiment with different sleeve styles, such as puff sleeves or off-the-shoulder designs, to create unique silhouettes.
4. Layered Looks
- Instructions: Consider making a lightweight cardigan version of the blouse for layering during transitional seasons.
CHECK MORE CROCHET PATTERNS