How to Knit Slippers for Beginners: Step-by-Step
If you've ever looked at a cozy pair of knitted slippers and thought, "I wish I could make those," you're in luck!
Knitting slippers is a wonderful and rewarding craft project that doesn't require advanced skills. In this step-by-step guide, we'll walk you through the process of knitting slippers for beginners.
So grab your yarn, needles, and let's get started on this cozy adventure!
How to Knit Slippers
Knitting slippers is an enjoyable craft that combines creativity with practicality.
These cozy footwear items can be customized to match your style and comfort preferences.
Even if you're a complete beginner, you can create beautiful slippers with a little patience and practice.
The Basic Knit Stitch: Creating the Foundation
The basic knit stitch forms the foundation of your knitting. Hold the needles correctly, insert one through the loop, and wrap the yarn around to create a new loop.
Slide off the old loop and repeat. This creates the smooth and classic "V" pattern of knitted fabric.
Materials:
2 skeins of Worsted Weight yarn
Scissors
Size 10 1/2 knitting needles
Stitch Markers
Tape Measure
Darning needle

Once you're comfortable with the knit stitch, you can experiment with adding colors and patterns.
To shape the toe of your slipper, you'll need to decrease stitches gradually. This gives the slipper its rounded shape. Use techniques like k2tog (knit two together) at the beginning and end of rows to achieve this shaping.
Continue knitting until the footbed reaches the desired length, typically from the base of the toes to the back of the heel. Remember to try the slipper on occasionally to ensure it fits comfortably.
The heel of the slipper is crucial for a snug fit. You can use a simple garter stitch or explore more advanced techniques like short rows to shape the heel.
Fold the slipper in half and use a yarn needle to sew the back seam. This creates the slipper's structure. Make sure to leave an opening for the foot.
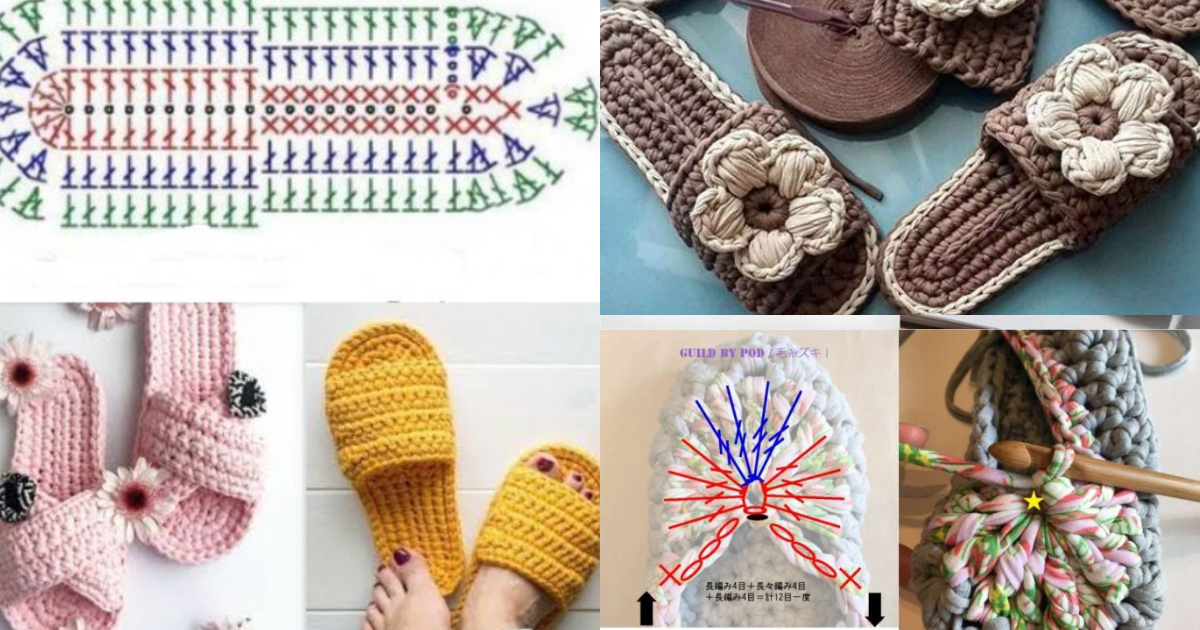
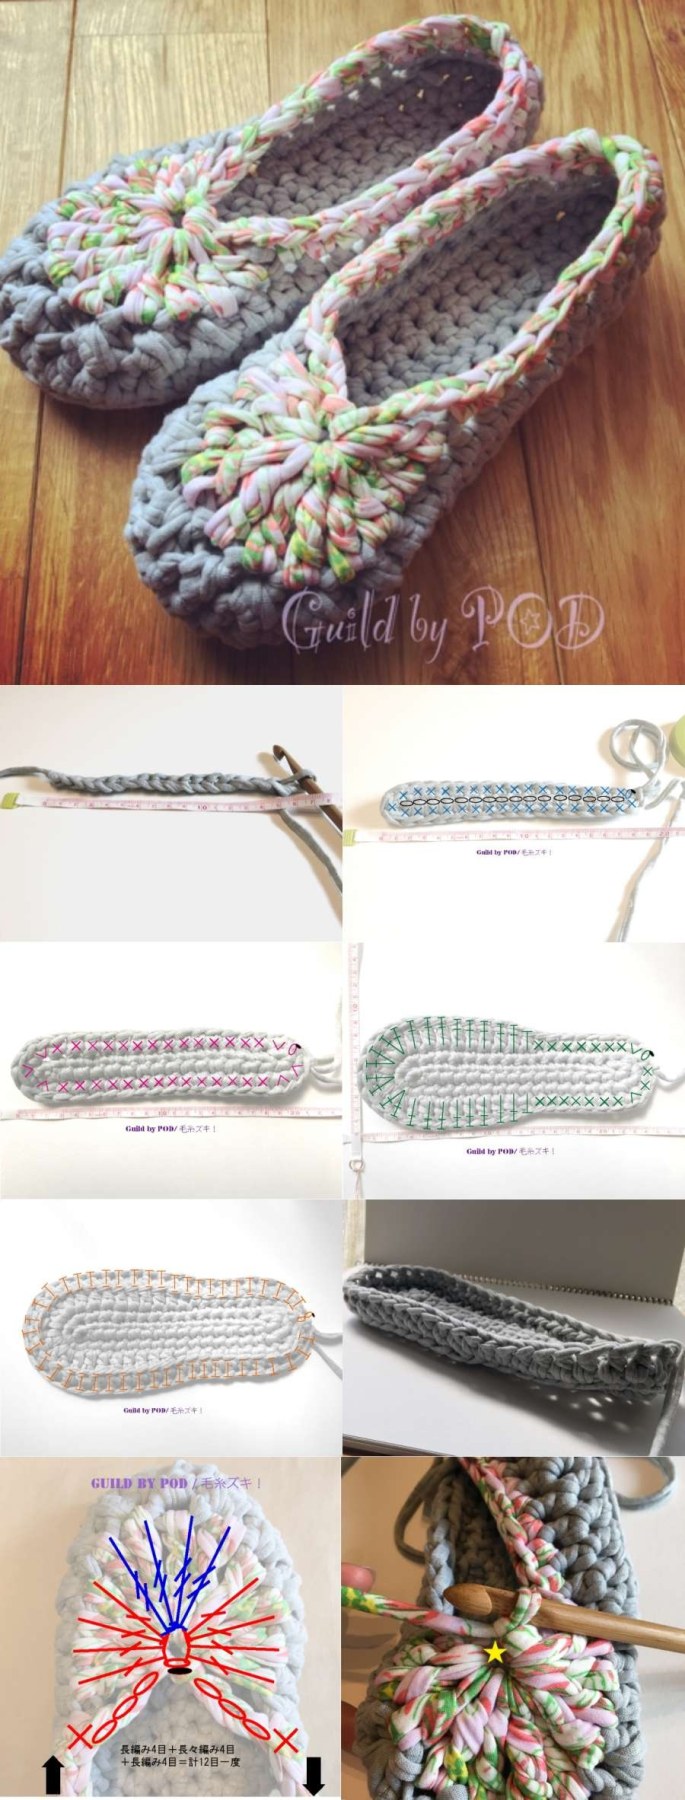
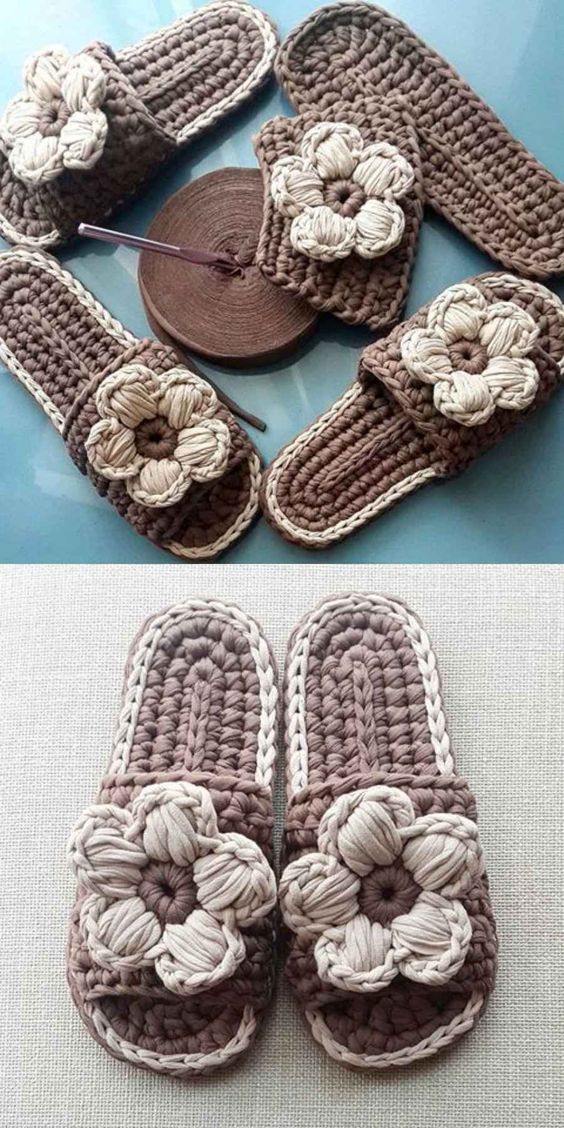
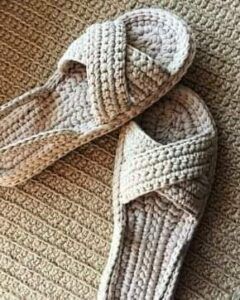
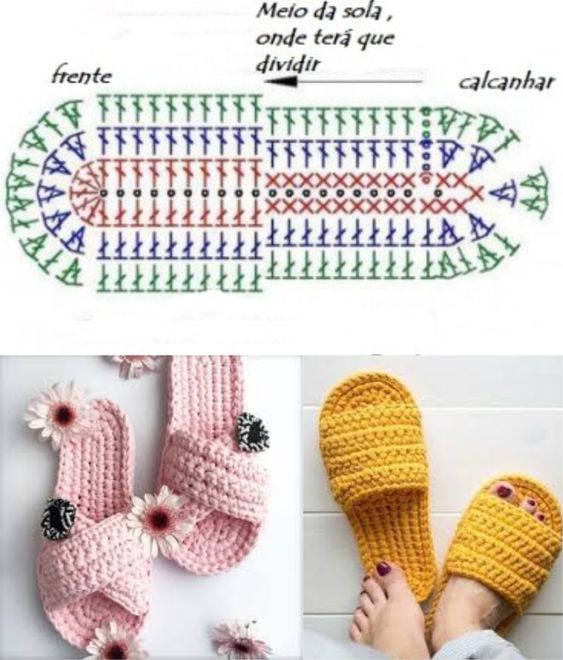
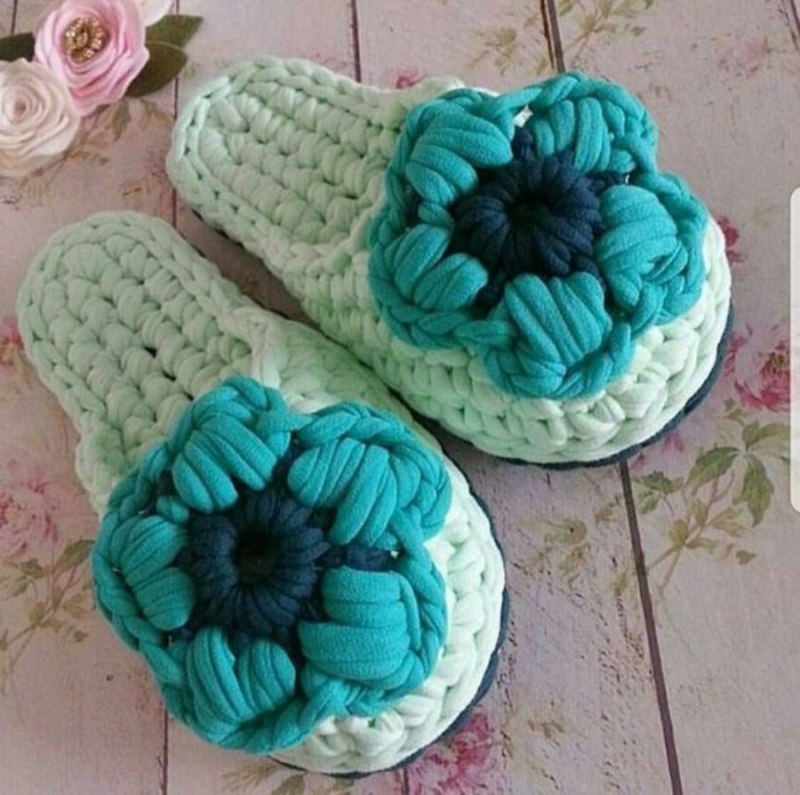
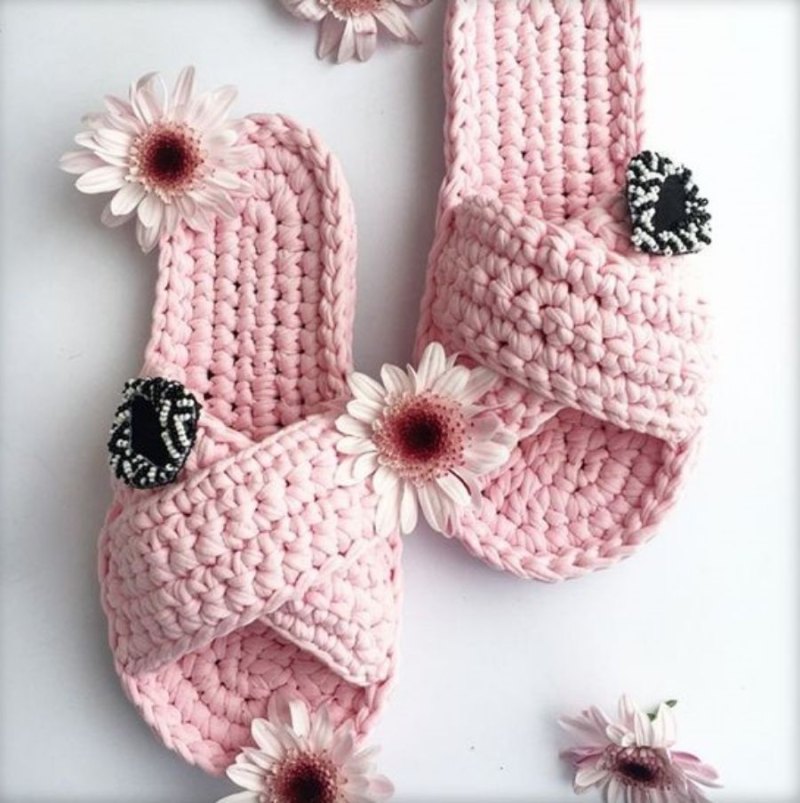
Knit Slippers Ideas
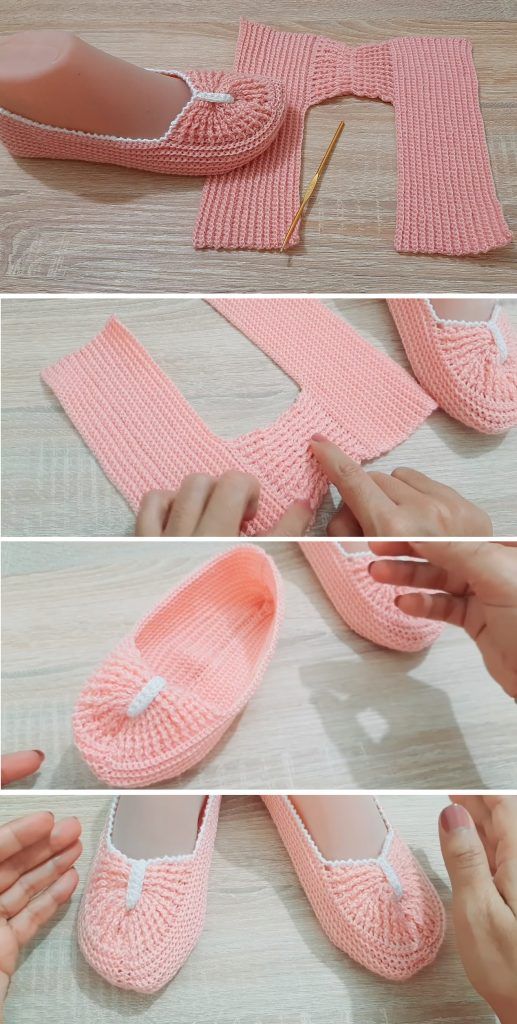
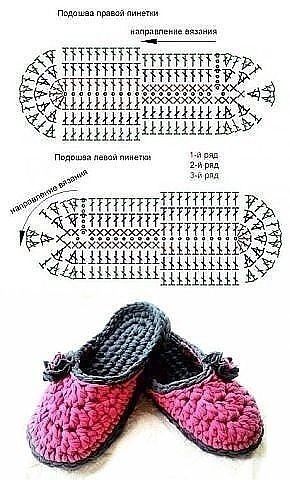
Step-by-Step Instructions for Knitting Slippers
Step 1: Choose Your Pattern
- Selecting a Simple Design:
- Look for beginner-friendly slipper patterns that typically involve basic knit and purl stitches.
- Understanding Sizes:
- Most patterns will include size options for adults, children, or infants. Choose the size that fits your needs.
Step 2: Casting On
- Casting On Stitches:
- Start by casting on the number of stitches required by your chosen pattern. A common count for adult slippers is around 30-40 stitches.
Example:
CO 36 stitches.
Step 3: Knitting the Body of the Slipper
- Working in Rows:
- Alternate between knit and purl rows as directed by your pattern. A common method is to knit the first row and purl the second row to create a ribbed texture.
Example: Row 1: K all stitches. Row 2: P all stitches. - Continue Knitting:
- Continue following the pattern instructions until you reach the desired length for the foot portion of the slipper. Measure against your foot or the intended wearer’s foot to ensure a good fit.
Step 4: Shaping the Slipper
- Decreasing Stitches:
- To shape the toe, you will need to decrease stitches at the end of your knitting. Most patterns will specify how many stitches to decrease and how frequently.
Example: Decrease by knitting 2 together (K2tog) at the beginning and end of the row. - Creating the Heel:
- Follow the instructions for forming the heel. This may involve turning your work and working back and forth instead of in rounds.
Step 5: Finishing the Slippers
- Bind Off:
- Once the foot and heel are complete, bind off your stitches to finish the edge of the slipper.
Example: BO all stitches loosely to maintain stretch. - Weave in Ends:
- Use a tapestry needle to weave in any loose ends to give your slippers a clean finish.
Step 6: Adding Soles
- Create Soles (Optional):
- For added durability, you can sew a felt or fabric sole to the bottom of the knitted slipper.
- Sewing on Soles:
- Position the soles and sew around the edges using matching thread to secure them in place.
CHECK MORE CROCHET PATTERNS