How to Make a Pompom Gnome
Pompom gnomes are an adorable and whimsical addition to any decor, whether you're looking to spruce up your holiday decorations or add a touch of cozy charm to your home.
These gnomes are easy to make, requiring just a few materials and a bit of creativity.
In this step-by-step guide, we'll walk you through the process of creating your very own pompom gnome.
Pompom Gnome
Pompom gnomes are not just cute—they're a fantastic project for crafters of all levels. Here's why you'll love making them:
Learn how to create adorable pompom gnomes with this easy step-by-step guide. Perfect for holiday decor or as handmade gifts. Customize your gnome with different colors and accessories!
- Fun and Whimsical: Pompom gnomes bring a playful touch to any space, adding a dose of charm and character.
- Customizable: You can make them in various colors, sizes, and styles to suit different themes and occasions.
- Quick and Easy: These gnomes are simple to crochet, making them perfect for beginners and a quick project for experienced crocheters.
- Great for Gifts: A handmade pompom gnome is a unique and thoughtful gift for family and friends, especially around the holidays.
Materials Needed
To make your own pompom gnome, gather the following materials:
- Yarn: Choose your favorite color for the pompom body and hat.
- Pompom Maker: Or use a DIY cardboard circle method.
- Scissors
- Glue Gun: For assembling the gnome.
- Felt: For the gnome's hat and other decorations.
- Wooden Bead or Small Pompon: For the nose.
- Cotton Ball or Fake Fur: For the beard.

Step-by-Step Guide to Making a Pompom Gnome
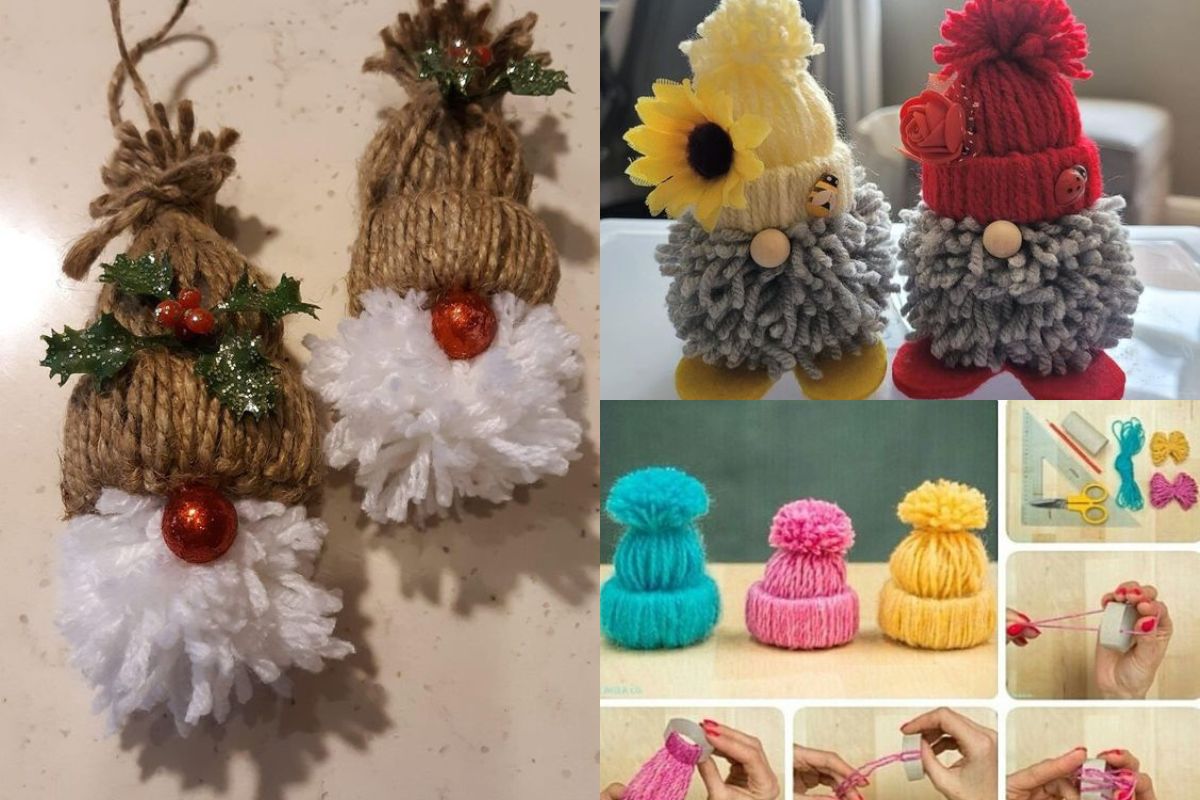
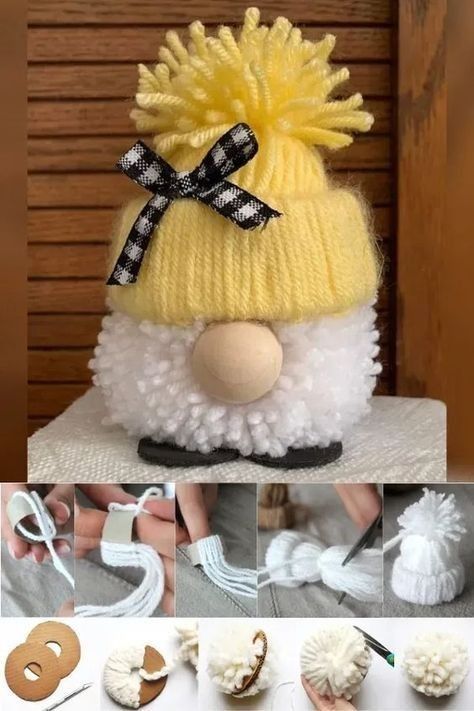
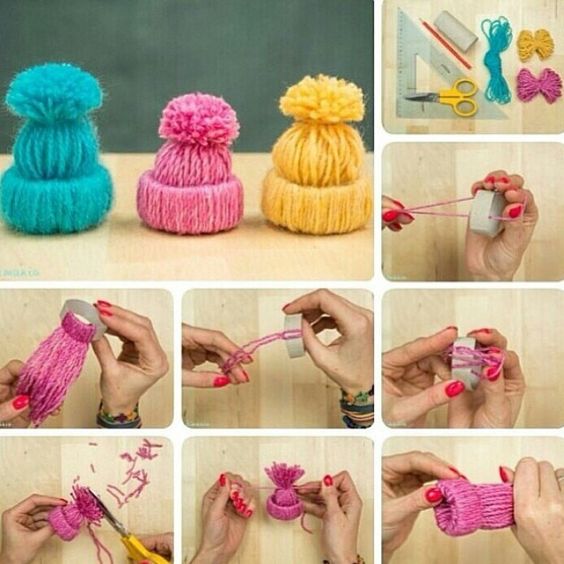
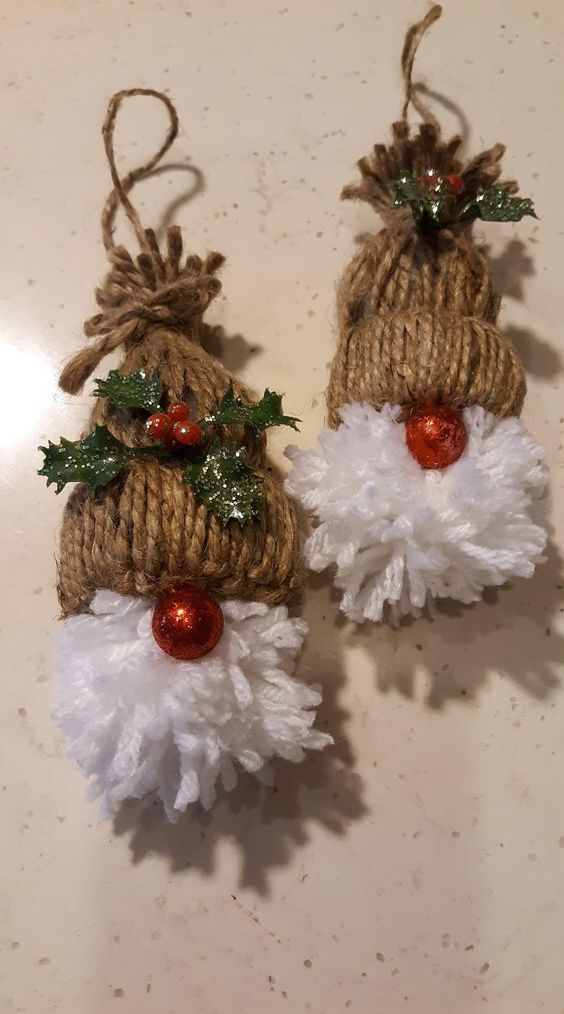
1. Create the Pompom Body
- Wrap Yarn: Use a pompom maker or cardboard circles. Wrap the yarn around the tool until you have a thick, fluffy ball.
- Cut and Secure: Once you've wrapped enough yarn, cut along the edges of the pompom maker and secure the center with a piece of yarn.
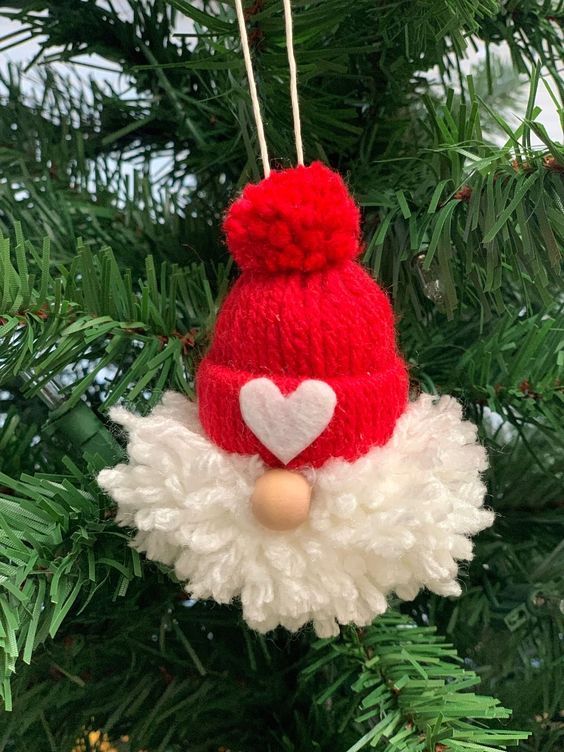
2. Make the Gnome's Hat
- Cut the Felt: Cut a triangle from the felt, large enough to cover the top of the pompom.
- Shape the Hat: Roll the felt into a cone shape and secure the edge with hot glue.
Source: defrenteparaomar
From Pinterest

From Pinterest
From Pinterest
3. Assemble the Gnome
- Attach the Hat: Place the felt hat on top of the pompom and glue it securely in place.
- Add the Nose: Glue a wooden bead or small pompom just beneath the hat's edge to form the gnome's nose.
- Create the Beard: Attach cotton ball fluff or faux fur below the nose to give your gnome a bushy beard.
4. Finishing Touches
- Customize your gnome with additional decorations like buttons, ribbons, or even a small scarf.
Creative Ways to Display Your Crochet Pompom Gnome
Crochet pompom gnomes are versatile and can be used in various decorative settings. Here are some ideas:
1. Seasonal Decor
Create themed gnomes for different seasons—bright colors for spring, rich tones for autumn, and festive red and green for the winter holidays.
- Winter Decor: Place your gnome on the mantel or next to a small Christmas tree for a cozy holiday vibe.
- Spring Display: Use pastel colors and place the gnome on a shelf with potted plants and flowers for a cheerful spring look.
2. Add to a Centerpiece
Use the gnome as part of a table centerpiece for an added touch of whimsy.
- Table Setting: Place a small gnome next to candles, seasonal foliage, or floral arrangements on your dining table.
- Party Decor: Set a gnome at each place setting as a fun party favor or a unique piece for family gatherings.
3. Use as a Gift Topper
Surprise someone with a handmade gnome on top of their gift box.
- Gift Wrap: Attach a small gnome to the top of a wrapped gift for a unique finishing touch.
- Holiday Stocking Stuffer: Make a mini gnome to tuck into holiday stockings.
With this guide, you're ready to craft your own pompom gnome and add a charming, handcrafted touch to your decor. Enjoy the process and let your creativity shine!
CHECK MORE CROCHET PATTERNS