How to Make a Super Easy Crochet Angel
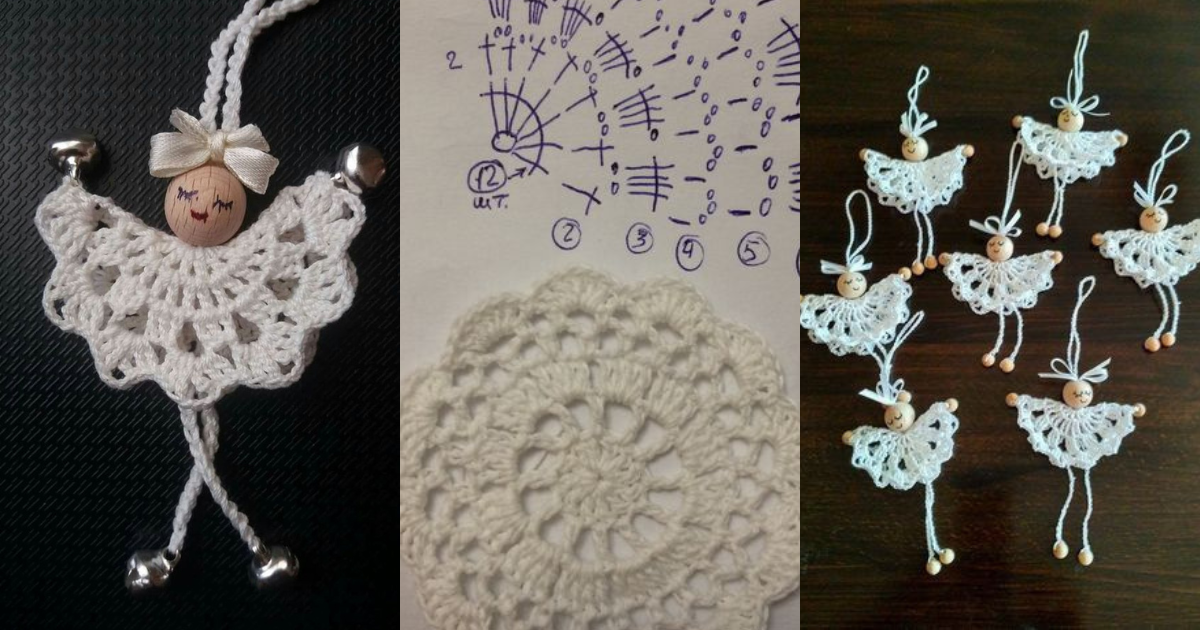
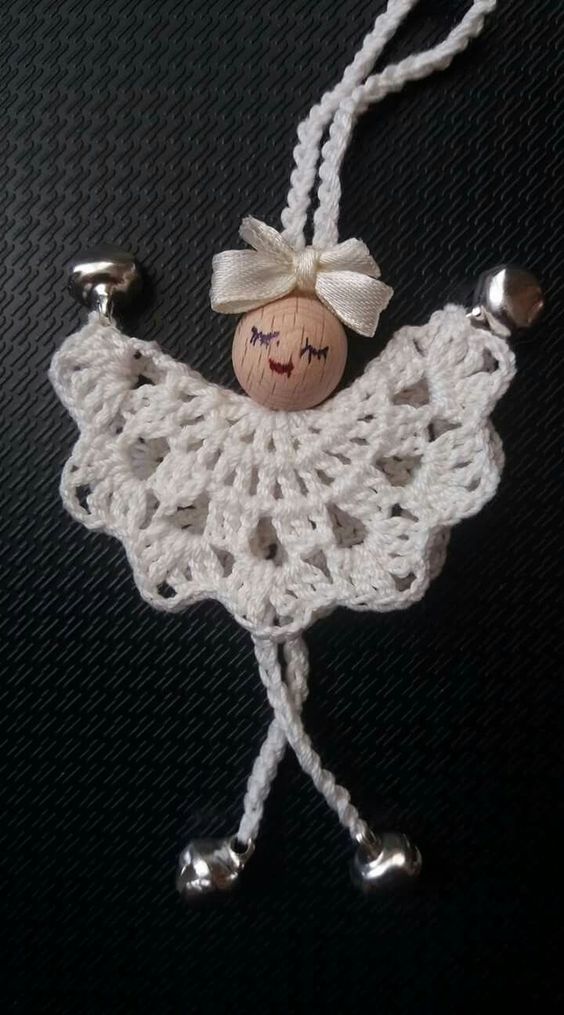
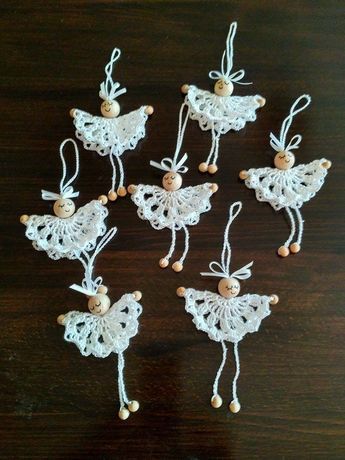
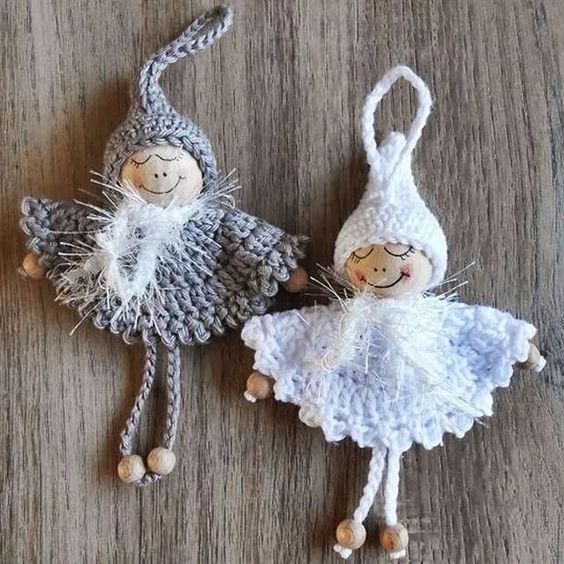
Crocheting is a wonderful way to unleash your creativity and make charming handmade crafts. If you're looking to create something celestial and delightful, why not try your hand at making a super easy crochet angel?
In this step-by-step guide, we'll take you through the process, from selecting the materials to putting the finishing touches on your heavenly creation.
Get ready to spread some crochet magic with this fun and rewarding project.
Super Easy Crochet Angel
Crocheting an easy angel is a joyful way to enhance your crafting skills while creating a meaningful piece. With this guide, you can craft a charming angel that will bring warmth and beauty to any space.
Before you start, gather the following materials:
- Yarn (in white, cream, or any color of your choice)
- Crochet hook (size appropriate for your yarn)
- Tapestry needle (for weaving in ends)
- Scissors
- Stuffing (optional, for a plush effect)
- Beads or sequins (for added decoration)
Choosing the Right Yarn
For your crochet angel, opt for a soft and lightweight worsted weight yarn.
White or cream-colored yarns are commonly used for angelic figures, but you can get creative with colors if you prefer a unique twist.
Use a crochet hook in size G or H to ensure that your stitches are neither too tight nor too loose. This will help maintain the desired shape and size of your angel.
Making Your Crochet Angel Stand
If you'd like your angel to stand independently, you can insert a small cardboard circle or a wooden dowel into the bottom before sealing it up.
Tips for Crocheting Success
- Take your time and be patient.
- Don't hesitate to undo stitches if needed.
- Experiment with different yarn textures for unique effects.
- Practice makes perfect, so don't be discouraged if it's your first time.
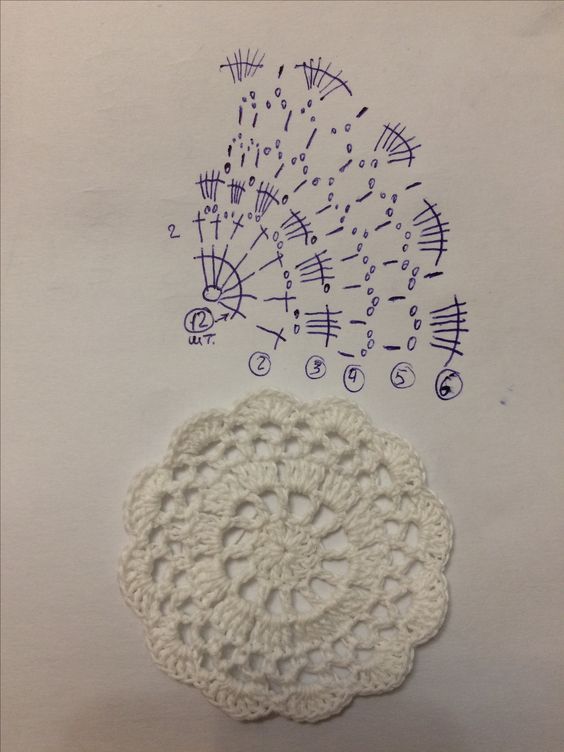
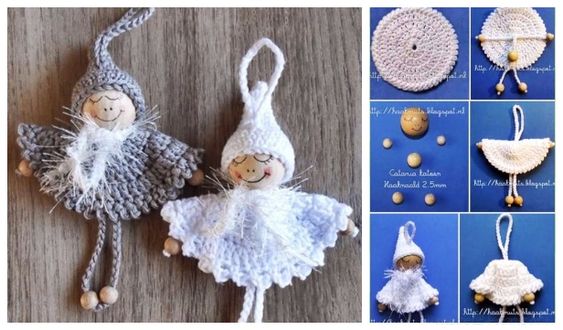
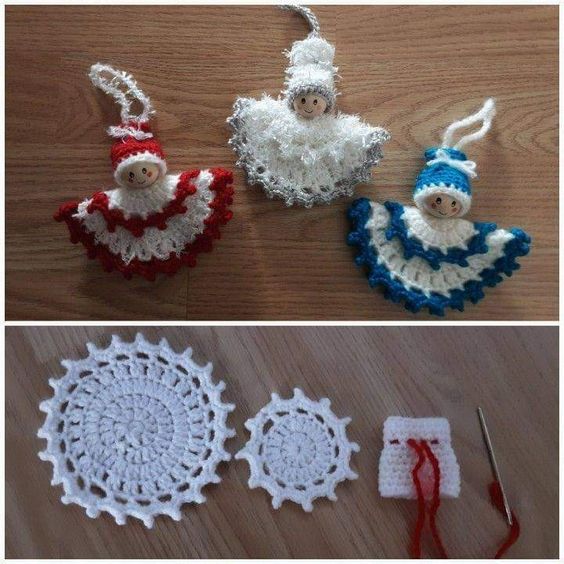
Step-by-Step Guide to Crocheting an Easy Angel
1. Start with the Body
Begin by crocheting the body of the angel:
- Create a magic ring and crochet a series of single crochets (SC) to form a base.
- Increase in each round until you reach the desired size for the body (usually about 4-5 inches tall).
- Work in rounds until you achieve the height you want.
2. Crochet the Wings
Now, let’s make the wings:
- Chain a certain number (around 15) to start.
- Double crochet (DC) back into the chain, increasing as you go to create a wing shape.
- Make two wings and attach them to the back of the angel’s body.
3. Create the Halo
For a heavenly touch, crochet a halo:
- Use a thin yarn or thread and make a small ring.
- Single crochet around the ring until it’s the desired thickness.
- Attach it securely to the top of the angel’s head.
4. Add Facial Features
Bring your angel to life with some facial features:
- Use beads or yarn to create eyes.
- Embroider a simple smile or a small nose to add character.
5. Final Touches
Complete your angel with embellishments:
- Add beads or sequins to the wings for a sparkling effect.
- You can also crochet a small dress or robe for your angel.
How long does it take to crochet an angel?
Depending on your skill level, it can take around 1-3 hours to complete.
Creating your very own crochet angel is a rewarding and delightful experience. Whether you're crafting it as a gift or for your own enjoyment, the process of bringing this heavenly figure to life is sure to fill you with a sense of accomplishment and joy.
So, grab your materials, follow our guide, and let your creativity soar as you crochet a beautiful angel that's uniquely yours.
Learn how to crochet an easy angel with our step-by-step guide! Perfect for gifts and home decor, this project is simple and delightful for all skill levels.
CHECK MORE CROCHET PATTERNS