How to Make a Yarn Wig: A Creative DIY Guide
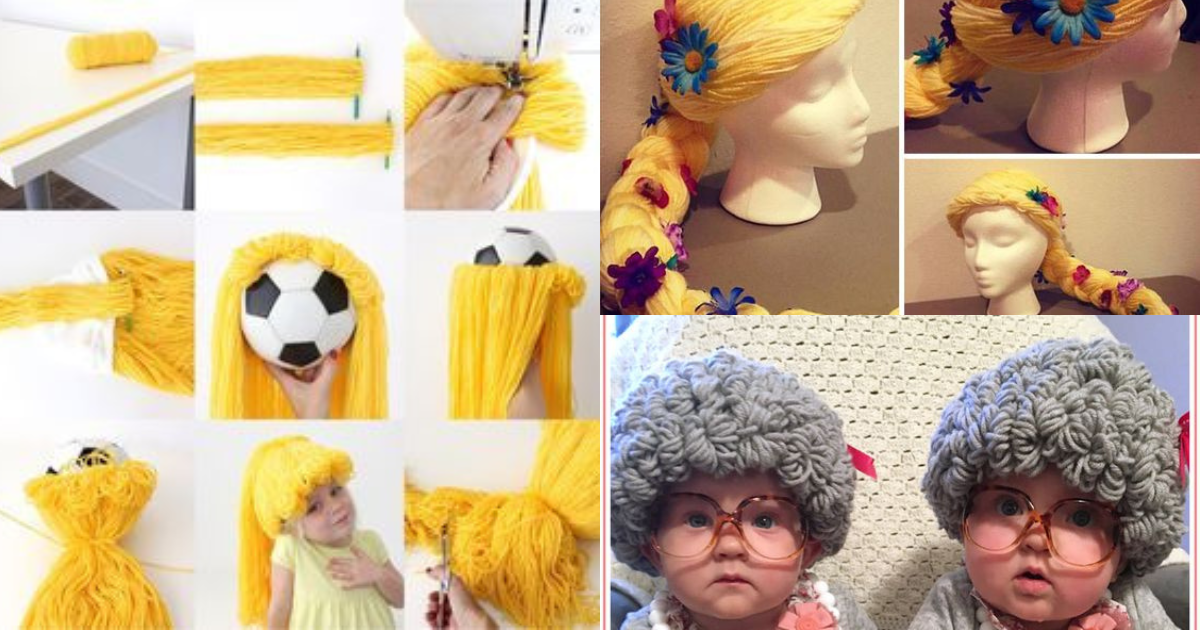
Are you looking for a fun and unique way to change up your hairstyle? Yarn wigs are a fantastic option that allows you to express your creativity and transform your look.
In this step-by-step guide, we'll show you how to make a yarn wig that's both stylish and comfortable.
Whether you're heading to a costume party, a cosplay event, or simply want to experiment with a new hairstyle, making your own yarn wig can be a rewarding and budget-friendly project.
How to Make a Yarn Wig
Yarn wigs are a fantastic way to add a touch of whimsy to your look. Whether you want to dress up as your favorite character or simply want to try out a unique hairstyle, making a yarn wig is a creative and enjoyable project.
In this guide, we will walk you through the process step by step, ensuring you end up with a fabulous yarn wig that suits your style.

Supplies:
Before you begin crafting your yarn wig, you'll need to gather a few essential supplies:
- Yarn: Choose the color and texture that matches your desired look.
- Wig Cap: You can purchase a wig cap or use a stocking as an alternative.
- Scissors: High-quality scissors are essential for cutting the yarn.
- Tape Measure: To ensure the right length for your yarn strands.
- Glue: For attaching the yarn to the wig cap.
- Hairpins: To secure the yarn while working.
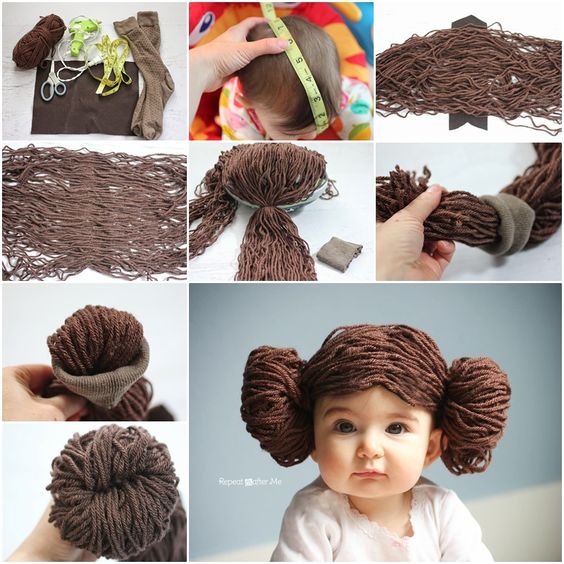
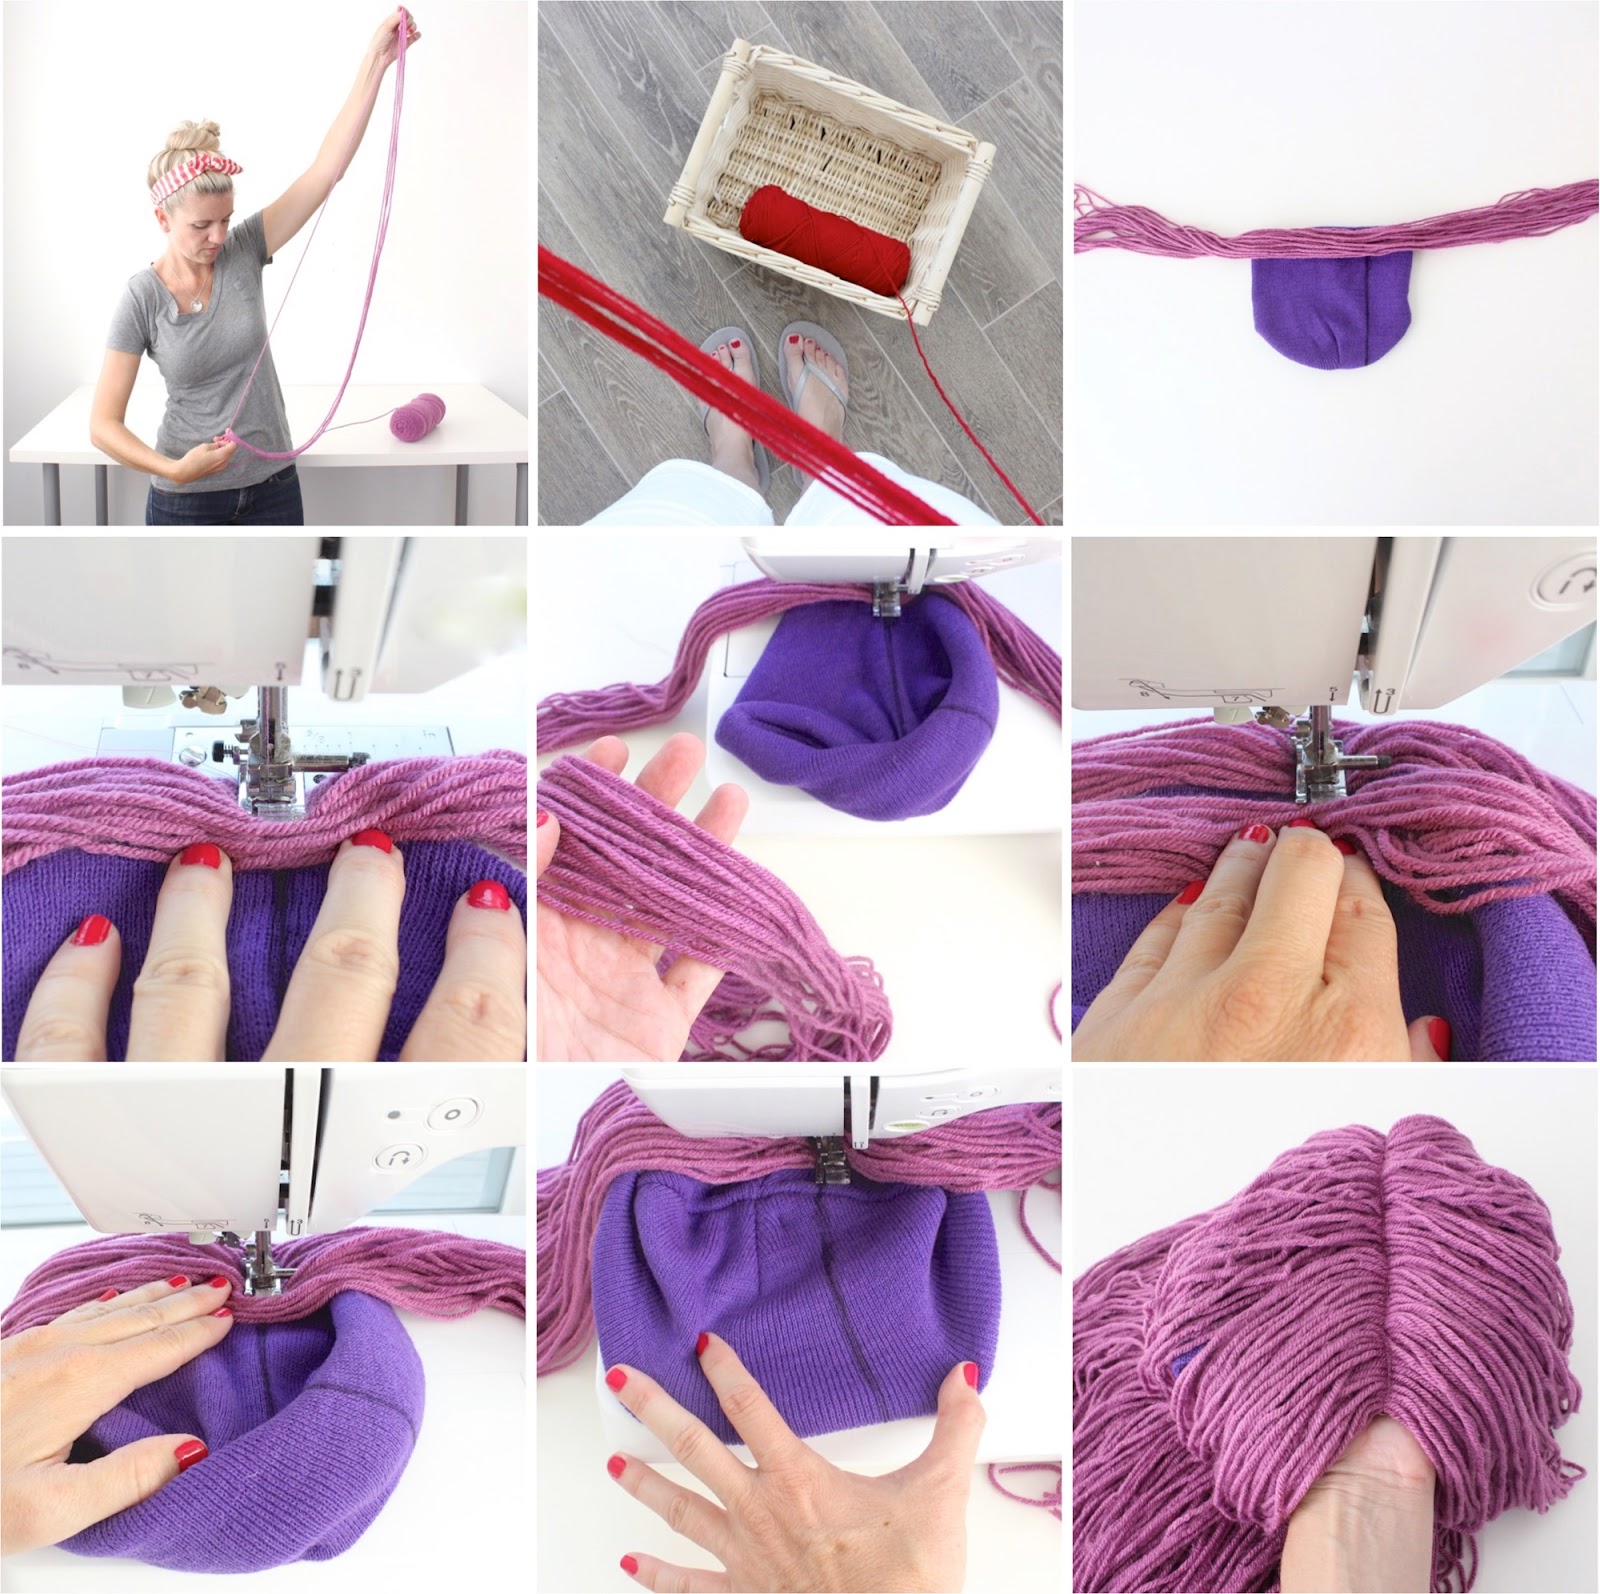
Pinterest.
Creating the Wig Cap
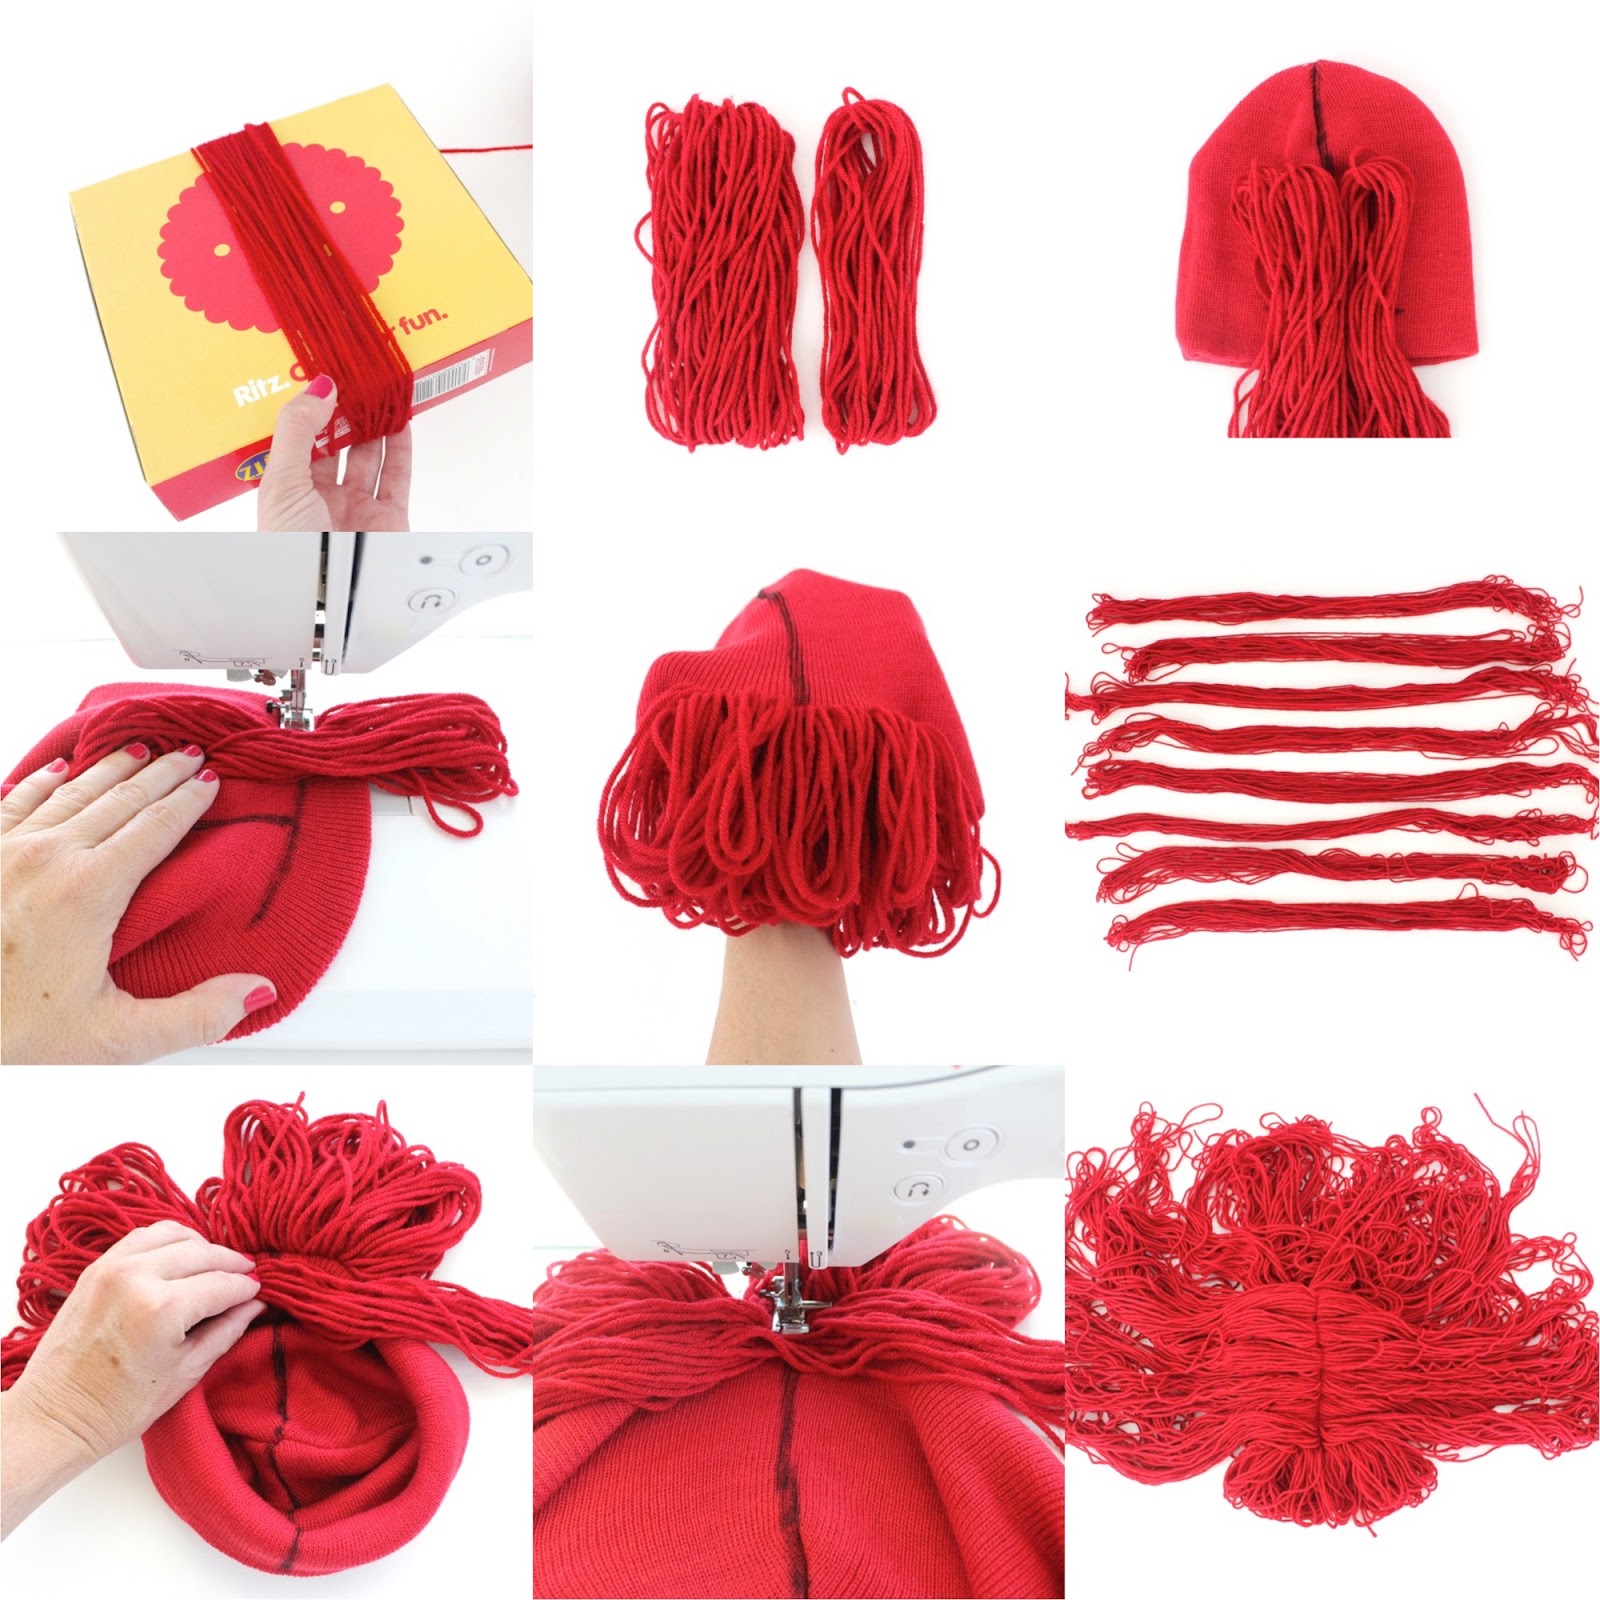
- Start by putting on the wig cap or stretching the stocking over your head.
- Ensure it fits snugly but comfortably.
- Use the tape measure to determine the desired length of your yarn strands.
- Cut the yarn into equal-length pieces, keeping in mind that longer strands will create a fuller wig.
- Apply a small amount of glue to the end of a yarn strand.
- Attach the glued end to the inside of the wig cap.
- Repeat this process, evenly spacing the yarn strands across the cap.
- Continue until the entire cap is covered.
Fun and Creative Yarn Wig Ideas
1. Rainbow Wig
Create a bright, multi-colored rainbow wig using yarn in all colors of the spectrum. This whimsical wig is perfect for unicorn costumes, clowns, or fairytale characters.
- How to Make It:
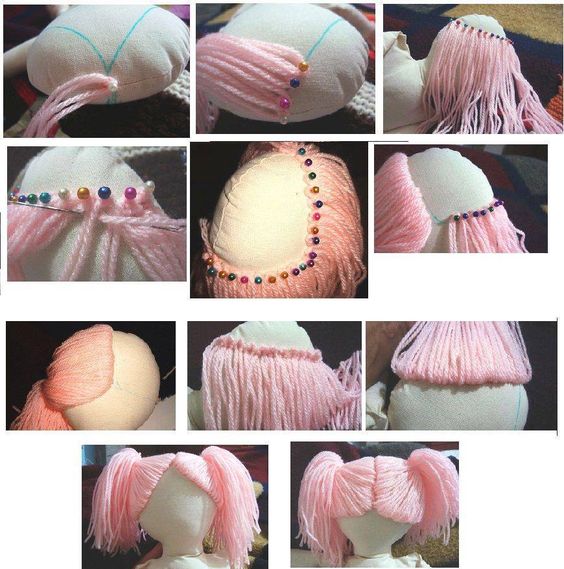
- Use bundles of different colored yarn and alternate them as you attach them to the wig cap.
- Add a unicorn horn or rainbow bows for extra flair.
2. Fairytale Princess Wig
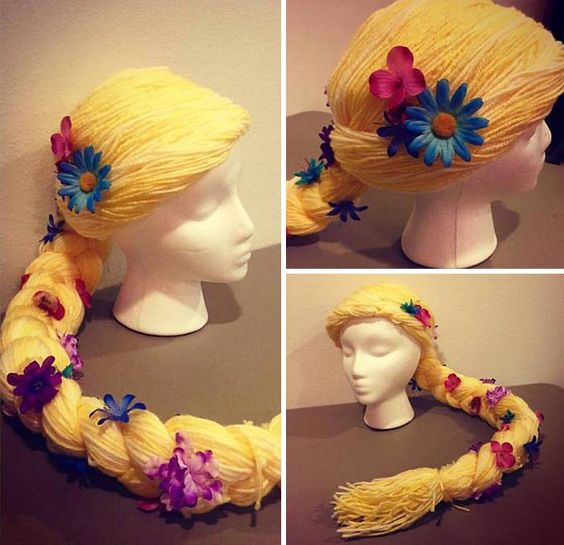
For a Rapunzel-inspired look, make a long braid with golden yarn for a fairytale princess wig. This wig style is magical for kids' costumes and storybook characters.
- How to Make It:
- Use long strands of yellow yarn, then braid it into a single, thick braid.
- Add flowers or ribbon throughout the braid for a royal touch.
3. Wild Rock Star Wig
Embrace a rock-and-roll look with a spiky or shaggy yarn wig. Use bright colors like purple, blue, or neon green for a fun, edgy style.
- How to Make It:
- Cut shorter yarn strands and attach them randomly for a spiked effect.
- Use craft glue to secure certain strands upwards, creating a wild, unstructured look.
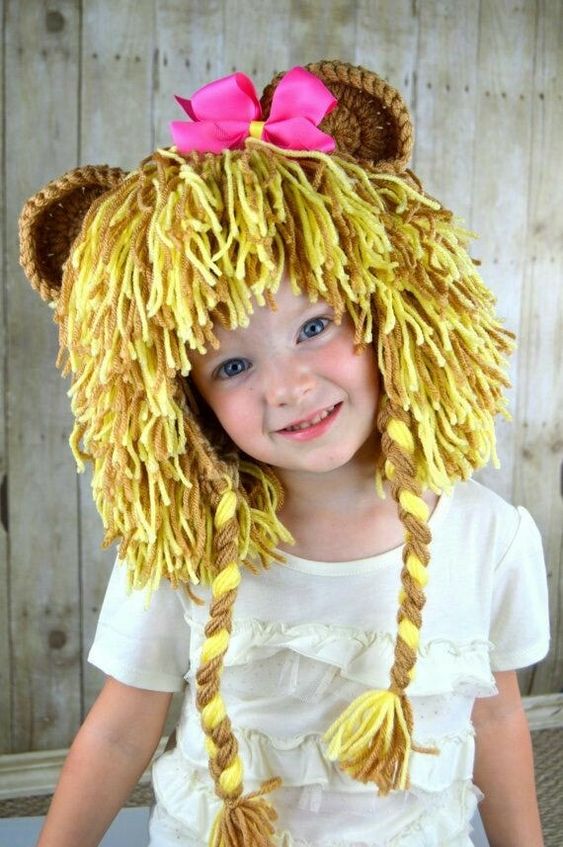
4. Animal Ears Wig
For an animal costume, create a yarn wig with ears to transform into a cat, bear, or bunny. This idea is fun for kids and fits various animal characters.
- How to Make It:
- Use yarn matching the animal color (e.g., brown for a bear or white for a bunny).
- Crochet or sew ears to the wig cap, then add a few additional yarn strands to cover the cap for a realistic look.
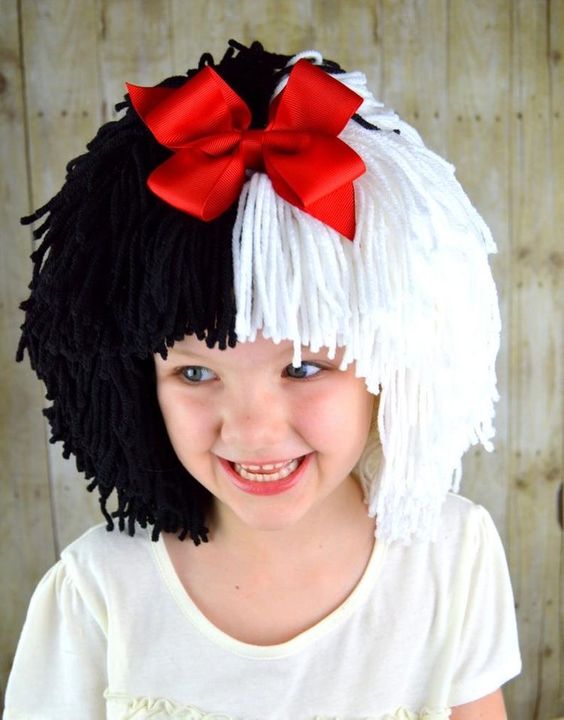
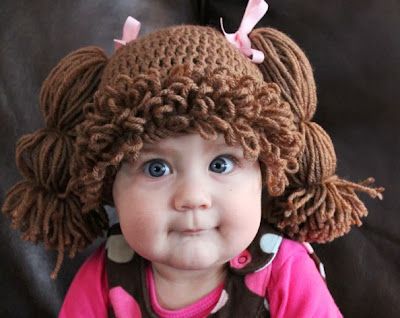
Once you've attached all the yarn strands, it's time to get creative with your wig's style. You can trim and shape it to your liking, adding layers and texture as desired. Experiment with different hairstyles until you achieve the look you want.
CHECK MORE CROCHET PATTERNS