How to Make an Easy Crochet Chicken: A Fun and Creative Project
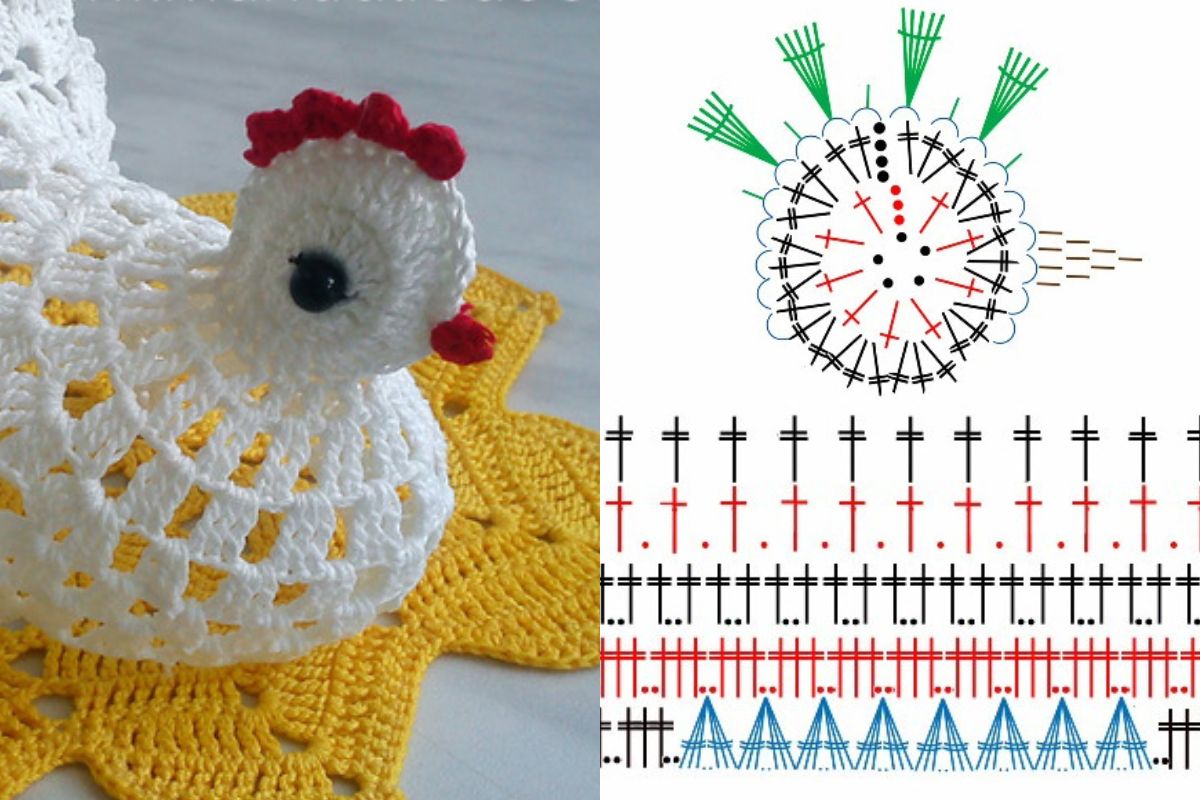
Crochet is a delightful and versatile craft that allows you to create adorable, handmade pieces. If you're looking to add a touch of charm to your home decor or perhaps make a fun gift, a crochet chicken can be the perfect project.
Whether you're a beginner or an experienced crocheter, this simple pattern will guide you through creating a cute and colorful chicken that can be used for Easter decorations, as a keychain, or as a charming addition to your collection.
In this article, we will explore how to make an easy crochet chicken step-by-step, providing you with detailed instructions, tips, and tricks to ensure your creation turns out perfectly. Let’s dive in and get crocheting!
- Crochet a Chicken
- Materials You’ll Need
- Basic Stitches You Will Use
- Step-by-Step Guide to Making Your Crochet Chicken
- Tips and Tricks
- FAQ: Frequently Asked Questions
- 1. What type of yarn should I use for the crochet chicken?
- 2. Can I make the chicken larger or smaller?
- 3. What can I do with my crochet chicken after making it?
- Meta Title: How to Make an Easy Crochet Chicken - Step-by-Step Guide
- Meta Description: Learn how to make an easy crochet chicken with our step-by-step guide. Perfect for beginners, this fun project is great for Easter decorations, gifts, and more.
Crochet a Chicken
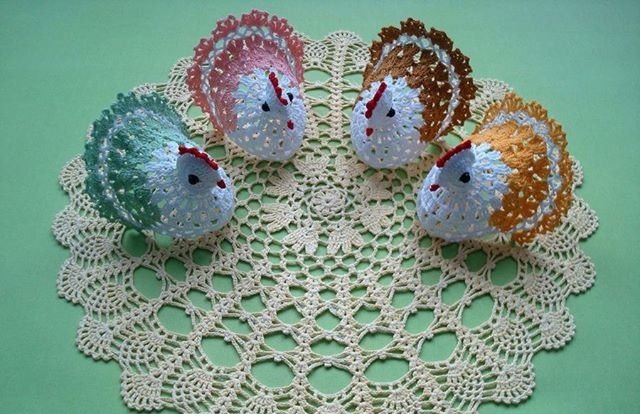
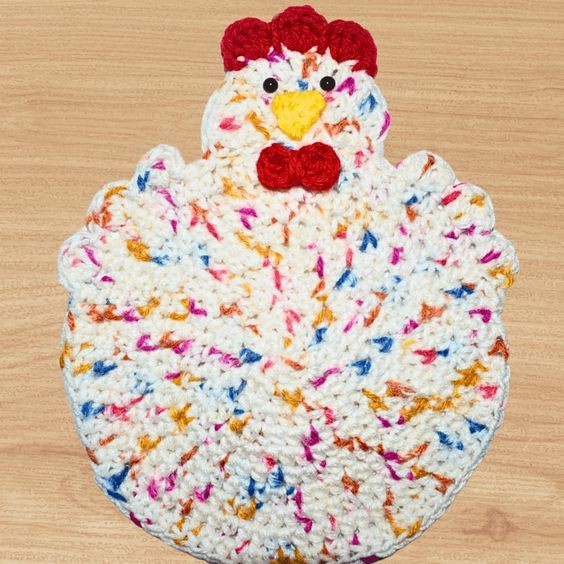
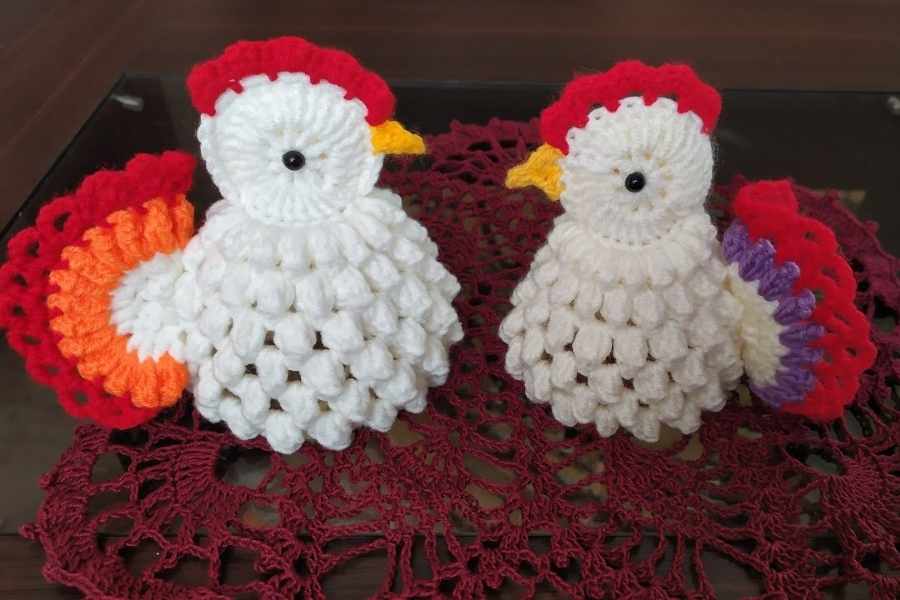
A crochet chicken is full of personality! It’s an excellent project for beginners and those looking to improve their skills while creating something that is both fun and useful. You can easily change the colors, size, and details of your crochet chicken to suit your personal style or the occasion.
A crochet chicken is an ideal addition to your Easter decorations. It brings a sense of whimsy and celebration to any Easter setup.

Materials You’ll Need
To start making your crochet chicken, gather the following materials:
- Yarn: Choose a yarn in bright yellow, white, or any other color you prefer for your chicken’s body. You’ll also need yarn in other colors for the beak, legs, and comb.
- Suggested yarn: DK weight yarn (lightweight)
- Crochet Hook: A 3.5mm (E) crochet hook is ideal for this project, but you can adjust based on the thickness of your yarn.
- Fiberfill Stuffing: For a cute, puffy chicken body.
- Safety Eyes (optional): If you want to give your chicken a cute face, you can use safety eyes. Alternatively, you can stitch the eyes with yarn.
- Yarn Needle: For weaving in the ends and attaching parts.
- Stitch Marker: This helps keep track of the beginning of rounds.
Basic Stitches You Will Use
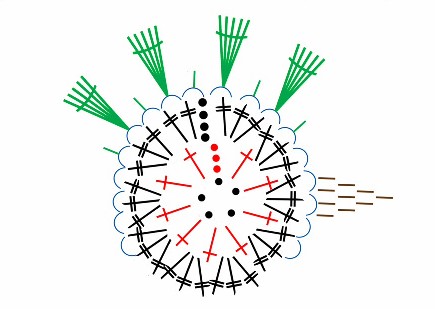
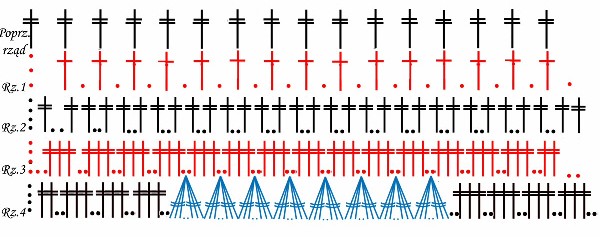
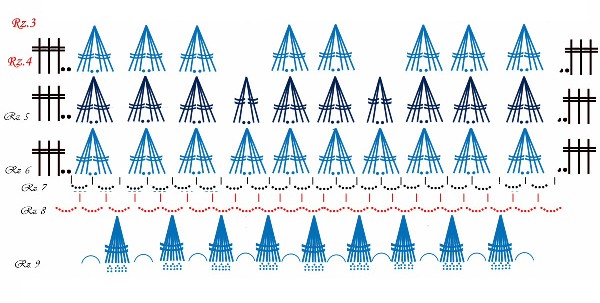
Before diving into the pattern, make sure you're familiar with the following crochet stitches, which are essential for this project:
- Chain (ch): The foundation stitch for many crochet projects.
- Slip Stitch (sl st): A short stitch used for joining or moving without adding height.
- Single Crochet (sc): A simple stitch that is the building block of many crochet projects.
- Increase (inc): Crocheting two stitches into one stitch to increase the size.
- Decrease (dec): Crocheting two stitches together to reduce the size.
Step-by-Step Guide to Making Your Crochet Chicken
Step 1: Making the Chicken's Body
- Start with a Magic Ring: This will form the foundation of your chicken. If you're not familiar with a magic ring, you can start with a chain and join it into a ring instead.
- Round 1: Make 6 sc into the magic ring (6 sts).
- Round 2: Inc in each stitch around (12 sts).
- Round 3: 1 sc, inc repeat around (18 sts).
- Round 4: 2 sc, inc repeat around (24 sts).
- Continue increasing until you reach the desired size for the body (you can stop after 6 rounds or increase more for a larger chicken).
Tip: Use a stitch marker to keep track of your rounds.
- Work Even: Once you've reached the right size for your chicken’s body, stop increasing and continue crocheting in rounds without increasing until you have a flat, cylindrical shape. Continue until the body is the desired height (usually 4-5 rounds).
- Stuff the Body: Before you close the body, stuff it lightly with fiberfill to give it a rounded and firm shape.
- Close the Body: When the body is the desired size, decrease to close the top.
- Round 1: 2 sc, dec repeat around.
- Continue decreasing in the same pattern until there’s a small opening left.
- Finish by slip stitching and weaving in the ends.
Step 2: Creating the Chicken’s Head
- Start with a Magic Ring again for the head.
- Round 1: Make 6 sc into the magic ring (6 sts).
- Round 2: Inc in each stitch around (12 sts).
- Round 3: 1 sc, inc repeat around (18 sts).
- Round 4: 2 sc, inc repeat around (24 sts).
- Work Even: Continue crocheting until the head is a suitable size (approximately 3-4 rounds).
- Stuff the Head lightly with fiberfill and stitch it onto the top of the body.
Step 3: Adding the Beak
- To create the chicken’s beak, use orange yarn:
- Row 1: Ch 3, turn.
- Row 2: Sc in each stitch across (3 sts).
- Row 3: Dec 2 sc at the end of the row.
- Row 4: Fasten off, leaving a tail to attach to the face.
Attach the beak just below the eyes, in the middle of the face.
Step 4: Making the Comb
- The comb is made using red yarn:
- Row 1: Ch 4, turn.
- Row 2: Work sc across (4 sts).
- Row 3: Turn, and sc across again.
- Continue for 3-4 rows, making the comb as large or small as you prefer.
Attach the comb to the top of the chicken’s head, slightly off-center for a cute and asymmetrical look.
Step 5: Adding the Eyes
If you’re using safety eyes, insert them just below the comb and above the beak. For a simple look, you can stitch two small black dots using yarn or embroidery floss.
Step 6: Creating the Legs
- Make a chain of 5 with orange yarn.
- Turn and sc back along the chain (4 sts).
- Continue crocheting to create legs, adding additional rows to get the desired length.
- Stuff the legs lightly and attach them to the bottom of the body.
Step 7: Assembling the Chicken
- Attach the head securely to the body using a yarn needle.
- Position and stitch on the beak, comb, and legs.
- Weave in all ends, making sure everything is secure.
Tips and Tricks
- Customize the Chicken: Don’t hesitate to use different colors for the body, comb, or legs to match your theme.
- Create a Mini Chicken: If you want to make a mini chicken, simply reduce the number of starting stitches and rounds.
- Add Accessories: You can add small bows or scarves to make your chicken even cuter.
FAQ: Frequently Asked Questions
1. What type of yarn should I use for the crochet chicken?
For a soft and cuddly chicken, DK weight yarn or worsted weight yarn is ideal. You can also choose a cotton yarn for a firmer finish.
2. Can I make the chicken larger or smaller?
Yes! To make a larger chicken, simply increase the number of starting stitches or rounds. For a smaller chicken, decrease the stitches and rounds to fit your desired size.
3. What can I do with my crochet chicken after making it?
Your crochet chicken can be used as decoration for Easter, a keychain, a gift, or even a mini plush toy for children.
CHECK MORE CROCHET PATTERNS