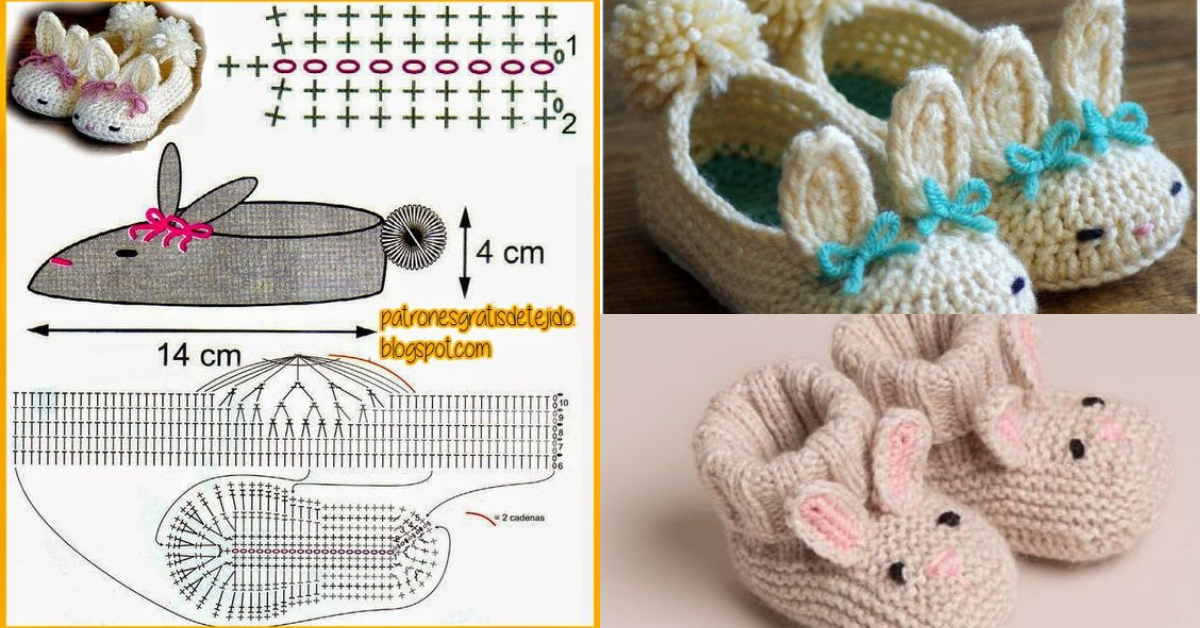
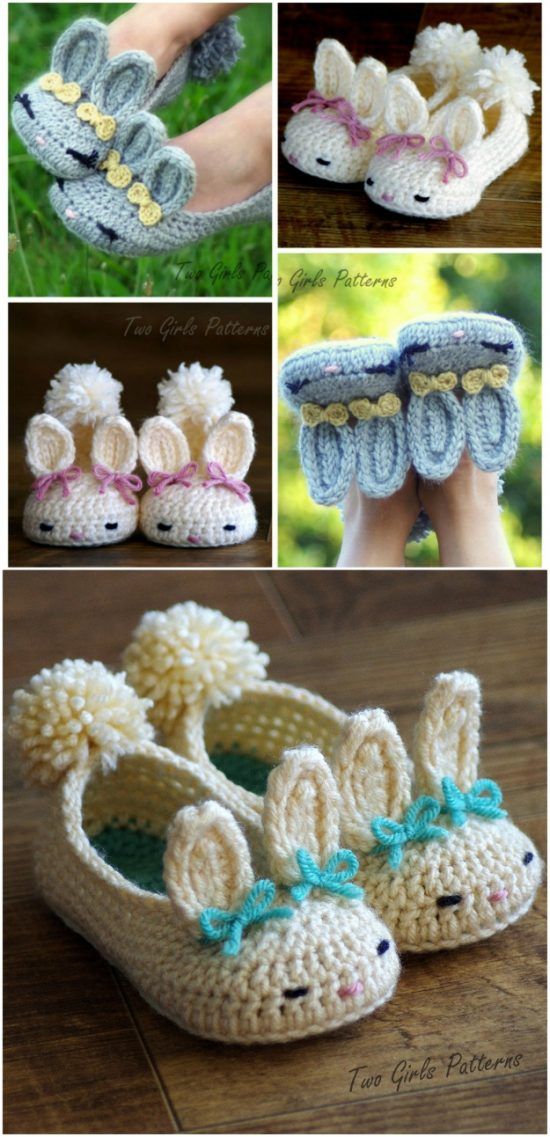
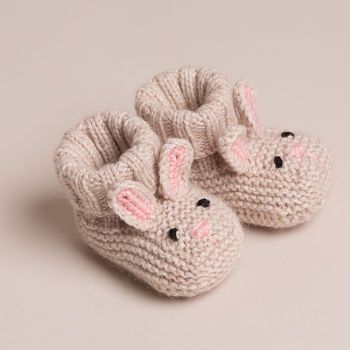
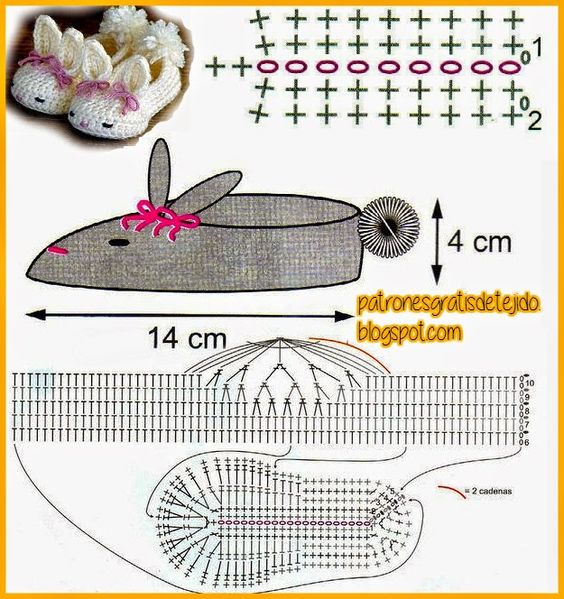
How to make crochet bunny baby shoes

The rabbit is one of the cutest animals, with its muzzle and ears, this animal is perfect for those who like to do crochet work. This is the case with the crochet bunny baby shoes.
Crochet shoes are perfect for keeping the little ones' feet warm, and you can also style the little ones.
Today we leave a video tutorial and some ideas for crochet bunny shoes.
Table
How to crochet Baby Bunny Booties

Crochet Baby Bunny Booties ideas
Materials Needed
Before you start crocheting your bunny baby shoes, gather the following materials:
- Yarn: Choose soft, medium-weight yarn (worsted weight) in the main color for the shoes and a contrasting color for the bunny ears.
- Crochet Hook: Use a size appropriate for your yarn (typically 3.5 mm to 4.5 mm).
- Scissors: For cutting yarn.
- Yarn Needle: For weaving in ends and sewing pieces together.
- Measuring Tape: To ensure the correct size for the baby shoes.
- Optional: Safety eyes or embroidery thread for added features.


Step-by-Step Instructions for Making Crochet Bunny Baby Shoes
Step 1: Measure Baby's Feet
- Determine Size:
- Measure the baby's foot length to ensure a perfect fit. You can find size charts online for reference, but a typical baby shoe size ranges from 3 to 6 months (approximately 4-5 inches in length).
Step 2: Create the Sole of the Shoes
- Foundation Chain:
- Start by chaining enough stitches to match the desired length of the shoe sole. For example, for a 3-6 month size, you might start with a chain of about 12-15 stitches.
- First Row:
- Work sc in the second chain from the hook and in each chain across. This will form the base of your shoe.
- Increase for Shape:
- To create a rounded shape, continue working rows while increasing at the beginning and end. For example:
- Row 2: Ch 1, sc in the first stitch, 2 sc in the next stitch, sc across to the last stitch, 2 sc in the last stitch.
- Continue Until Desired Size:
- Repeat the increase process until the sole reaches the desired width and shape.
Step 3: Create the Body of the Shoe
- Working Upwards:
- Once the sole is complete, start working in rounds. Place a marker to indicate the beginning of each round.
- For the first round, ch 1, then sc in each stitch around the edge of the sole.
- Add Height:
- Continue working in sc or switch to dc for a taller body. Depending on the desired height of the shoe, work up several rounds.
- Shaping:
- As you work upwards, you may need to decrease stitches to create a snug fit around the ankle. For example, sc2tog (single crochet two together) can be used to decrease.
Step 4: Create the Bunny Ears
- Foundation for Ears:
- To make the bunny ears, start with a magic ring or chain a few stitches, then work in rounds to create the ear shape.
- For the ears, chain 5 and work 2 dc in the second chain from the hook, ch 1, and 2 dc in the same stitch. This creates a rounded tip for the ears.
- Forming Ears:
- Continue working in the round until the ears reach your desired length. You can make them longer or shorter depending on your preference.
- Finish Off:
- Once the ears are complete, leave a long tail for sewing.
Step 5: Assemble the Bunny Baby Shoes
- Attach the Ears:
- Use the yarn needle to sew the completed ears onto the top of the shoe. Position them slightly to the sides to give the bunny a cute look.
- Add Features:
- Optionally, sew on safety eyes or embroider the bunny’s eyes and nose using contrasting thread. This adds personality to your bunny shoes.
- Finishing Touches:
- Weave in any loose ends and ensure everything is securely attached. You can also add a decorative trim around the top of the shoe if desired.
Step 6: Optional Embellishments
- Decorative Elements:
- Consider adding additional embellishments like flowers, bows, or buttons to personalize your bunny baby shoes further.
- Color Variations:
- Experiment with different colors for the ears or body of the shoes to create fun combinations.
CHECK MORE CROCHET PATTERNS