How to make yarnwool dog step by step
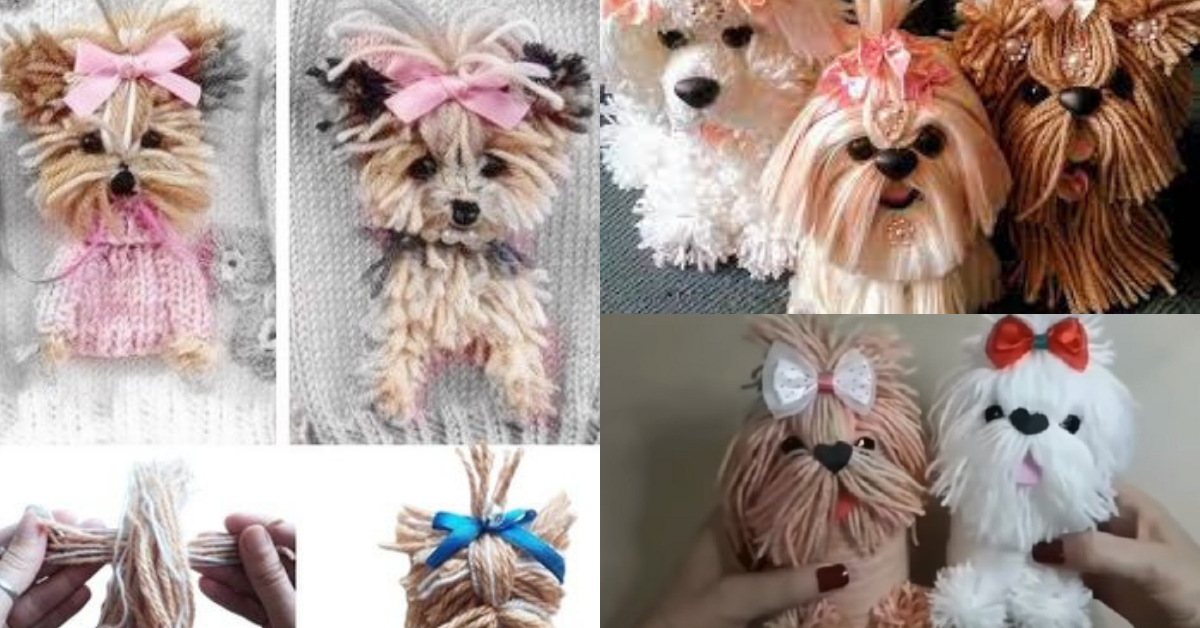
Dogs are one of humans' favorite pets. Dogs make company and love without expecting anything in return.
For those who love dogs here is a wonderful idea. They are puppies made of wool, a super cute and beautiful idea to use at home or to give away.
Wool puppies are simple to make that the little ones will love.
Yarnwool Dogs Step by Step
Crafting a yarn wool dog is a fun, easy project that lets you create an adorable keepsake or gift using just yarn, wool, and a few basic materials. Whether you’re an experienced crafter or a beginner, this guide will walk you through every step, from gathering materials to shaping your final furry friend.
Check out the step-by-step vídeo.

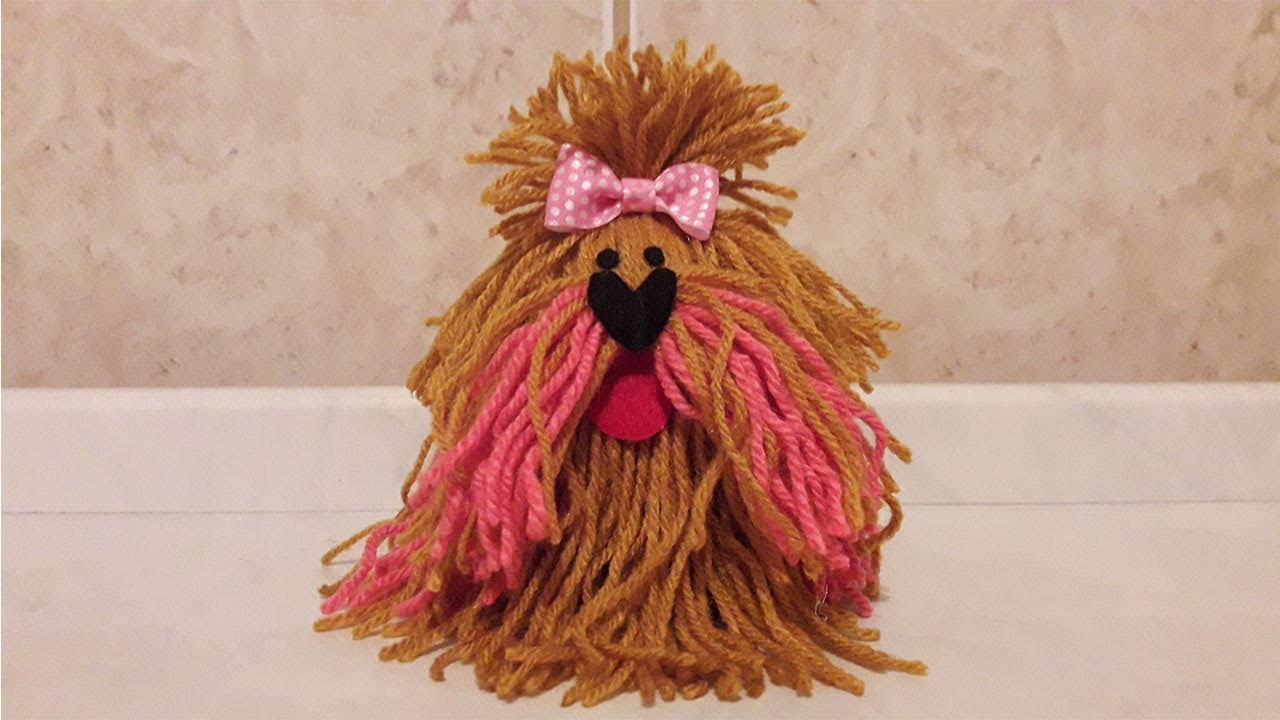
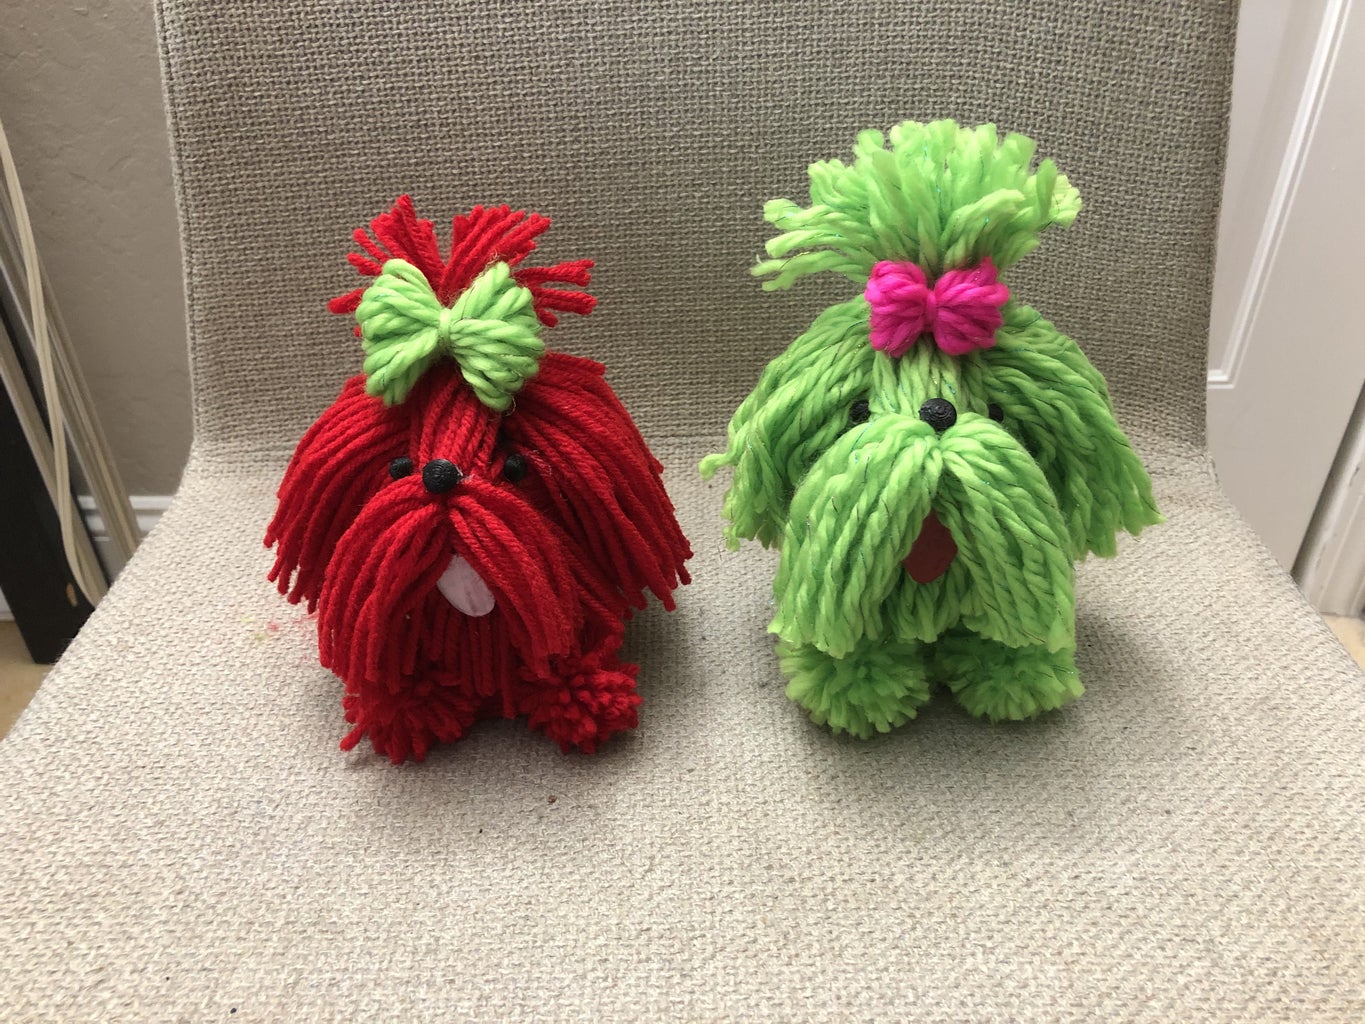
Yarnwool Dogs Ideas
Here are some ideas to use as inspiration.
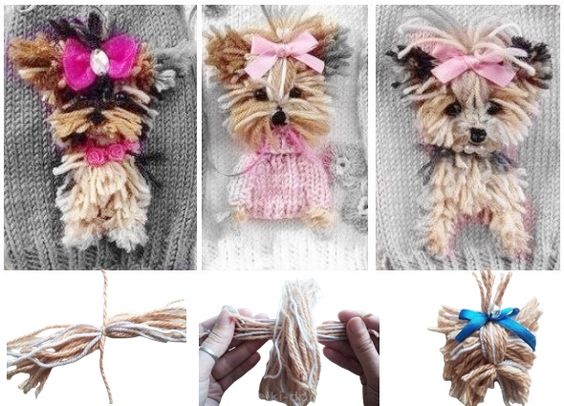
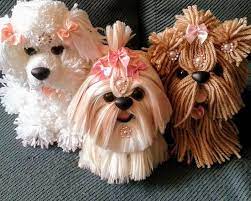
Via Pinterest
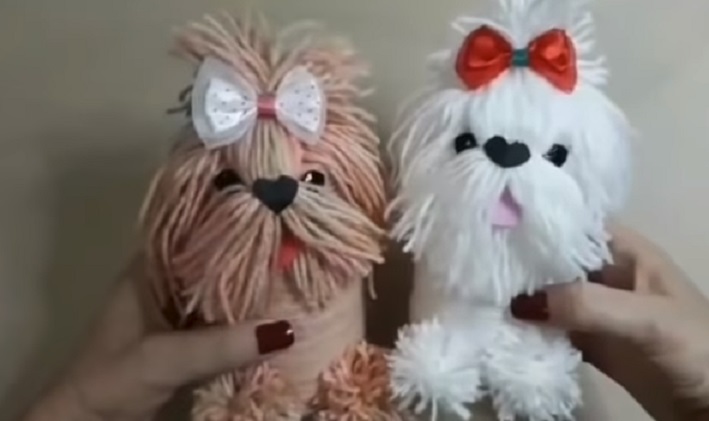
Via: cpykami.ru
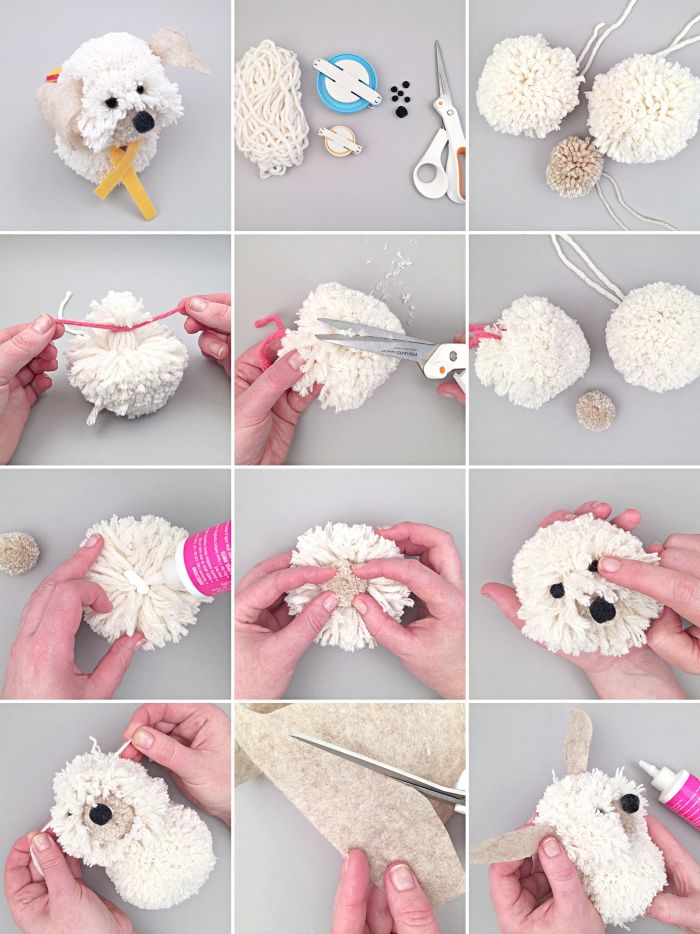
Step-By-Step Guide: How to Make a Yarn Wool Dog
Step 1: Make the Pom-Poms for the Dog’s Body
- Prepare the Cardboard Circles: Cut two identical circles from cardboard with a hole in the center (like donuts). The larger the circles, the bigger the pom-poms.
- Wrap Yarn Around the Circles: Hold the two cardboard circles together and wrap the yarn around them multiple times until it forms a thick layer.
- Cut the Yarn: Use scissors to cut the yarn between the two circles all the way around.
- Tie Off the Pom-Pom: Insert a separate piece of yarn between the cardboard circles and tie it tightly to secure the pom-pom.
- Trim the Pom-Pom: Remove the cardboard and fluff up the pom-pom, trimming any uneven edges.
Pom-Pom Tip: Create 4 pom-poms in different sizes for the head, body, and legs.
Step 2: Form the Dog’s Head and Body
- Select Pom-Poms: Use the largest pom-pom for the body and a slightly smaller one for the head.
- Attach Head to Body: Use hot glue or sewing thread to secure the head pom-pom to the body pom-pom.
- Position Carefully: Ensure that the head is centered on the body and positioned to give your dog a balanced look.
Attachment Tip: Use glue sparingly and let each part dry fully before moving on.
Step 3: Add the Legs and Tail
- Legs: Attach two smaller pom-poms on each side of the body for the front and back legs. Make sure they’re evenly placed.
- Tail: Use a small or medium pom-pom for the tail and attach it at the back.
- Securing: Use hot glue or needle and thread to firmly attach each part.
Leg Tip: Try adding a little more yarn to the leg pom-poms if you want your dog to appear more “fluffy.”
Step 4: Create the Ears and Face
- Ears: Cut two small pieces of yarn or felt for floppy ears. Attach them to the top sides of the head.
- Eyes: Attach black beads or small buttons for the eyes, positioning them slightly apart to create a cute expression.
- Nose: Attach a small black bead or pom-pom for the nose at the front.
Expression Tip: Experiment with different placements for the eyes and nose to give your yarn dog a unique personality.
Step 5: Add Details and Final Touches
- Muzzle: Optionally, wrap a small piece of yarn into a tight ball and glue it under the nose to make a muzzle.
- Collar: Tie a thin strip of yarn or ribbon around the neck as a collar for added flair.
- Trimming: Give your yarn dog a final “grooming” by trimming any stray yarn to refine its shape.
CHECK MORE CROCHET PATTERNS