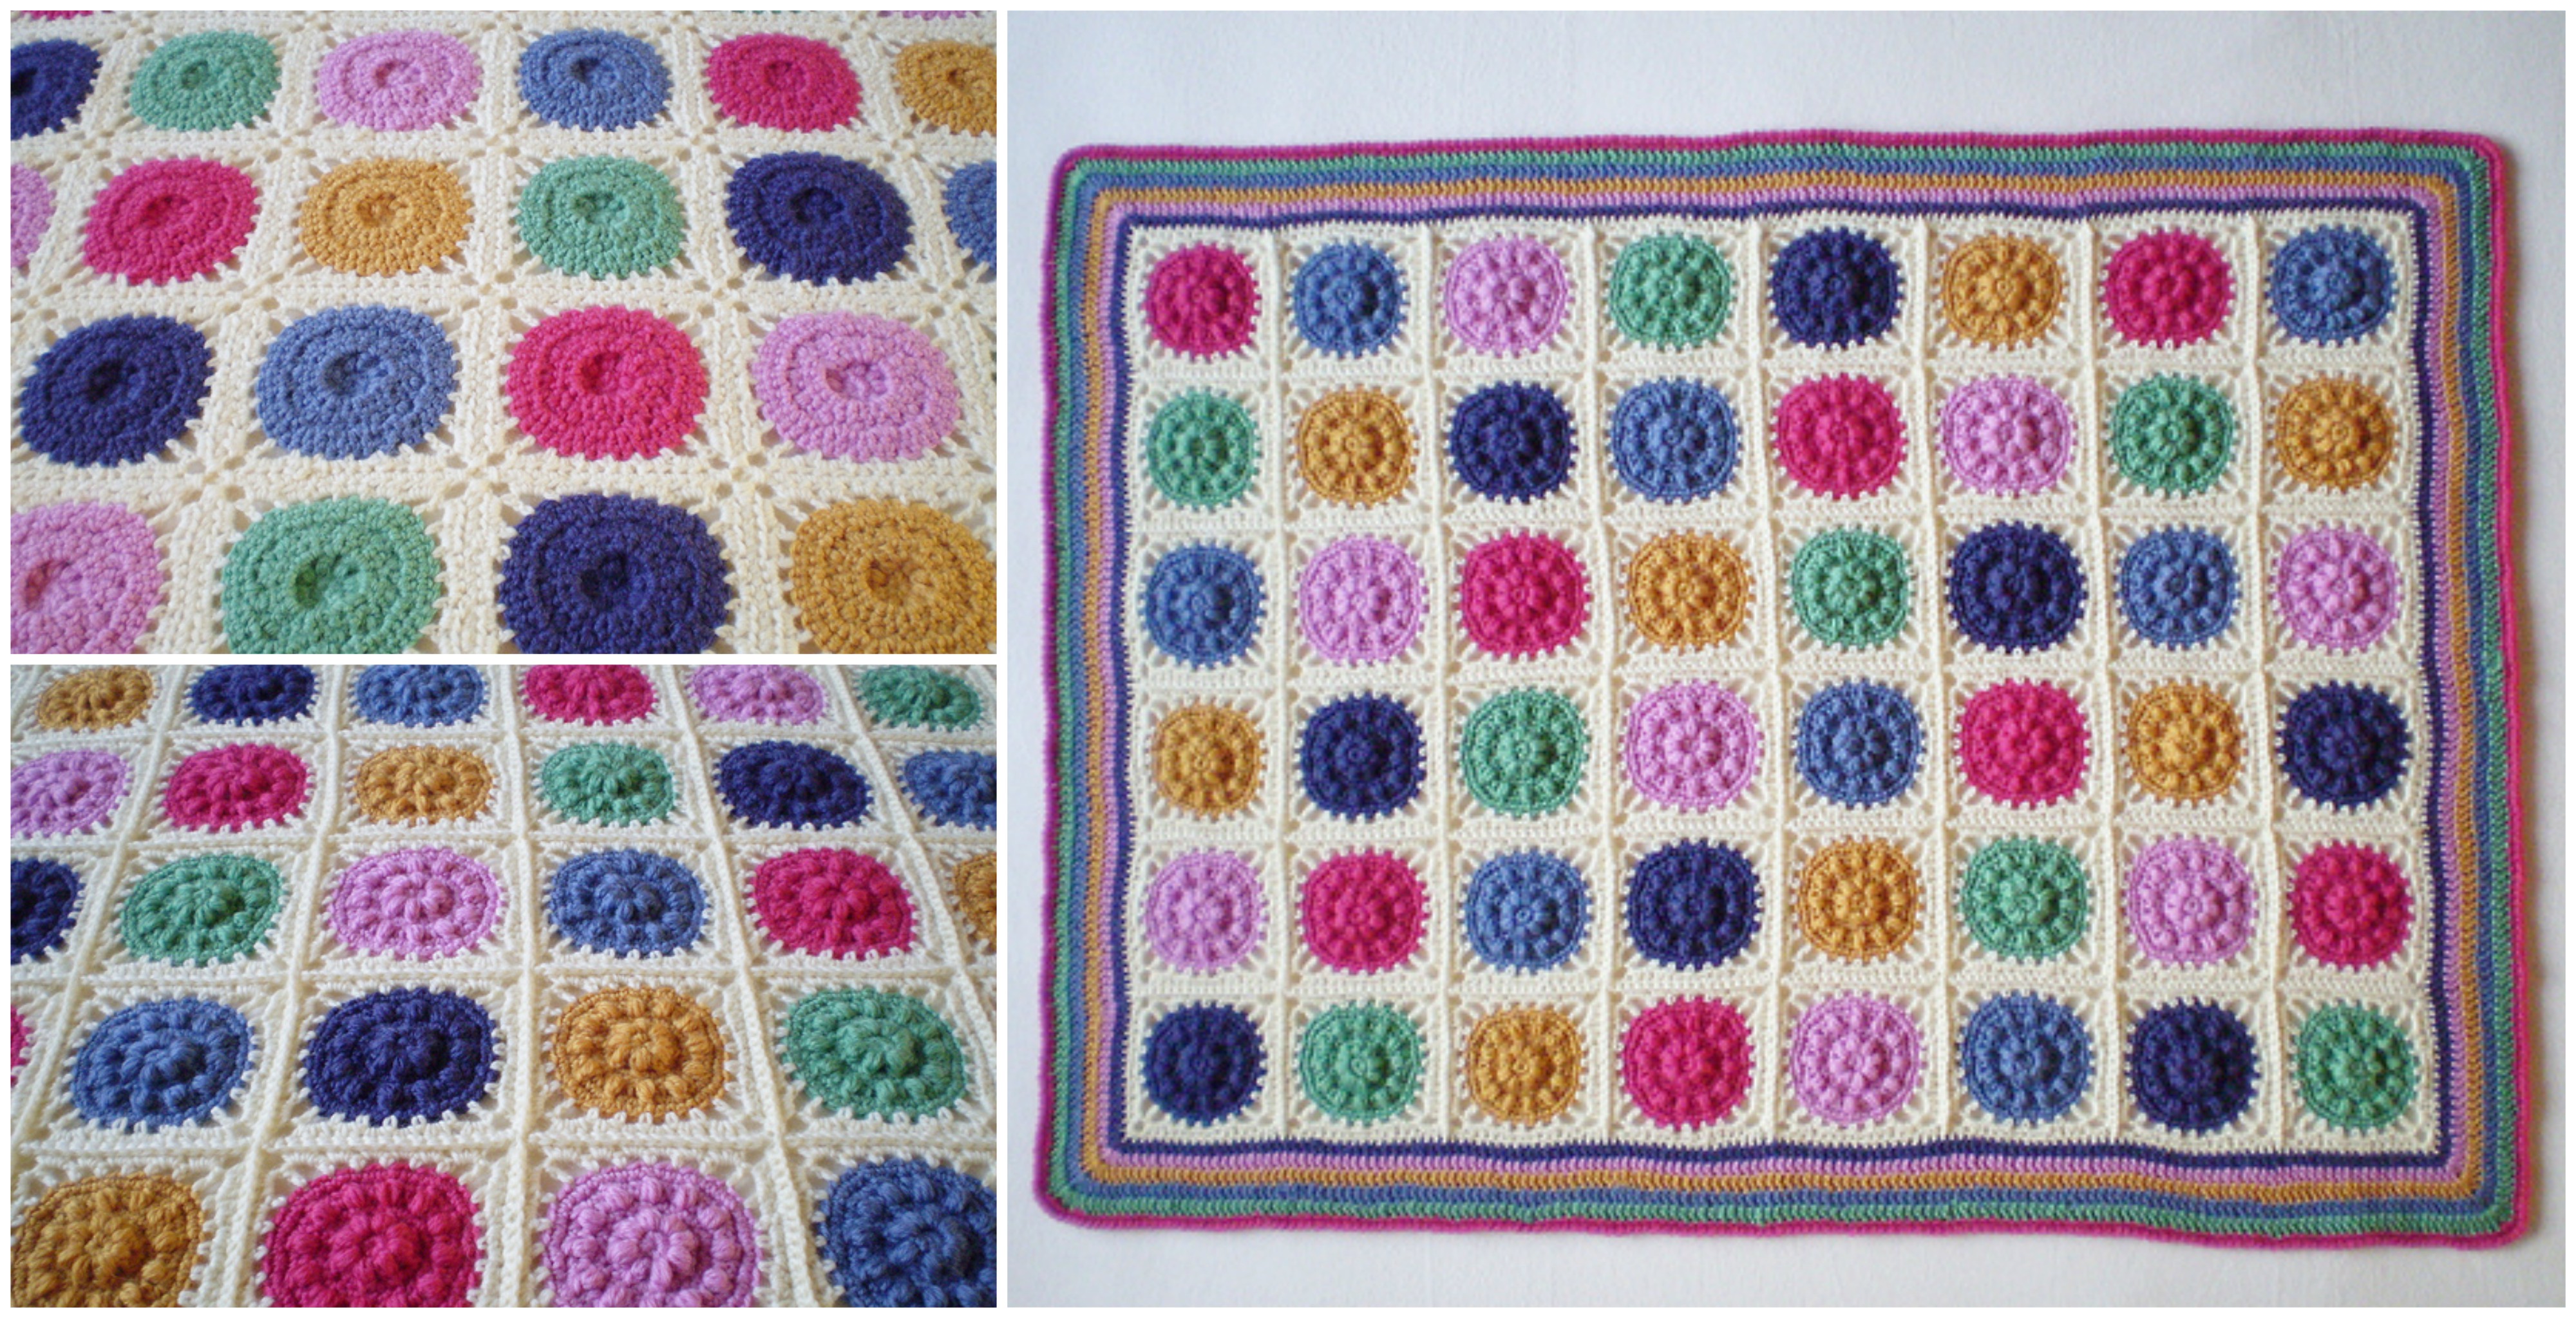
Jelly Mould Blanket

I think that it is no surprise any more that you are going to find a pattern of this gorgeous blanket. When looking at the photos I cant’s wait to finish my recent project and start this one.
I think that this project will be one of the most beautiful and easy projects share on our website because you can see that there is a same technique repeated over and over again so this gives us an opportunity to save time and choose and control the size of the blanket very easily.
In my opinion this kind of blanket should be crocheted using several colors but you can crochet it using only one of course or as many as you want.
Jelly Mould Blanket
The pattern is tested and is very popular so that means that it works perfect. I don’t think that there will be any problem with the working time so my advise will be to start crocheting jelly mould blanket.
Enjoy the article and let your friends see it too, tel them about your impressions and opinion. Enjoy and best of luck.

Making Your Crochet Jelly Mould Blanket
Step 1: Choose Your Colors
One of the joys of crocheting a Jelly Mould Blanket is choosing color schemes that reflect your style.
- Pastels: For a soft, vintage-inspired look.
- Brights: A modern twist with vibrant color pops.
- Monochromatic: Using different shades of the same color adds depth.
Step 2: Start with the Basic Jelly Mould Shape
- Begin with a Magic Ring: This ring creates the foundation of your jelly mould shapes.
- Single Crochet in Rounds: Work single crochets in continuous rounds, gradually increasing to shape the mould.
- Add Puff Stitches: The puff stitch creates the "jelly mould" effect, adding volume and texture.
Tip: Practice the puff stitch separately if you're new to it. It’s essential for the signature mould look.
Step 3: Create Multiple Jelly Moulds
To form the blanket, you’ll need to make several individual jelly mould pieces.
- Repeat the Pattern: Make each mould identical for a uniform look.
- Change Colors: Switch colors every few moulds or use different colors for each mould for a patchwork effect.
- Leave Yarn Tails: These will be useful for joining pieces later.
Step 4: Assemble the Blanket
Once you have your individual jelly moulds:
- Lay Out the Pieces: Arrange them in rows or a checkerboard style.
- Use Slip Stitches to Join: Using slip stitches, carefully join each mould to the adjacent ones.
- Add a Border: A single or double crochet border finishes the blanket, providing a polished look.
CHECK MORE CROCHET PATTERNS