Beautiful macramé angels. Tuto and ideas
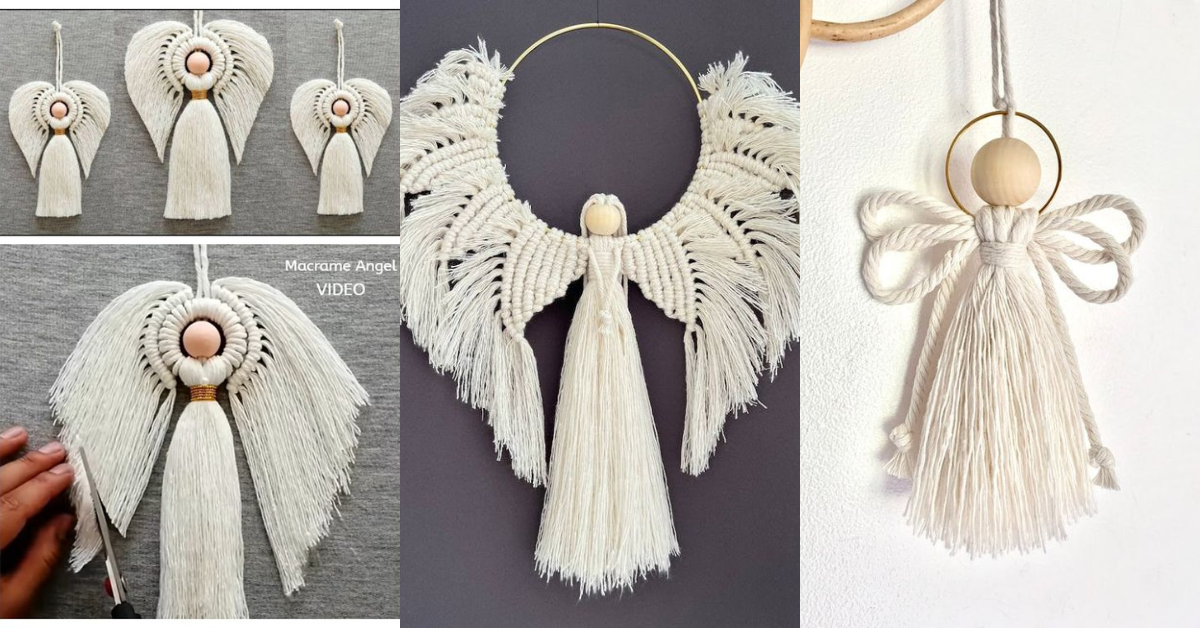
Macramé is perfect for those who like crafts and special and very different decorations. Today we show you how to make macramé angels.
Macramé angels are perfect to use in your Christmas decor, but also to decorate a room or a special corner. They are also perfect to give away.
Check out the video tutorial to make angels in macramé and also some ideas and inspirations that we have separated for you.
DIY Macrame Angel Tutorial Step by Step

Macramé angels ideas
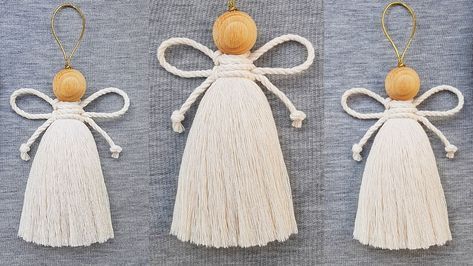
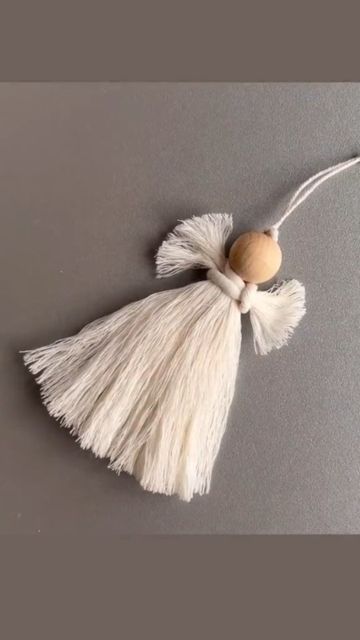
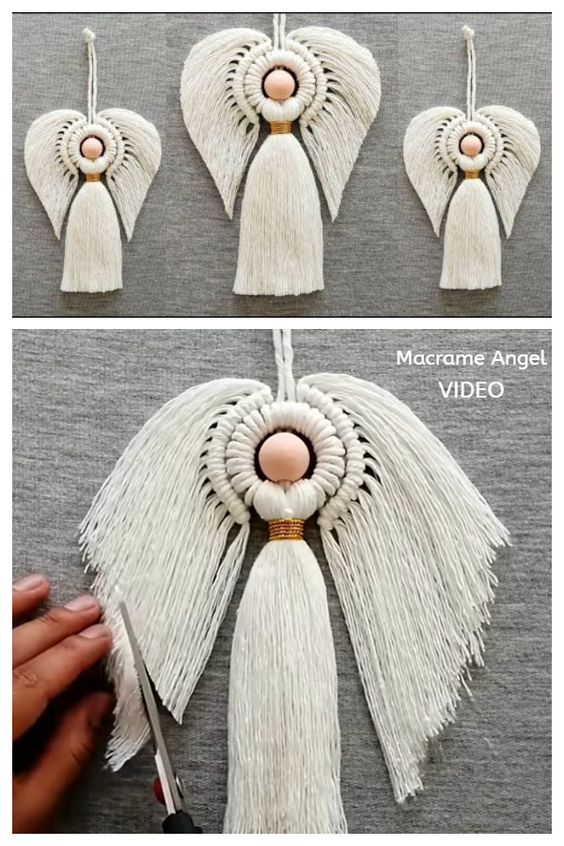
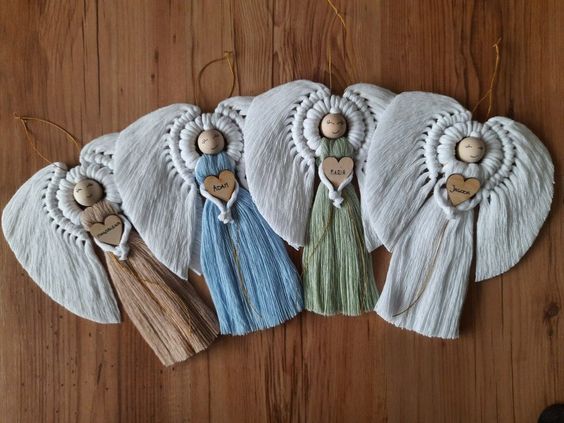
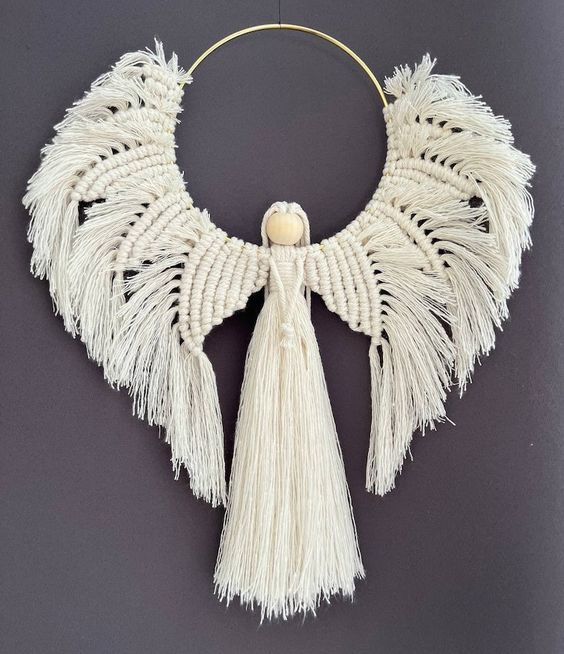
Via Pinterest
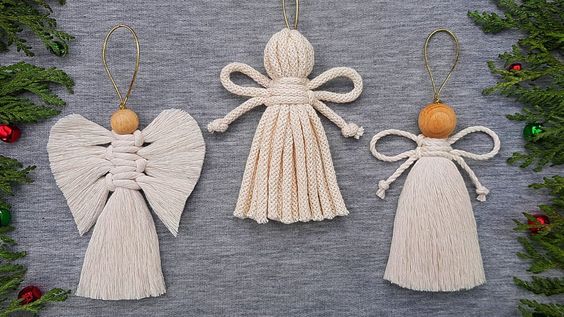
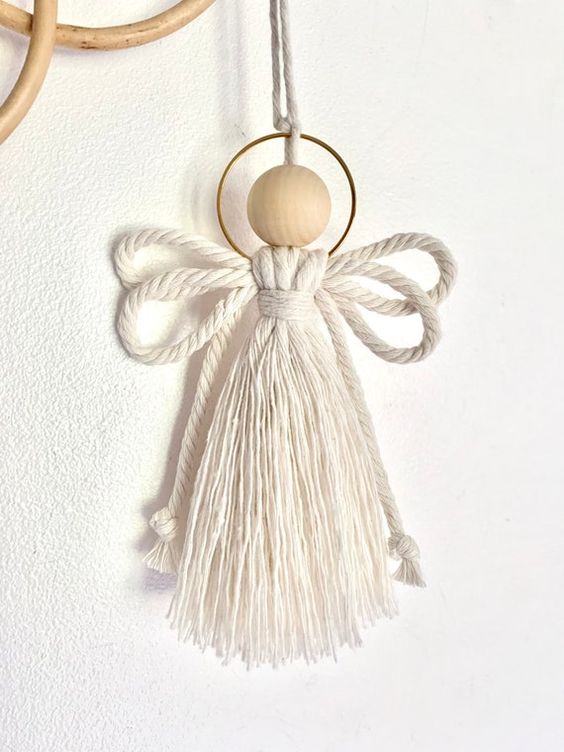
Via Pinterest
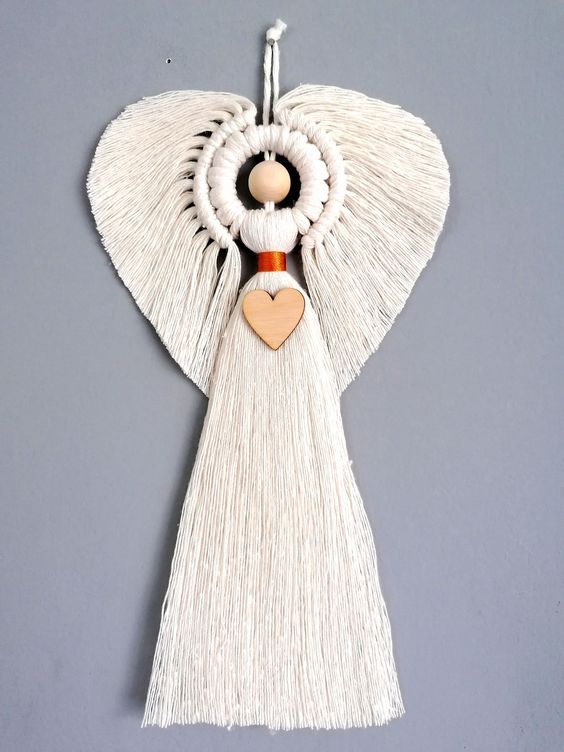
Via: archiwum.allegro.pl
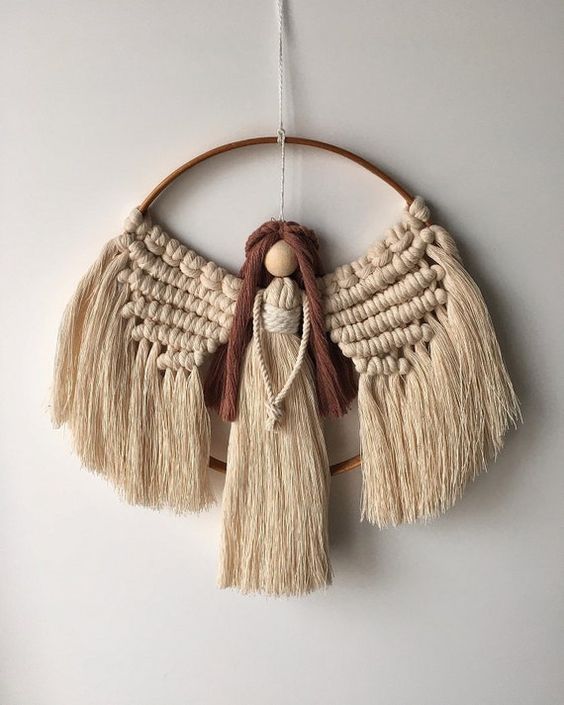
Via ETSY
Materials Needed
To begin, gather the following essential materials:
- Macrame Cord: For a small angel, a 2-3mm thick cotton cord works well. Thicker cords create larger angels.
- Wooden Bead: This will act as the angel’s head. Choose a 1-inch bead for small projects, or adjust the size to your preference.
- Scissors: A sharp pair of scissors will ensure clean cuts.
- Comb: A fine-toothed comb helps fray the cord, giving the angel's wings a softer look.
- Tape: To hold down your macrame as you work.
- Optional: Embellishments such as ribbons, bells, or glitter for a festive touch.
Step-by-Step Guide to Creating a Macrame Angel
1. Setting Up the Base
- Prepare the Cord: Cut several pieces of macrame cord to about 12-14 inches in length. You’ll need about 4-6 strands for the angel’s body.
- Position the Bead: Thread the cords through the wooden bead and slide the bead to the center of the cords. The bead will be the angel’s head, and the cords hanging below will form the body.
- Secure the Cord: Use a piece of tape to hold down the bead and keep the cords steady as you work.
Starting with a solid base makes knotting easier and ensures the final piece is stable.
2. Creating the Angel’s Body
- Square Knots: Begin by creating square knots below the bead to form the body. Divide the cords into two groups. Using two cords on each side, tie square knots down the length of the angel’s body.
- Knot Length: Create about 5-7 square knots in a row, depending on how long you want the body to be. Adjust the number of knots based on the length of your cord.
- Finishing the Body: After creating the knots, leave some cords loose at the bottom. Trim them to even out the ends.
Square knots are the foundation of most macrame projects and give your angel structure and style.
3. Crafting the Wings
- Separate Cords for Wings: Take two cords from each side of the angel’s body to form the wings. You may want to use slightly longer cords here.
- Fray the Cord: Use a comb to gently fray the cords for a soft, fluffy appearance that mimics angelic wings.
- Shape the Wings: Use your fingers to shape the frayed cords into wing shapes on each side of the angel. You can trim or fluff them as needed for the perfect look.
Fraying the cords for the wings gives a delicate, feathered effect that enhances the angel’s ethereal quality.
4. Adding the Halo and Embellishments
- Create a Halo: Take a small piece of gold or silver thread and form it into a loop. Secure the loop on top of the wooden bead (angel’s head) with glue or by tying it to the top of the cord.
- Embellishments: Add small touches like tiny bells, bows, or glitter for a festive look, especially if you’re making Christmas decorations.
Learn how to create a beautiful macrame angel with this easy-to-follow tutorial. Perfect for Christmas decor or gifts, discover creative ideas and step-by-step guidance.
Creating your own macrame angel is a wonderful way to bring a handmade touch to your decorations, adding warmth and charm to any space. Enjoy crafting this serene decoration! Let me know if you'd like more details on any step or additional creative tips.
CHECK MORE CROCHET PATTERNS