Monstera Leaf Free Crochet Pattern and Tutorial
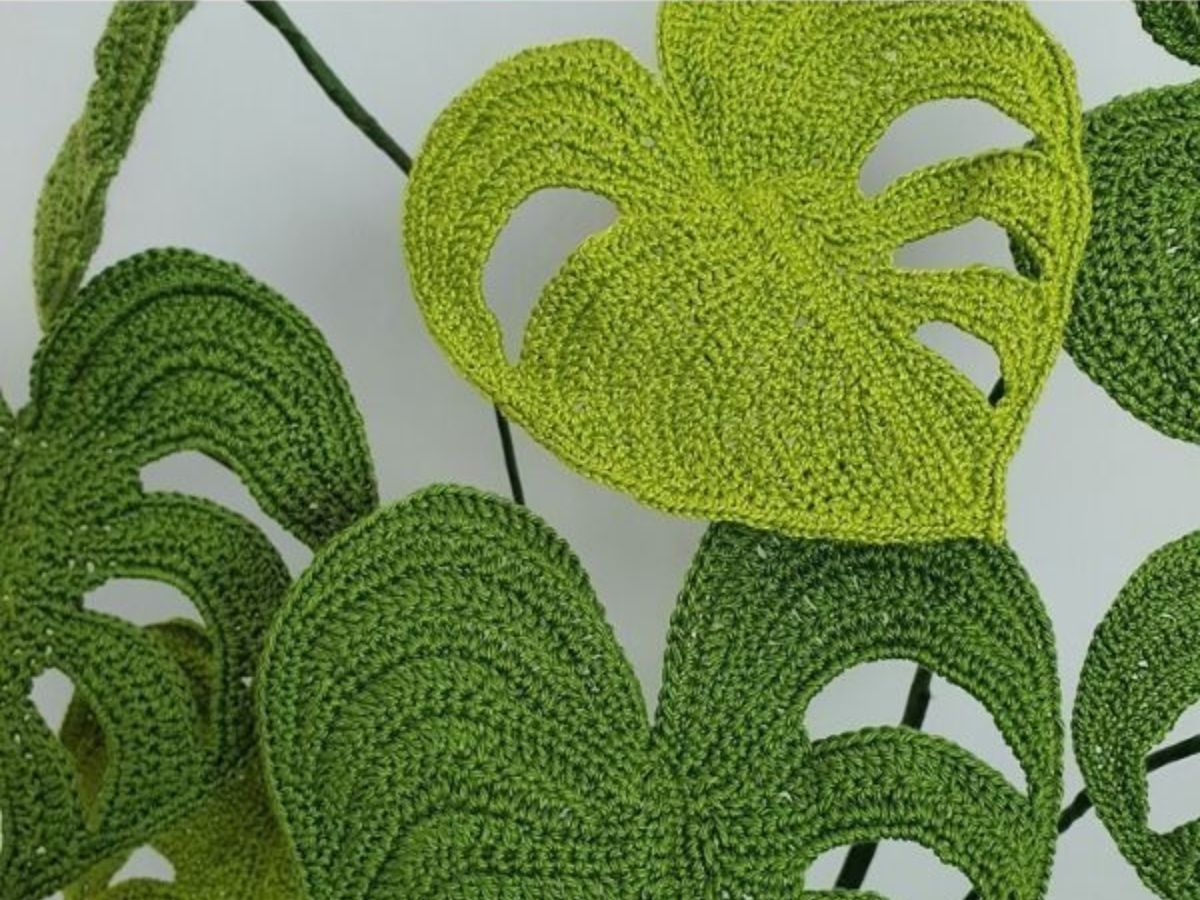
Plants made in crochet are a growing success, in addition to the traditional flowers, there are more and more wonderful ideas that use crochet leaves in decoration. There are many ideas and inspirations.
The Monstera Leaf is one of the most beautiful leaves in nature and also one that works well when crocheted.
Today we bring you a video tutorial and even some ideas to use Monstera Leaf crochet in your decor.
Monstera Leaf Free Crochet Tutorial

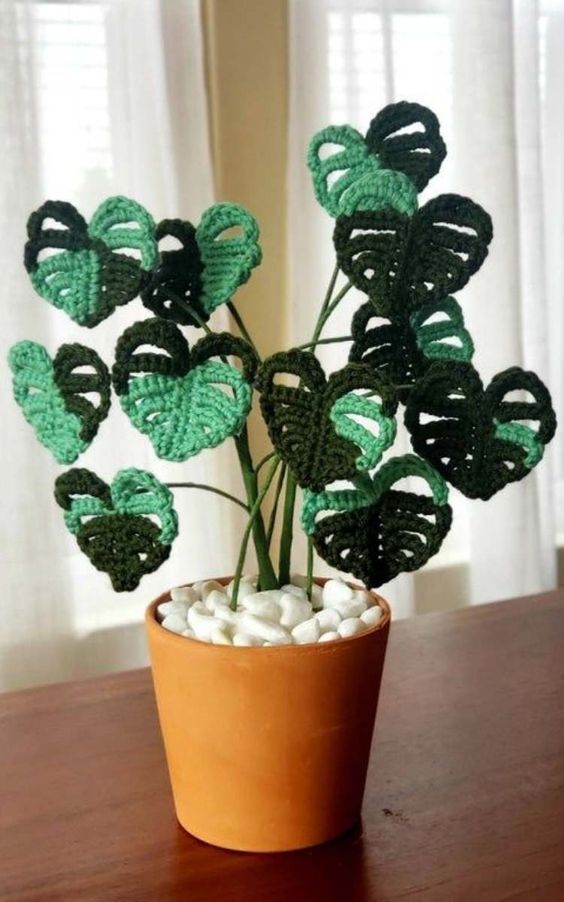
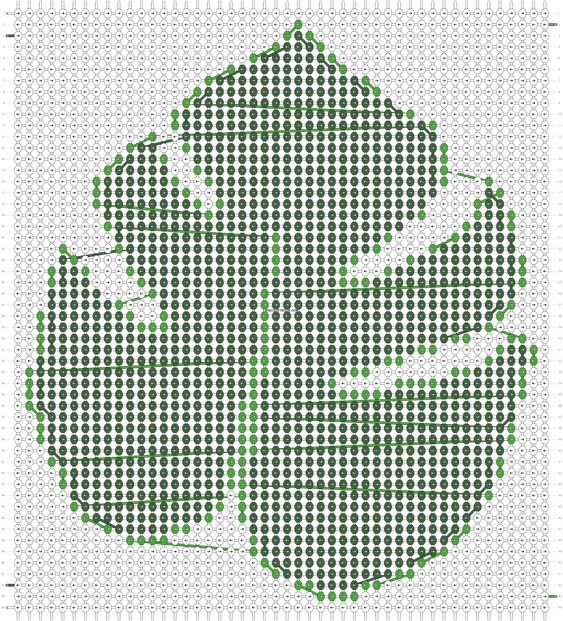
Monstera Leaf Free Crochet Ideas
A wonderful idea for anyone looking for creative solutions to transform their home decor.
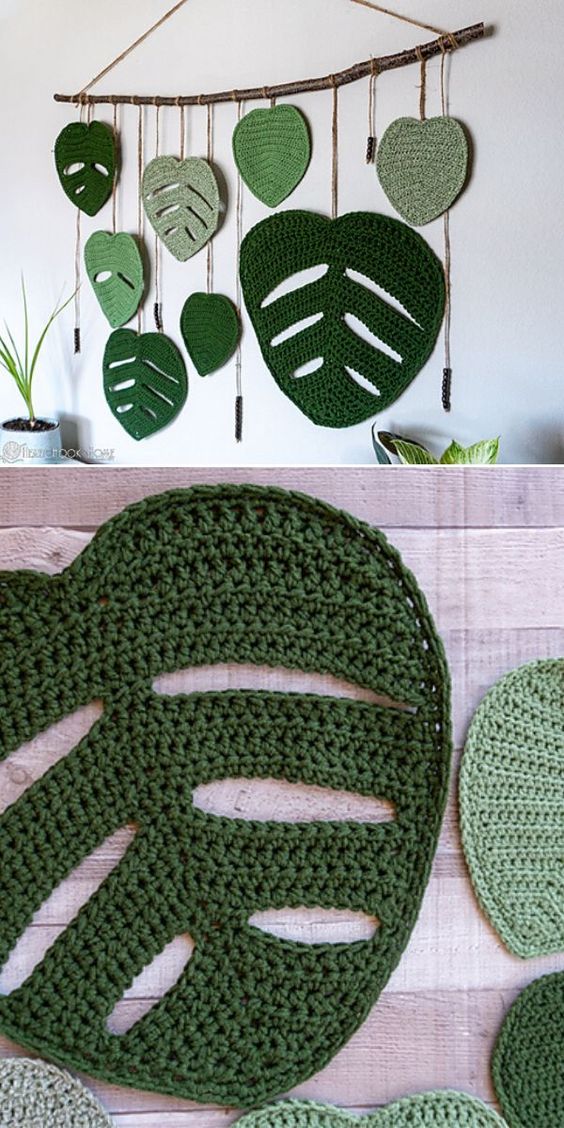
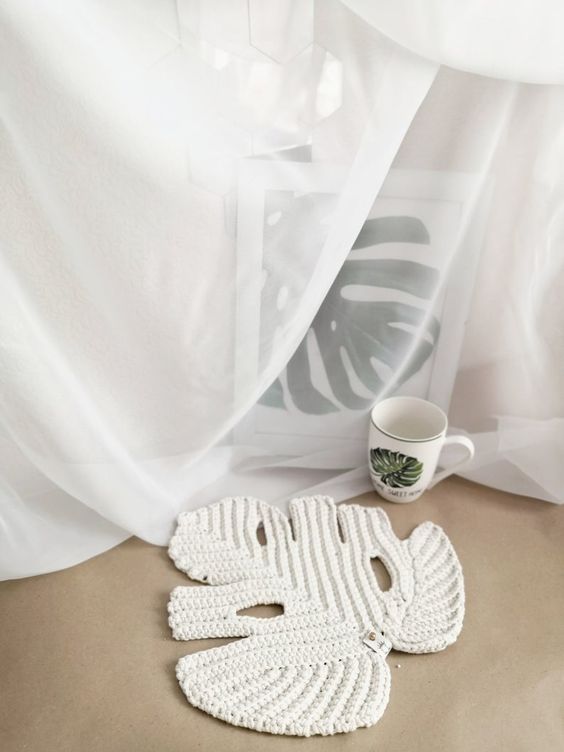
Via: www.shareapattern.com
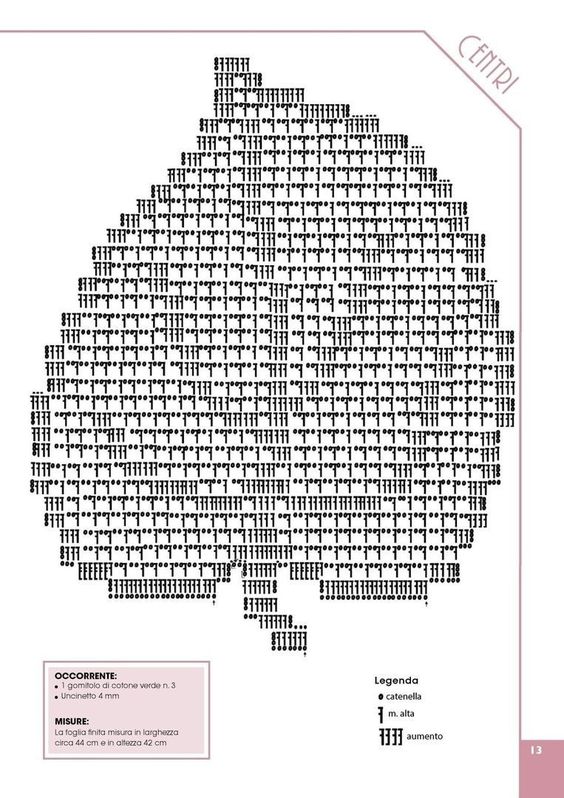
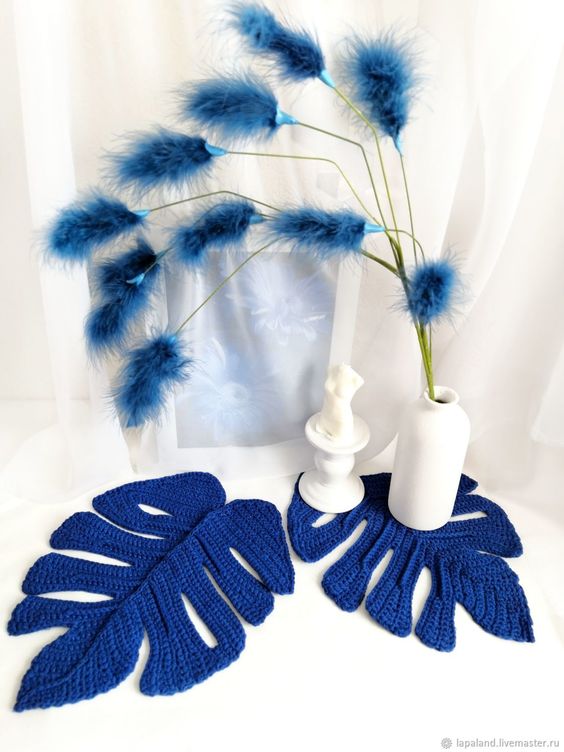
Via: lapaland.vivemaster.ru
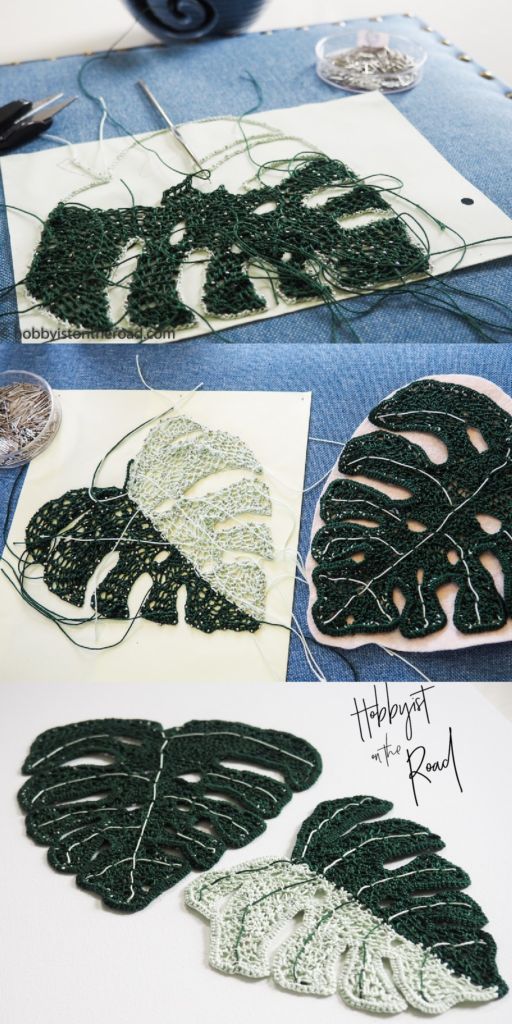
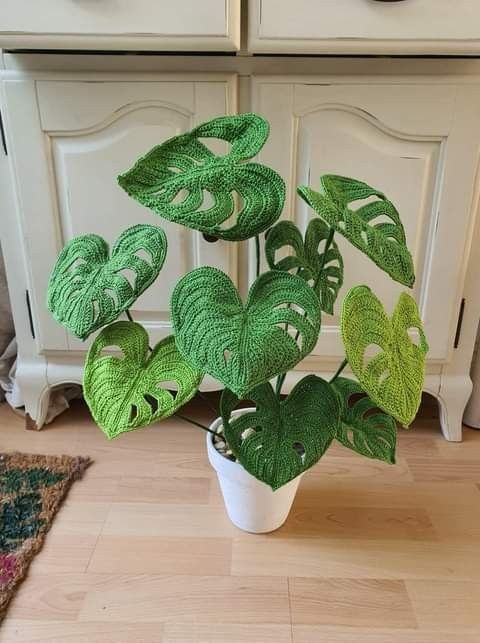
Via ELO7
Step-By-Step Monstera Leaf Crochet Pattern
1. Creating the Stem
The stem is the foundation of your monstera leaf. Begin with a chain and a few single crochets to form a sturdy stem.
**Pattern Instructions:**
1. **Ch 10** for a medium-length stem.
2. Starting from the second chain, **sc across** until the end of the chain.
3. **Fasten off** and leave a long tail if you plan to attach multiple leaves.

> **Note**: If you want a longer stem, chain more than 10.
2. Starting the Leaf Base
The leaf base forms the main structure of your crochet monstera.
**Pattern Instructions:**
1. **Attach yarn** to the end of the stem.
2. **Ch 4**, then join with a slip stitch to form a ring.
3. **Ch 2**, then **dc 12 into the ring**. This creates the base of the leaf.
4. Close with a slip stitch to the top of the starting chain.

> **Tip**: For larger leaves, increase the number of double crochets in this step.
3. Forming the Signature Holes
Creating the signature holes in the leaf is crucial for achieving an authentic monstera look.
**Pattern Instructions:**
1. **Ch 5** to create the first hole, skip two stitches, and join with a slip stitch.
2. **Ch 3**, dc into the next stitch, **ch 5** again for the second hole, skip two stitches, and slip stitch to join.
3. Repeat this pattern around the base, adjusting for the desired number and placement of holes.

> **Tip**: Use stitch markers to keep track of skipped stitches and maintain symmetry.
4. Adding Finishing Details
These final touches give the leaf a realistic shape and add to its durability.
**Pattern Instructions:**
1. Continue with **dc along the outer edge** of the leaf, adding small chains to create “splits” at intervals.
2. Weave in the loose ends carefully with a tapestry needle.
3. Optionally, **add wire** along the stem and edges to keep your leaf's shape if you plan on using it as a decor piece.

> **Pro Tip**: Blocking your leaf will help it lay flat and look polished
Creative Uses for Crochet Monstera Leaves
Once you've completed your monstera leaf, there are so many creative ways to use it! Here are a few ideas:
- Coasters and Table Decor: Smaller monstera leaves work wonderfully as coasters or placemats, adding a natural feel to any table setting.
- Wall Art: Attach multiple leaves to a driftwood branch or embroidery hoop for a unique piece of wall art.
- Bookmarks: Make tiny monstera leaves and attach stems to use as plant-themed bookmarks.
- Garlands: String several leaves together for a stunning boho-inspired garland.
Quick Idea: Combine large and small leaves with fairy lights to create a lighted garland!
CHECK MORE CROCHET PATTERNS