Reindeer Ornament Crochet Pattern: Create Your Own Festive Holiday Decor
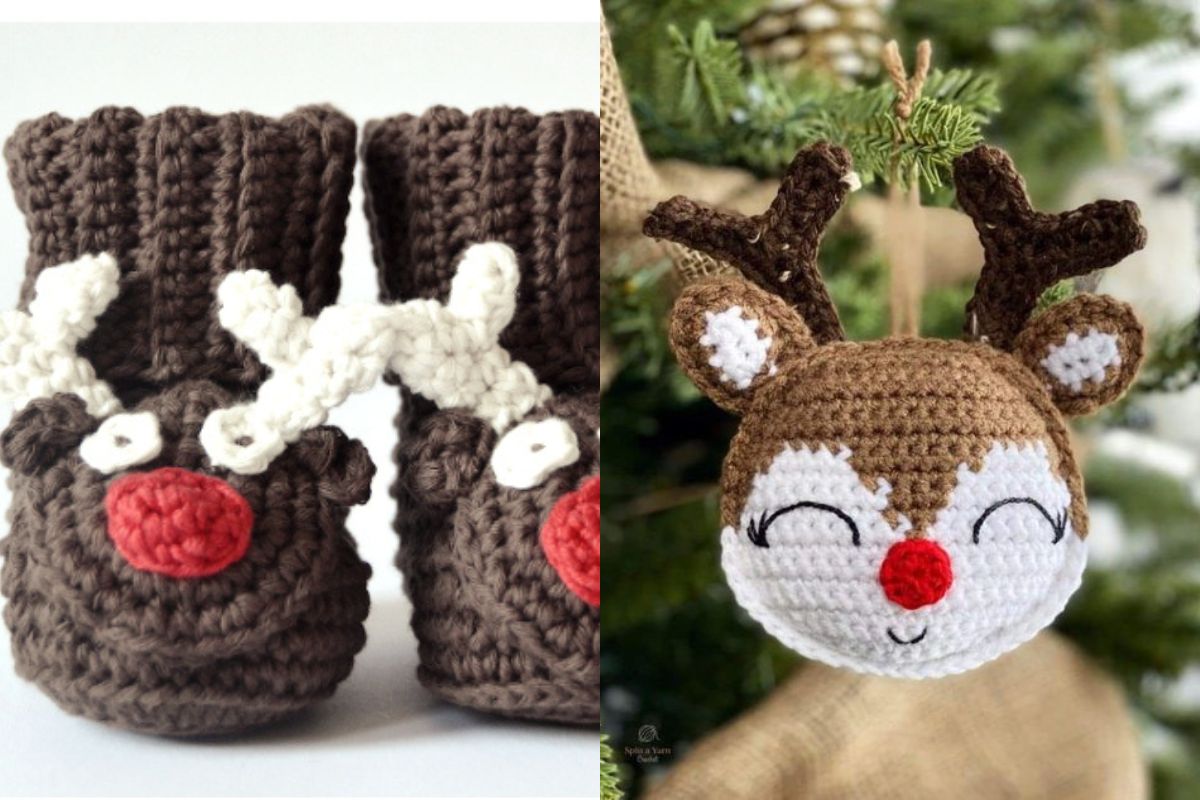
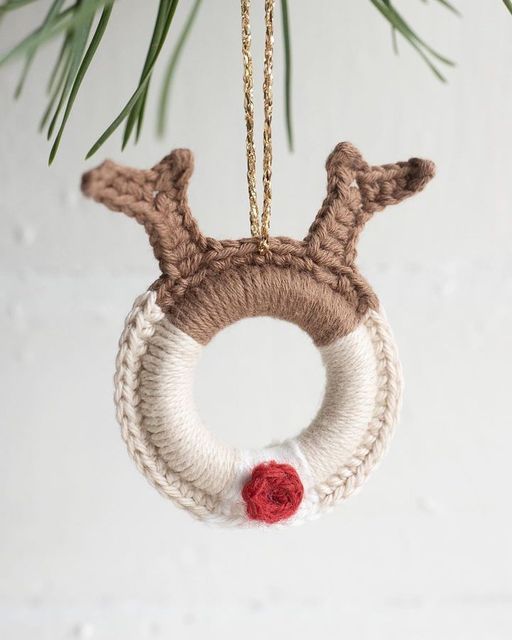
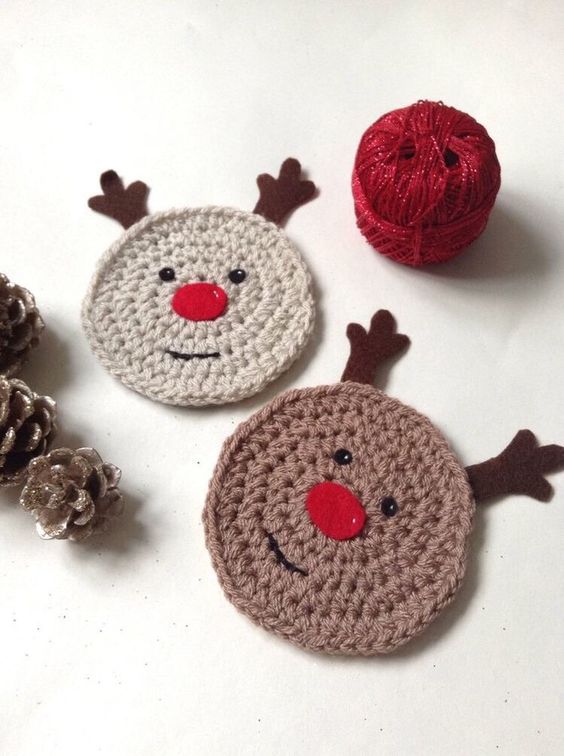
As the holiday season approaches, it's time to get creative with your Christmas decorations, and what better way to add a personal touch than with a handmade reindeer ornament? Crocheting your own reindeer ornament is not only a fun and relaxing craft project, but it also gives you the chance to create something that will be cherished for years to come.
This cute and festive ornament can be hung on your Christmas tree, added to garlands, or even used as a gift tag for a truly personalized gift.
In this article, we’ll guide you step-by-step through the process of crocheting a reindeer ornament. Whether you're a seasoned crocheter or a beginner, this pattern will inspire you to create a delightful holiday decoration that will spread cheer in your home.
Customizing Your Reindeer Ornament
One of the best parts of crocheting is that you can personalize your creation. Here are a few ideas to make your reindeer even more special:
- Scarf or Hat: Crochet a tiny scarf or a little Santa hat to dress up your reindeer. Just use basic crochet stitches to make a small piece and attach it.
- Add Glitter: For a festive sparkle, lightly brush the antlers or nose with glitter glue.
- Change Colors: Experiment with different yarn colors to give your reindeer a unique personality. You could go for traditional red and green, or try non-traditional colors like pink or blue for a modern twist.


Materials You'll Need
Before you begin, gather the following materials to get started on your reindeer ornament crochet pattern:
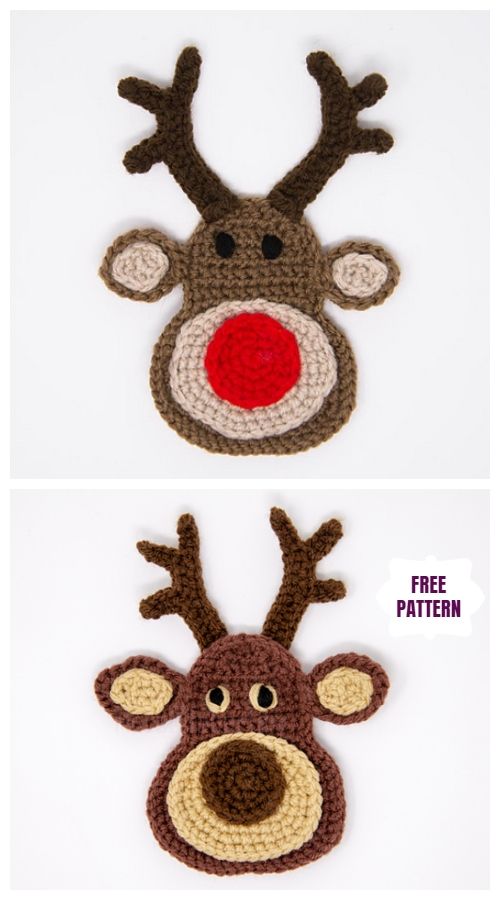
- Yarn: Choose a medium weight yarn (like worsted weight yarn) in colors such as brown for the body, red for the nose, white for the eyes, and beige for the antlers.
- Crochet Hook: Use a size H-8 (5.0mm) crochet hook for most worsted weight yarns.
- Yarn Needle: For sewing the pieces together and weaving in ends.
- Safety Eyes: Optional, for adding eyes to the reindeer’s face.
- Stitch Markers: To keep track of your rounds and stitches.
- Polyester Stuffing: For stuffing the reindeer ornament and giving it shape.
- Scissors: For cutting yarn and finishing the project.
- Embroidery Thread: For creating the antlers or any fine details (optional).

Reindeer Ornament Crochet Pattern
Abbreviations Used:
- ch = chain
- sc = single crochet
- inc = increase (2 sc in the same stitch)
- dec = decrease (single crochet 2 stitches together)
- sl st = slip stitch
- st = stitch
- Rnd = round
Step-by-Step Instructions
1. The Head and Body (worked in one piece)
Start by crocheting the body and head of your reindeer ornament. This part is worked in the round, with no turning.
Round 1: Make a magic ring and crochet 6 sc into the ring (6 sts).
Round 2: Inc in each st around (12 sts).
Round 3: Sc in next st, inc in next st repeat around (18 sts).
Round 4: Sc in next 2 sts, inc in next st repeat around (24 sts).
Rounds 5-7: Sc in each st around (24 sts).
Round 8: Sc in next 2 sts, dec in next st repeat around (18 sts).
Round 9: Sc in next st, dec in next st repeat around (12 sts).
Round 10: Dec around (6 sts).
Fasten off, leaving a long tail for sewing. Stuff the head and body with polyester stuffing and set aside.
2. The Antlers (Make 2)
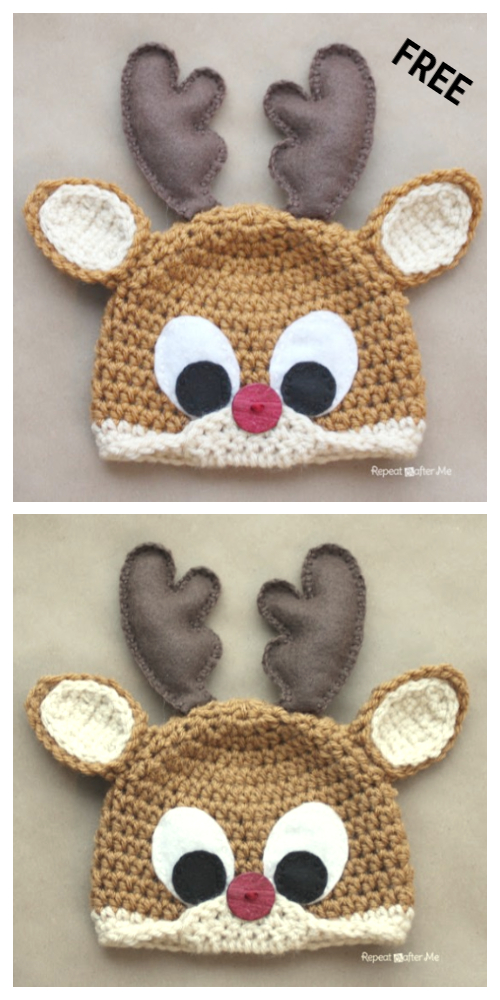
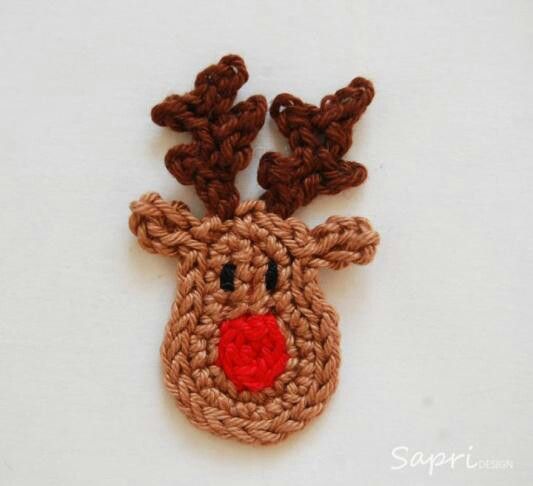
The antlers are small, delicate pieces that add charm to the reindeer. You can make them as simple or as detailed as you like.
Row 1: Ch 4.
Row 2: Sc in 2nd ch from hook, sc in next 2 ch, turn.
Row 3: Ch 1, sc in each st across, turn.
Row 4: Ch 1, sc in each st across, turn.
Fasten off and leave a long tail for attaching to the head. Repeat for the second antler.
3. The Ears (Make 2)
The ears will add some cute detail to your reindeer’s face. They’re small and easy to crochet.
Round 1: Make a magic ring and crochet 6 sc into the ring (6 sts).
Round 2: Inc around (12 sts).
Fasten off and leave a tail for sewing. Attach the ears to either side of the head.
4. The Nose (Red)
The nose is one of the most iconic features of your reindeer, and it’s simple to crochet.
Round 1: Make a magic ring and crochet 6 sc into the ring (6 sts).
Round 2: Inc around (12 sts).
Fasten off and leave a tail for sewing. Attach the nose in the center of the face.
5. Eyes (Optional)
If you want to give your reindeer more character, use safety eyes or embroider eyes onto the face using black embroidery thread.
For safety eyes:
- Attach the eyes after finishing the head, ensuring they are evenly spaced.
For embroidered eyes:
- Simply use black thread and embroider two small circles to form the eyes.
6. Assembly
Now that all the parts are crocheted, it’s time to assemble your reindeer ornament!
- Sew the antlers to the top of the reindeer’s head.
- Sew the ears to either side of the head.
- Attach the nose in the center of the face.
- If you’re using safety eyes, attach them to the head now.
- Stuff the reindeer’s head and body with polyester filling, making sure it’s firm but not overstuffed.
- Finally, use the remaining yarn to create a loop for hanging the ornament on your tree.
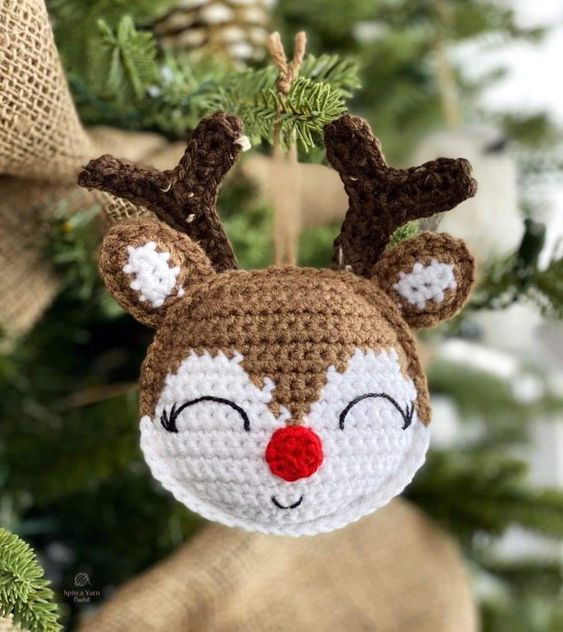
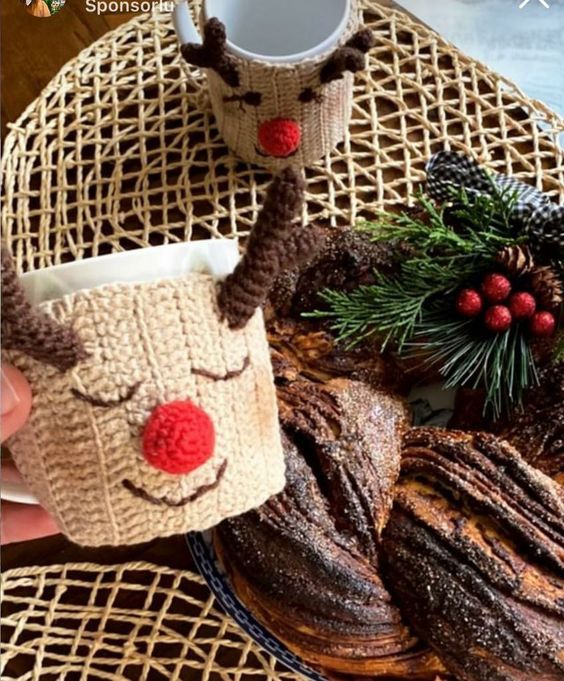
Crocheting a reindeer ornament is a fun and rewarding project that brings holiday cheer into your home. Whether you make one or several, these handmade ornaments will add a personal touch to your Christmas decor. With a bit of creativity and some basic crochet skills, you can craft a cute and charming reindeer that will brighten up your tree, your gifts, or even your dining table.
Learn how to crochet a cute and festive reindeer ornament with our easy-to-follow pattern. Perfect for Christmas tree decorations, gifts, and holiday crafts!
CHECK MORE CROCHET PATTERNS