Slippers With Flip Flop Soles

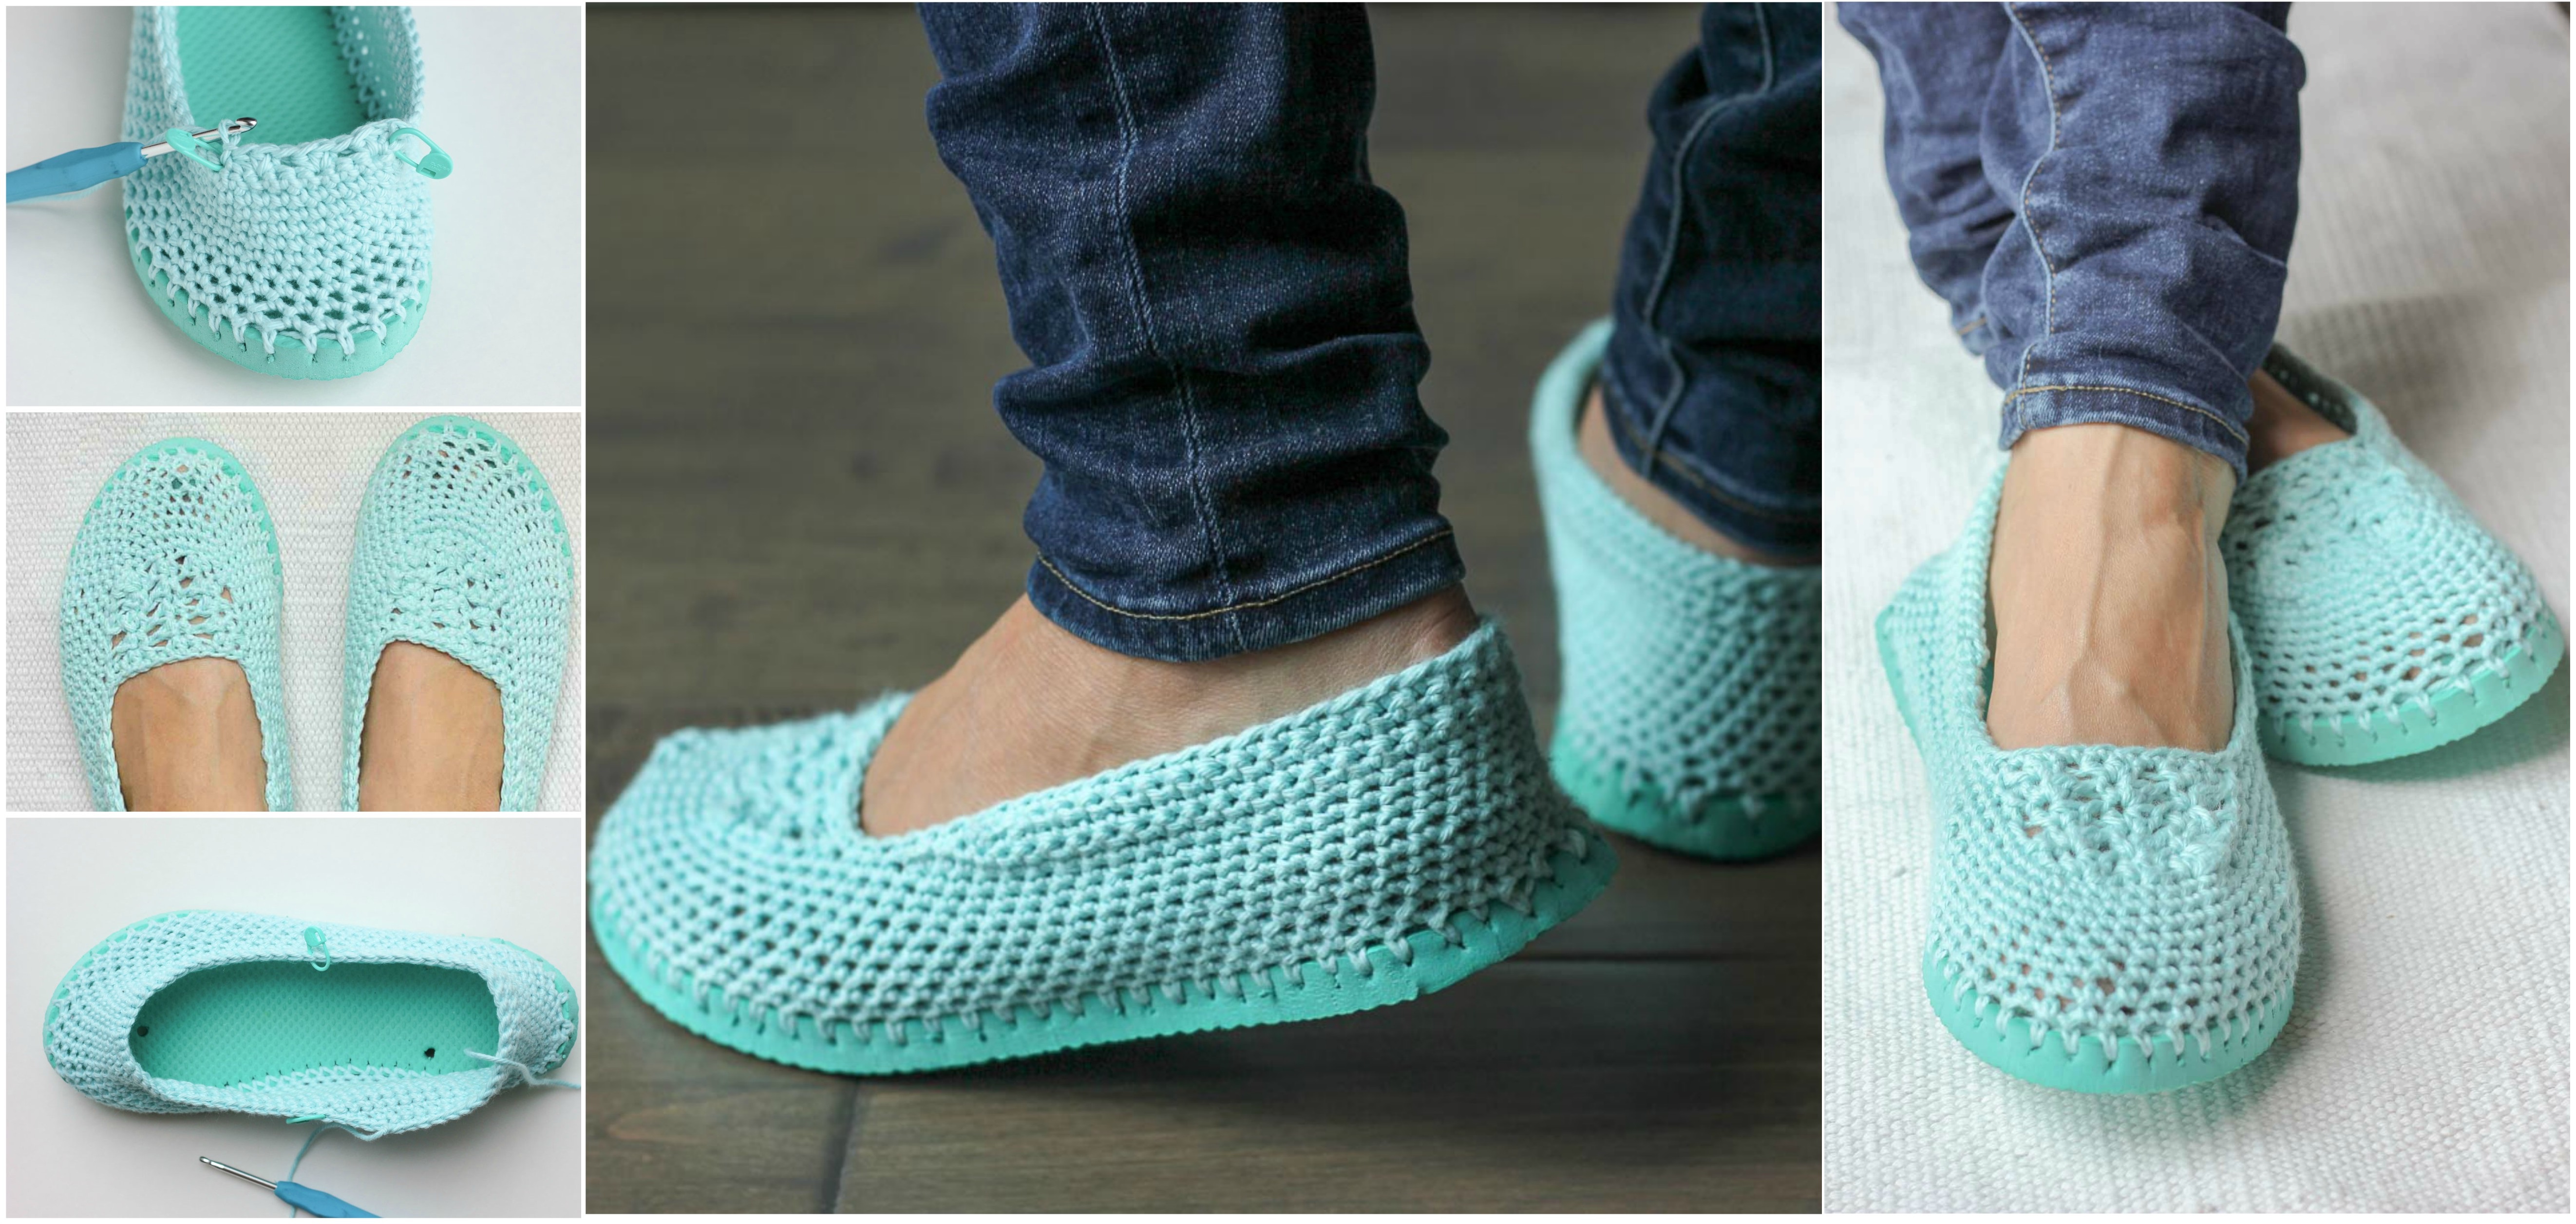
Today we are going to talk about making slippers using a flip flop soles, just like the ones that are presented on the photos.
I think that the form and the look of these slippers are just brilliant, I am surely going to make them for myself and one more for a friends as a gift and my advise for you is to do the same and crochet these beautiful slippers with the help of the pattern that is presented in this post a little bit below.
I think that many of you who visit this website often will be interested in making such slippers yourself, and if you like the article please share it with your friends and other people who might be interested in makings such thing.
Slippers With Flip Flop Soles
So view the pattern and follow the instructions step by step, trust me you won’t be disappointed. Enjoy and good luck

Why Choose Crochet Slippers With Flip Flop Soles?
1. Comfort and Breathability
Crochet slippers are known for their soft texture, and when paired with flip flop soles, they offer a lightweight and breathable option for your feet. This combination makes them ideal for warmer months.
2. Versatile Design
With various colors and patterns available, you can customize your slippers to match your personal style or home decor. They can be made for everyone in the family, including kids!
3. Easy to Make
Crochet slippers are relatively simple projects that are perfect for beginners and seasoned crafters alike. The use of flip flop soles simplifies the process, allowing you to focus on the crochet design.
4. Unique Gift Idea
Handmade crochet slippers make thoughtful gifts for birthdays, holidays, or housewarming parties. Personalizing them with favorite colors or patterns adds an extra special touch.
Step-by-Step Instructions for Creating Crochet Slippers with Flip Flop Soles
Step 1: Prepare the Flip Flop Soles
- Select Your Soles:
- Choose the flip flop soles in the appropriate size for the person who will wear the slippers.
- Remove the Straps:
- Carefully remove the straps from the flip flop soles to prepare them for your crochet work.
Step 2: Create the Foundation for the Slippers
- Foundation Chain:
- Start with a slip knot and chain a number of stitches that will allow the crochet to fit snugly around the flip flop soles. A common starting point is around 20-30 chains, depending on the size of the sole.
Example: Ch 25. - Single Crochet Row:
- Work single crochets (sc) in each chain across the row. This will serve as the base for your slipper.
Example:
Row 1: Sc in each ch across. (25 sc)
Step 3: Building the Slipper Body
- Turning the Work:
- Turn your work and chain 1. Continue to work in rows or in the round, depending on your design preference.
- Working Up the Sides:
- Increase or decrease stitches as needed to follow the contour of the flip flop soles. Work a combination of sc, hdc, and dc to build up the sides of the slipper.
Example:
Work 4 rows of sc to form the body.
Step 4: Creating the Upper Part of the Slipper
- Forming the Upper:
- To create the upper part of the slipper, chain an appropriate length to cover the top of the foot. Attach this to the sides of the slipper.
Example: Ch 10, sc into the side of the slipper to create the upper strap. - Adding Details:
- You can add a bow or other embellishments to the upper part of the slipper for added style.
Step 5: Attaching to the Flip Flop Soles
- Sewing the Crochet to the Soles:
- Use a yarn needle to carefully sew the crochet piece onto the flip flop soles. Make sure to secure it well to ensure durability.
Example:
Sew around the edges of the crochet to the sole, ensuring it's firmly attached.
Step 6: Finishing Touches
- Fastening Off:
- Cut the yarn and pull it through the last stitch to secure. Weave in any loose ends with a yarn needle.
- Additional Embellishments:
- Add decorative elements such as buttons or flowers to personalize your slippers.
CHECK MORE CROCHET PATTERNS