Step by step crochet braid stitch
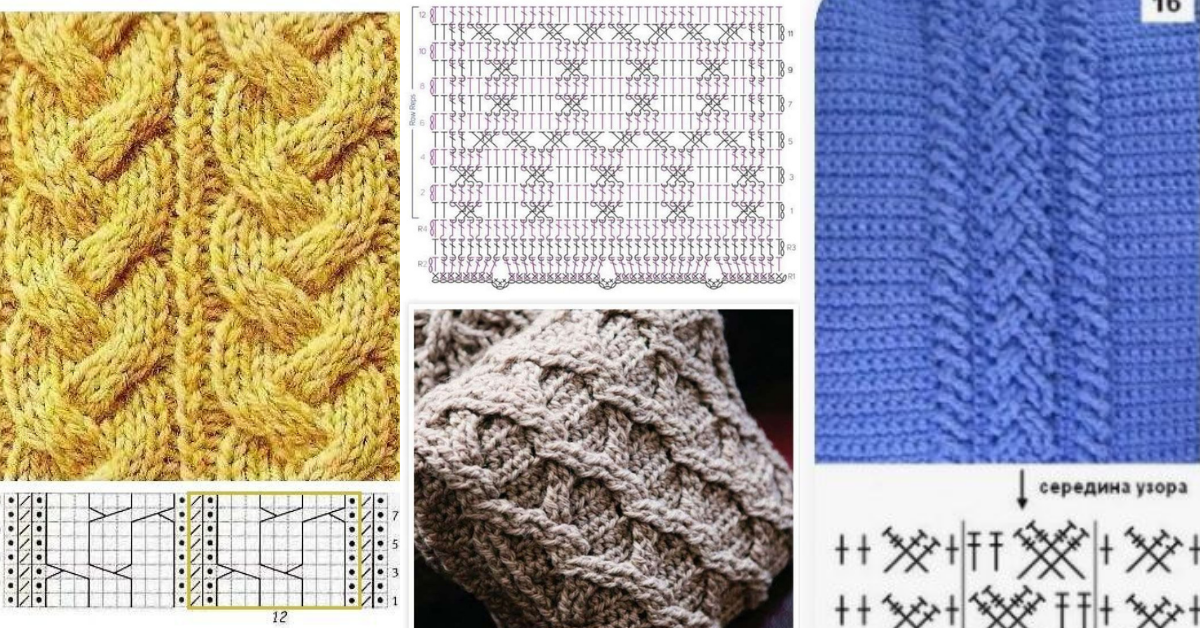
Crochet has a lot and variety and stitches, the crochet braid stitch is yet another option for those who like to crochet.
The crochet braid stitch is perfect and very versatile. It can be used in different jobs such as blankets and even garments.
Simpler or more elaborate, today we leave you with some crochet braid stitch ideas and tutorials
See too: Crochet flower stitch patterns
Table
Step by step crochet braid stitch
Check out the step-by-step guide here and get inspired.
Materials Needed
- Yarn: Choose a yarn that shows stitch definition well.
- Hook: Use a hook size recommended for your yarn.
Abbreviations
- ch – Chain
- sc – Single Crochet
- dc – Double Crochet
- FPdc – Front Post Double Crochet
- BPdc – Back Post Double Crochet
- sk – Skip
- st(s) – Stitch(es)
Step-by-Step Crochet Braid Stitch
Step 1: Foundation Chain
- Chain a multiple of 4 + 3 stitches (e.g., 20+3=23) for this pattern to work out.
Step 2: First Row of Double Crochet
- Row 1: Starting in the 3rd chain from the hook, double crochet (dc) in each stitch across.
- Chain 2 and turn your work.
Step 3: Begin Braid Pattern with Front and Back Post Double Crochet
- Row 2: Chain 2 (counts as first dc).
- Repeat the following pattern across the row:
- FPdc around the next 2 stitches, then BPdc around the next 2 stitches.
- Continue alternating FPdc and BPdc in sets of two until the end of the row.
- Chain 2 and turn.
Step 4: Establishing the Braid
- Row 3: Chain 2 (counts as first dc).
- Start with BPdc in the next 2 stitches (to keep the braid pattern in relief).
- FPdc around the next 2 stitches.
- Continue across the row, alternating BPdc and FPdc stitches in sets of two to maintain the braided look.
- Chain 2 and turn.
Step 5: Continuing the Pattern
- Repeat Rows 2 and 3 to keep the braid pattern consistent.
- The FPdc stitches always go on top of FPdc stitches from the previous row, and BPdc stitches go on top of BPdc stitches.
Finishing the Braid Stitch Pattern
- Continue for as many rows as needed, repeating Rows 2 and 3.
- To complete the pattern, finish with a simple row of double crochet to give the piece a neat edge.

Crochet braid stitch
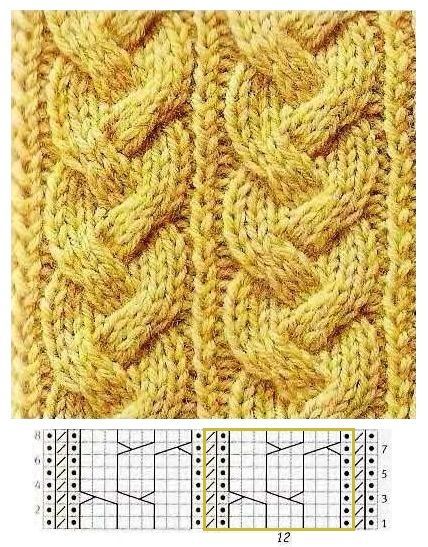
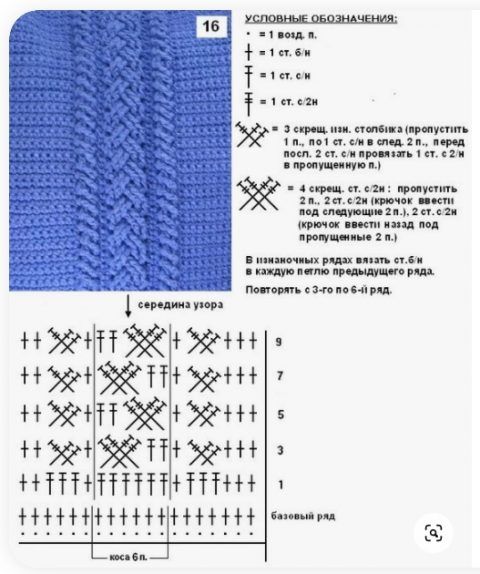
Via: katiaribeiro.com.br
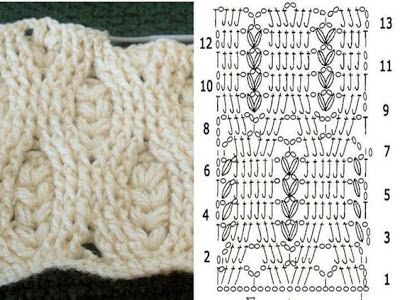
Via: crochesdaleticia.blogspot.com
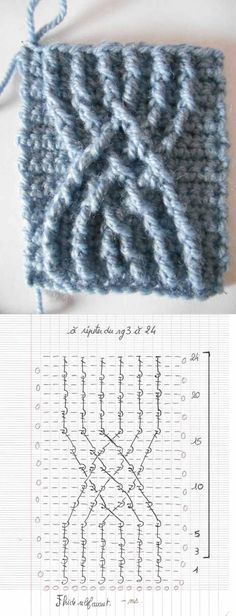
Via: tricoland.com
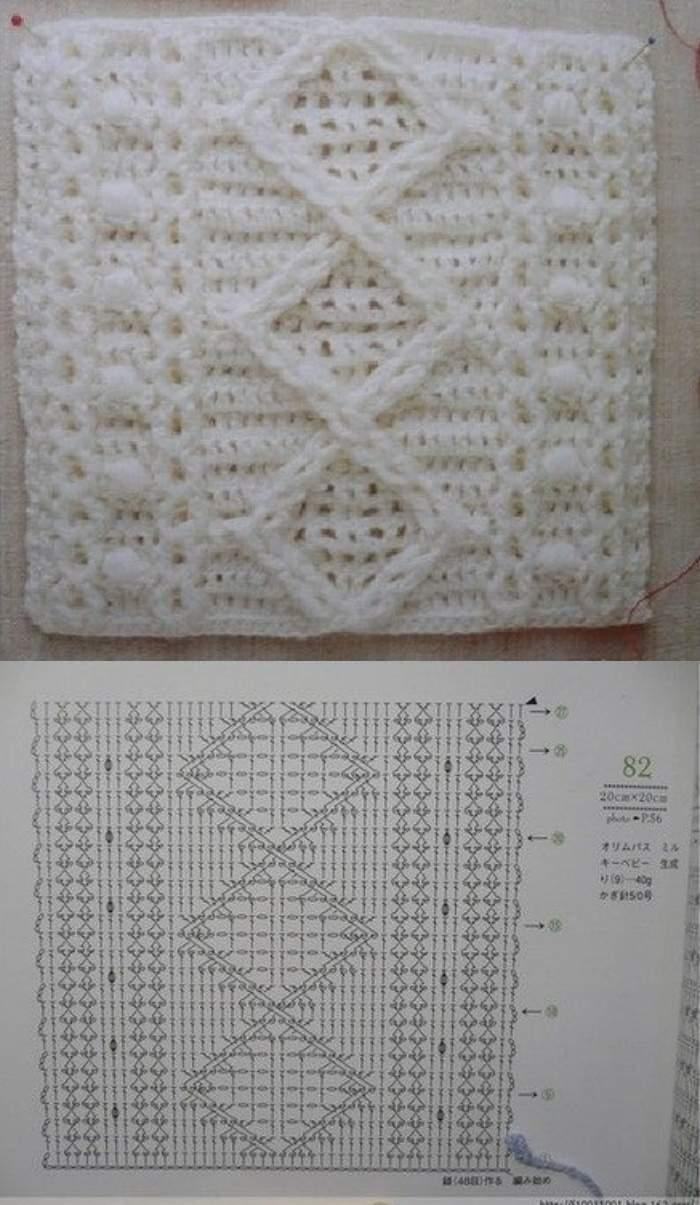
Via: tricoland.com
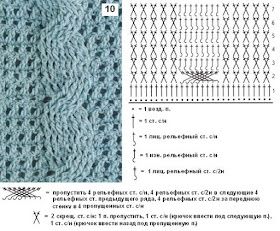
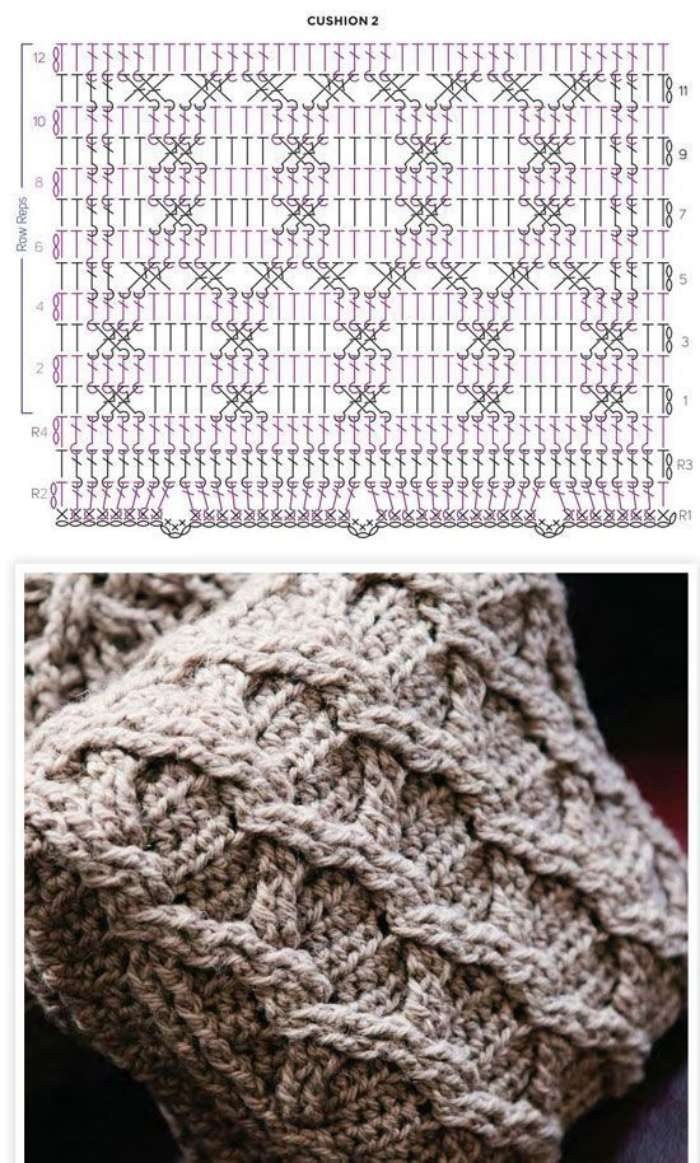
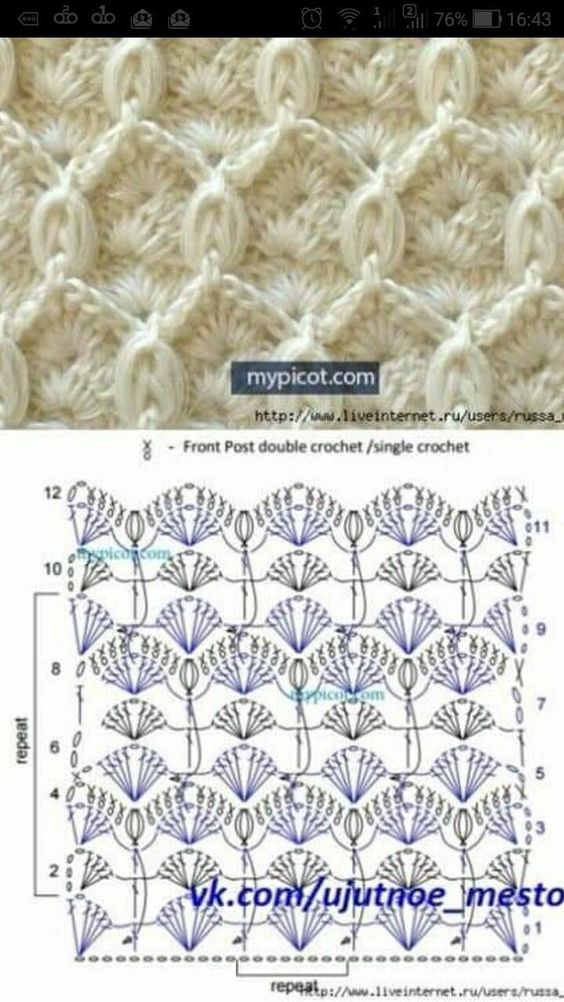
Via: mypicot.com
CHECK MORE CROCHET PATTERNS