Turtle Coaster Crochet Ideas: Add Whimsy and Functionality to Your Decor
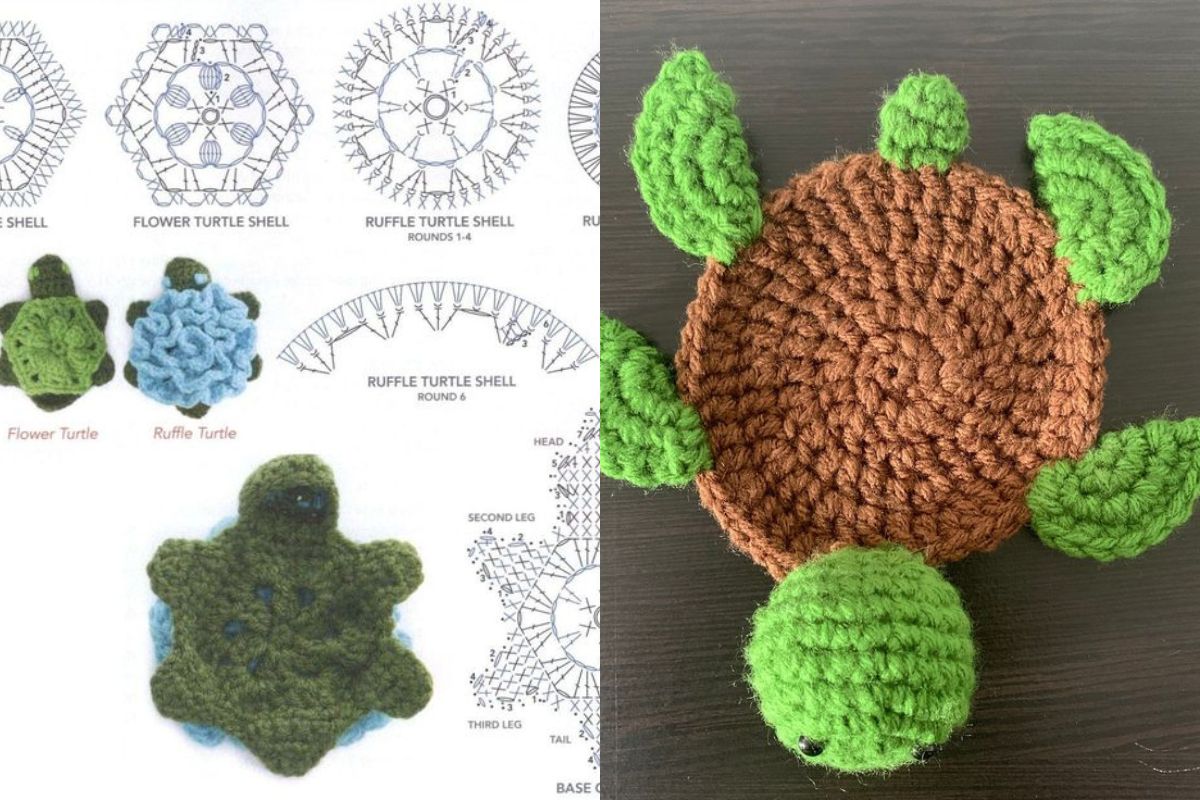
Crochet enthusiasts, are you looking for a project that’s both fun and functional? Turtle coasters might be just the thing! These adorable, crocheted creations bring charm and personality to any table setting. Whether you’re hosting a tropical-themed party or simply want to add a touch of whimsy to your coffee table, turtle coaster crochet patterns are a fantastic choice.
Also: Little Turtle Pattern: A Guide to Adorable Crochet Designs
In this article, we’ll explore various turtle coaster crochet ideas, tips for creating them, and creative ways to use them in your home decor.
From simple designs for beginners to intricate patterns for seasoned crocheters, there’s something for everyone!
Materials You’ll Need
To crochet your own turtle coasters, you’ll need the following materials:
- Yarn: Cotton yarn is ideal because it’s durable and absorbent. Choose colors like green, brown, or even bright shades for a fun twist.
- Crochet Hook: Typically, a size 4mm (G/6) or 5mm (H/8) hook works well for coasters.
- Yarn Needle: For weaving in ends.
- Scissors: To trim excess yarn.
- Stitch Markers: Optional but helpful for keeping track of your rounds.
- Pattern: Choose from free or paid patterns online or create your own design.
Basic Turtle Coaster Pattern (For Beginners)
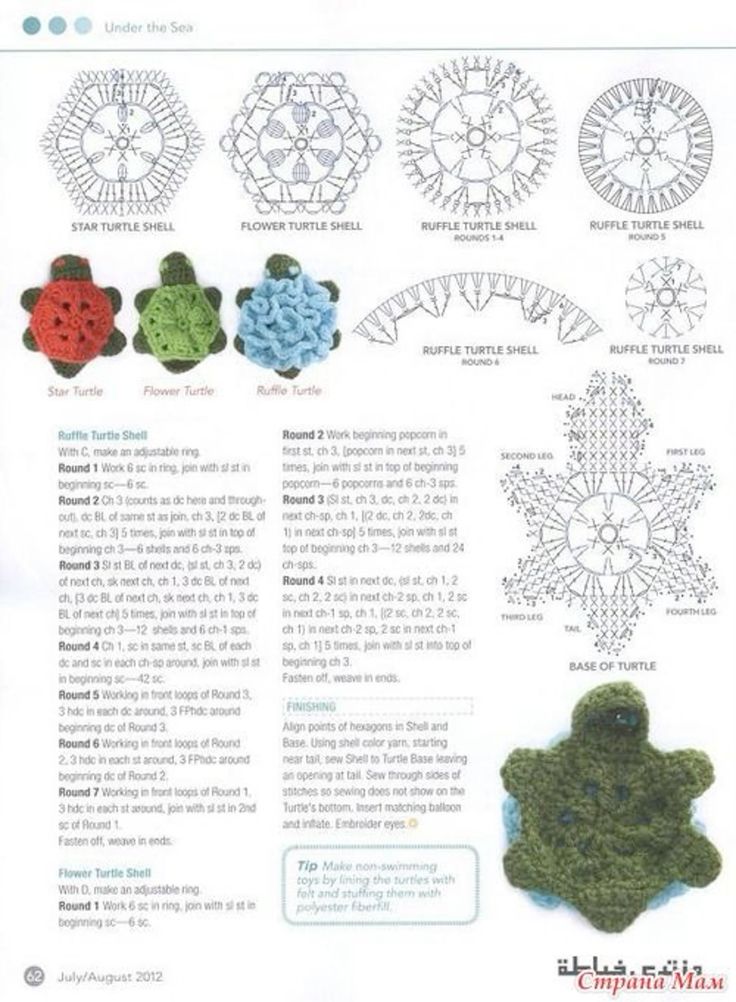
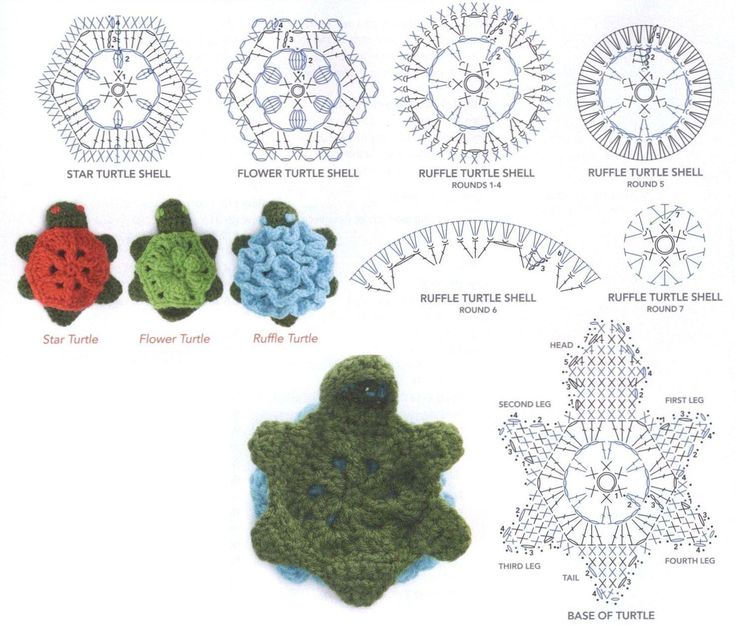
Here’s a simple and adorable turtle coaster pattern to get you started:
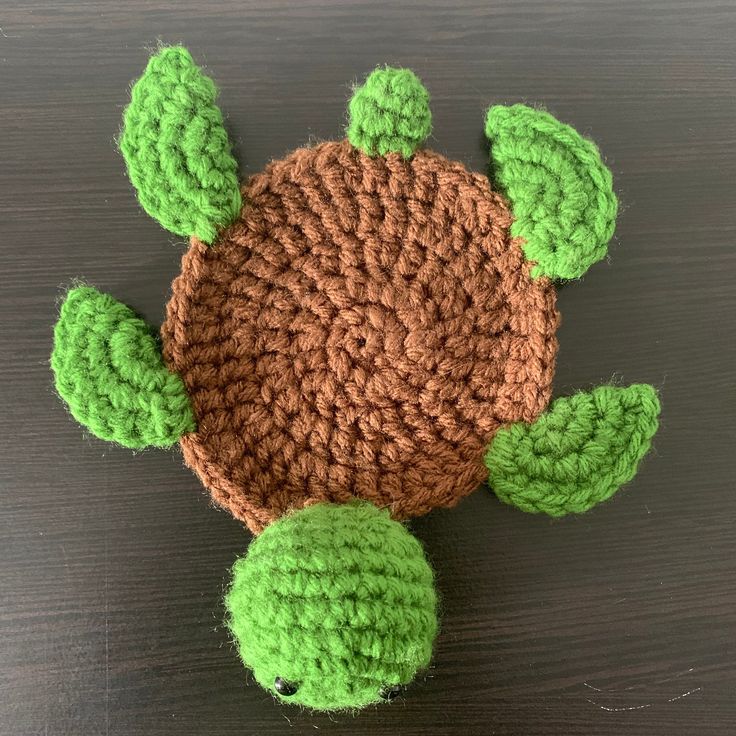
Body (Round Base)
- Magic Ring: Start with a magic ring and crochet 6 single crochets (sc) into the ring.
- Round 1: 2 sc in each stitch around (12 stitches).
- Round 2: 1 sc, 2 sc in the next stitch, repeat around (18 stitches).
- Round 3: 2 sc, 2 sc in the next stitch, repeat around (24 stitches).
- Continue: Repeat this pattern, increasing the stitches as needed, until the circle is the desired size for a coaster.
Legs (Make 4)
- Chain 4 and slip stitch into the first chain to form a loop.
- Single crochet around the loop (8 stitches).
- Attach the legs evenly around the body.
Head
- Chain 6, turn, and single crochet back across.
- Attach the head to the top of the body.
Tail
- Chain 3, turn, and slip stitch back across.
- Attach to the bottom of the body.
Finish
- Fasten off and weave in all ends.
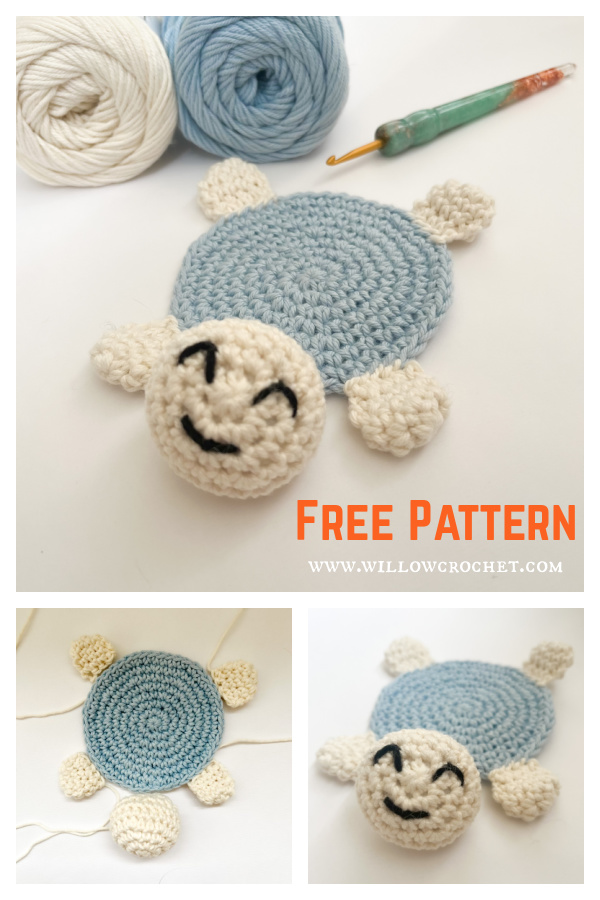
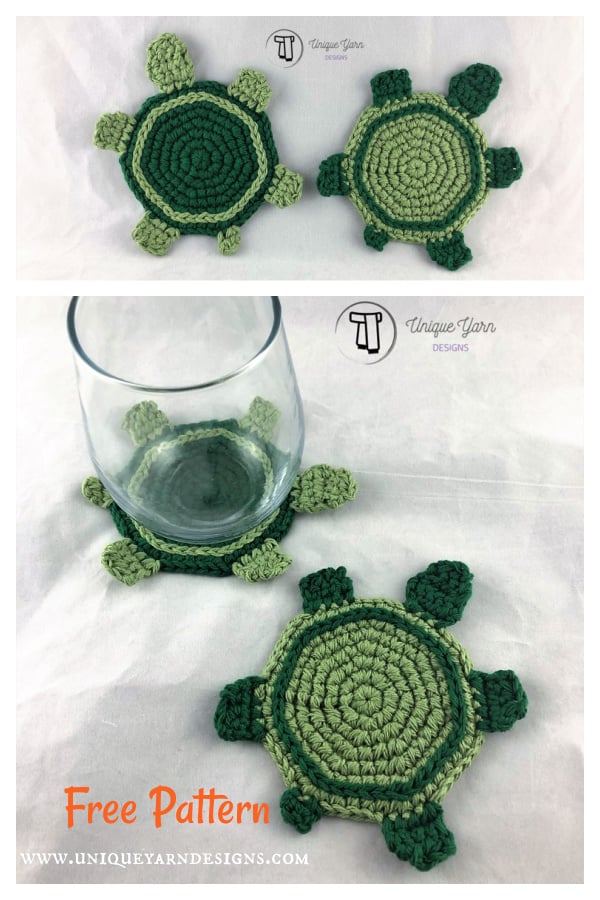

Creative Turtle Coaster Crochet Ideas
1. Colorful Turtles
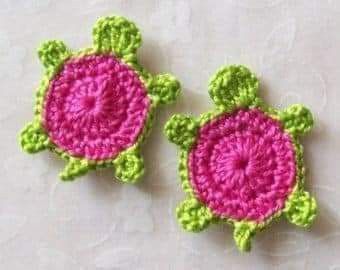
- Use bright, contrasting colors for the shell and legs to create a playful look.
- Try stripes or polka dots for added personality.
2. Themed Sets
- Create a set of turtle coasters in different colors to represent a family of turtles.
- Use specific themes like ocean blues or tropical vibes.
3. Textured Shells
- Experiment with bobble stitches or shell stitches for a textured look.
- Add embroidery to the shell for intricate designs.
4. Mini Turtle Coasters
- Create smaller versions to use as cup coasters or decorations.
- Combine them into a garland for a unique wall hanging.
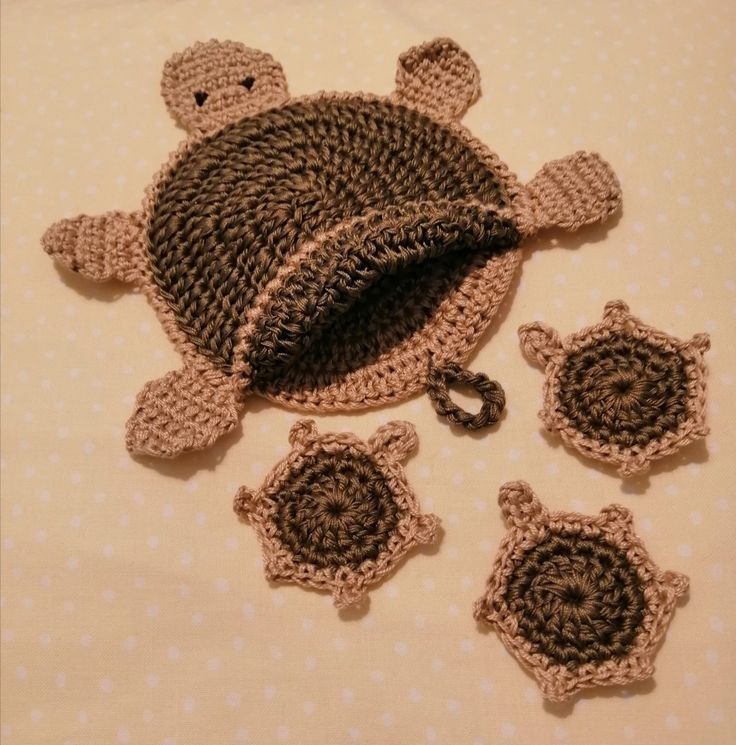
5. Turtle Coaster with Pockets
- Crochet a small pocket on the turtle’s back to hold notes, utensils, or small treats.
Creative Uses for Turtle Coasters
- Table Decor: Add them to your dining table for a tropical or coastal vibe.
- Gifts: Bundle a set of coasters with a matching mug or tea towel for a thoughtful present.
- Kids' Rooms: Use them as decorative pieces or to protect furniture in children’s play areas.
- Wall Art: Arrange multiple coasters on a canvas for a unique wall decoration.
Discover adorable turtle coaster crochet ideas to add personality to your decor. From beginner-friendly patterns to creative designs, explore tips, FAQs, and inspiration for your next crochet project!
CHECK MORE CROCHET PATTERNS