Tutorial and ideas Crochet gloves
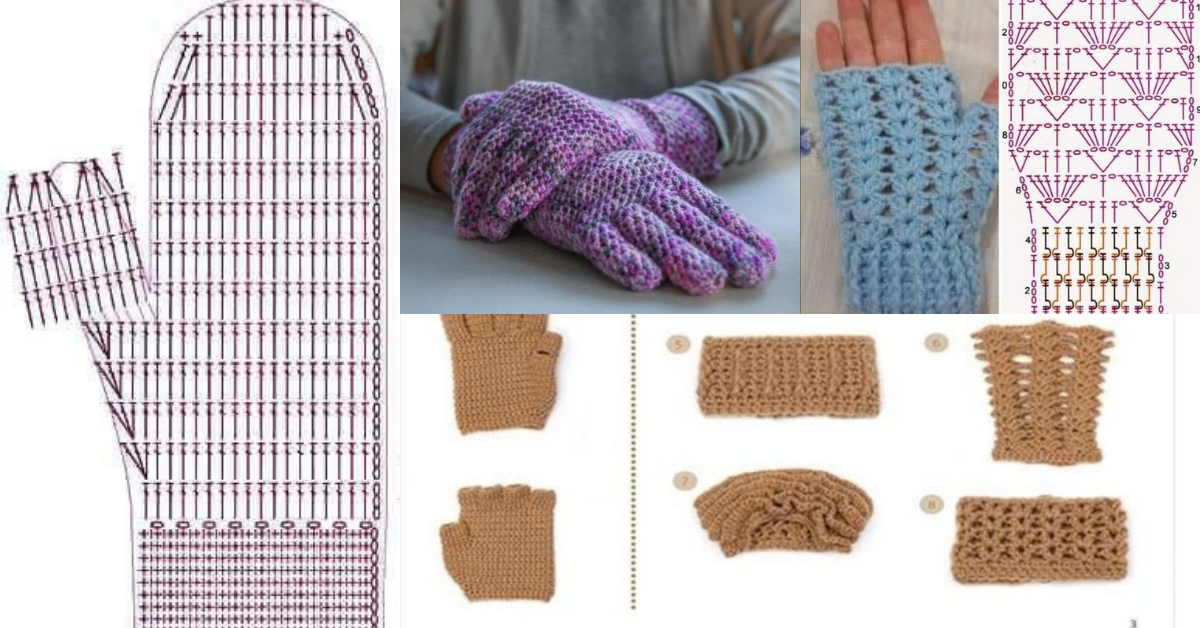
Gloves help keep your hands warm on the coldest days. In addition to warming your hands, the gloves are also perfect to make your look original and wonderful.
Crochet gloves are the right option for those who like gloves, the thread is comfortable and warm.
There are many ideas and models of crochet gloves. Options with fingers or without fingers, in our suggestions you will find solutions for all tastes and styles.
How to crochet gloves with fingers
Check out the video with the step by step of finger gloves.

Crochet gloves ideas
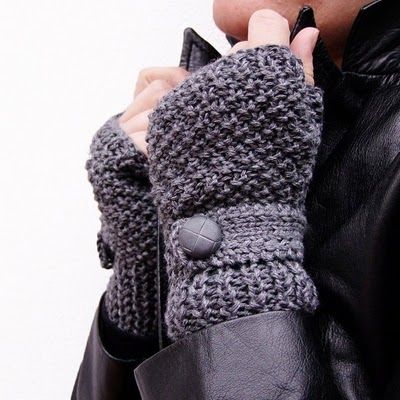
Via: www.styleoholic.com
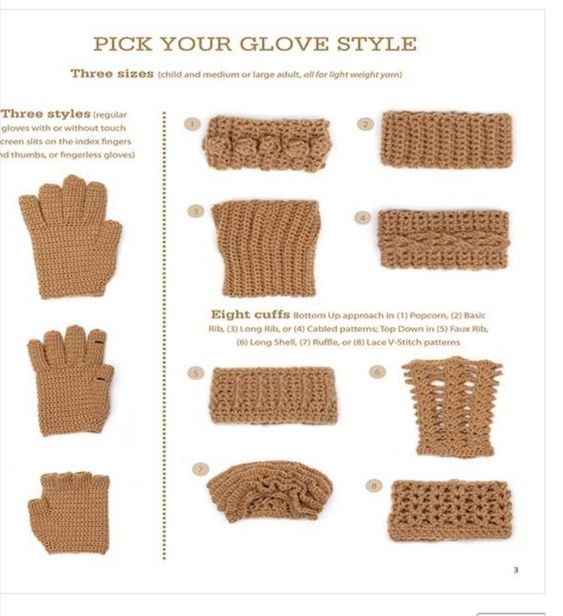
From Pinterest
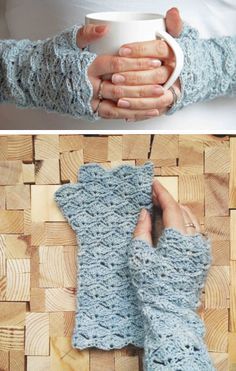
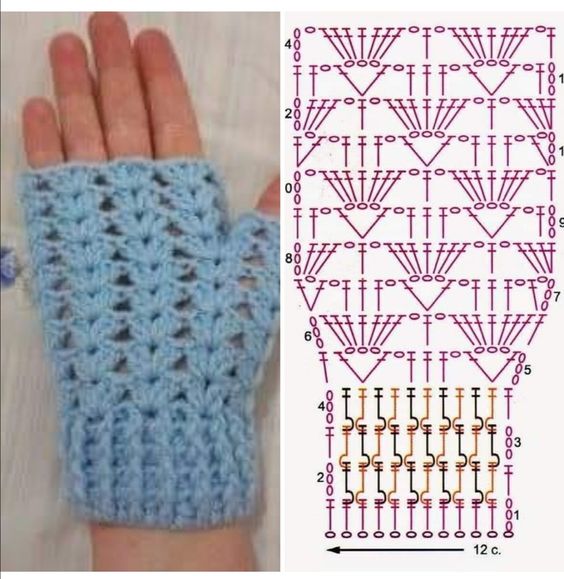
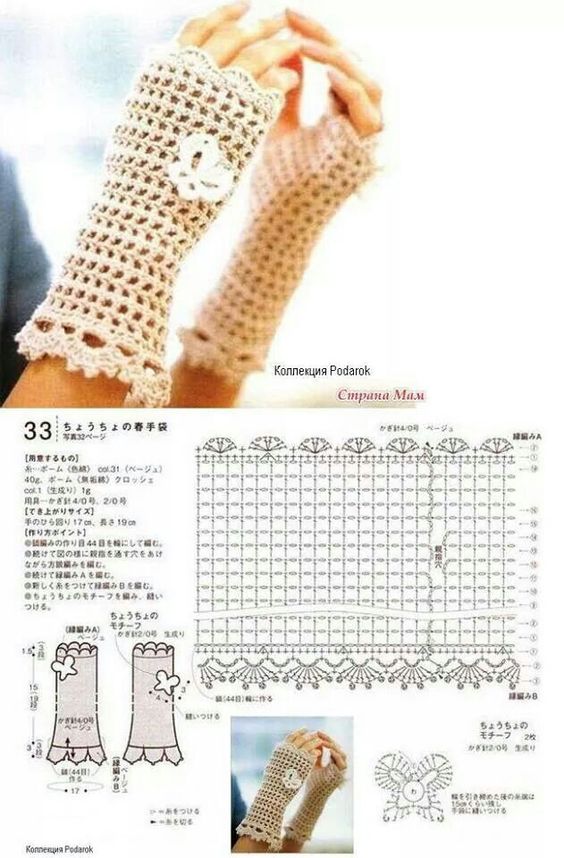
Via: www.crochetknitpattern.com
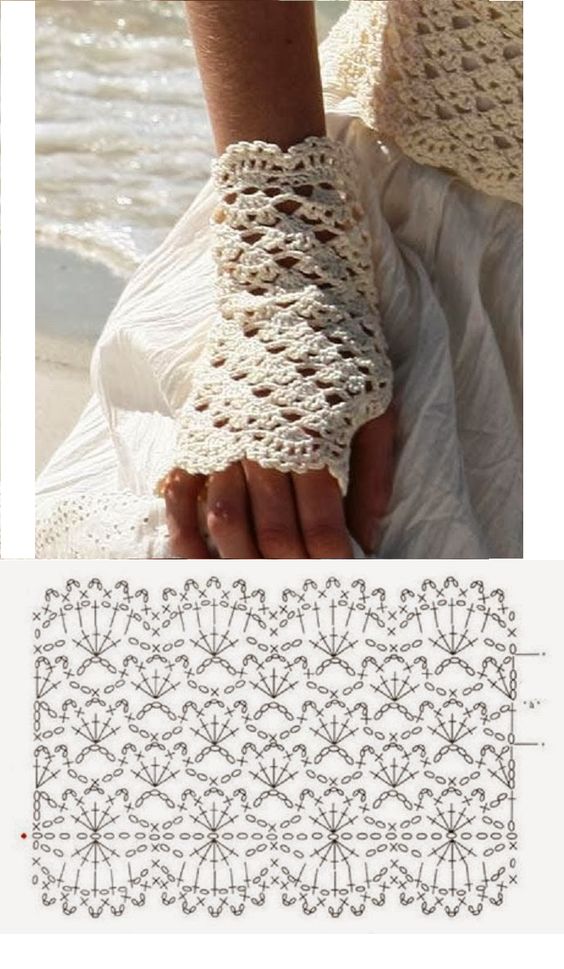
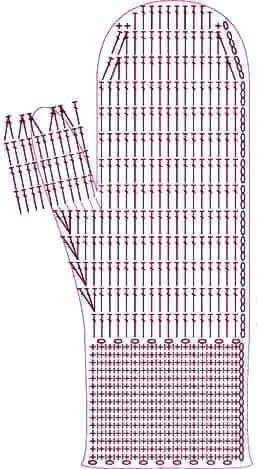
Via Pinterest
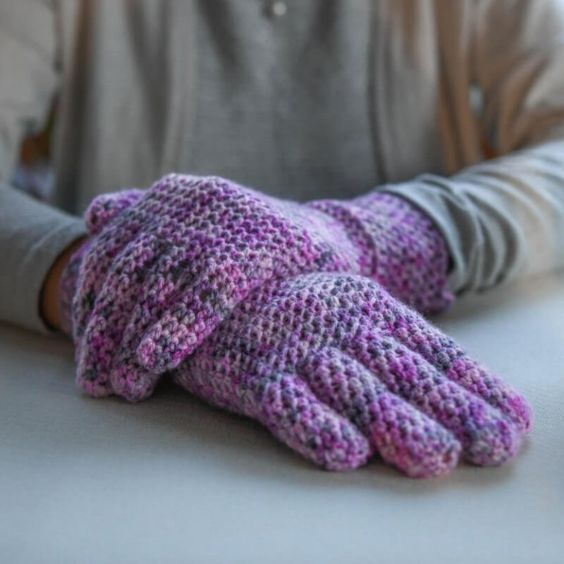
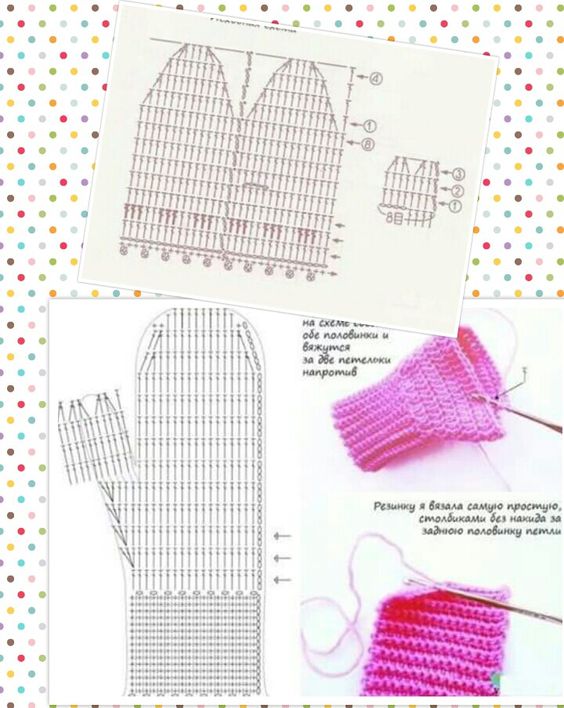
From Pinterest
Step-by-Step Guide to Crocheting Gloves
Step 1: Crocheting the Cuff
- Create a Foundation Chain: Start with a foundation chain that fits snugly around your wrist. This usually ranges between 20-30 stitches, depending on your desired fit and yarn elasticity.
- Work in Rows: Work in rows using single crochet (sc) or half double crochet (hdc) to form the cuff. Crochet rows until the cuff length wraps comfortably around your wrist.
- Join Ends: Once the cuff reaches your desired length, fold it in half, align the edges, and join with a slip stitch to form a circle.
For a snug fit, use back loop only stitches to create a stretchy ribbed effect on the cuff.
Step 2: Crocheting the Body of the Glove
- Begin Rounds Around the Cuff: Attach the yarn to the top edge of the cuff and start working single crochet stitches around, creating the body of the glove. Crochet in rounds until the body of the glove covers the hand up to the base of the fingers.
- Mark Thumb Placement: To create an opening for the thumb, crochet until you reach the side of your glove, then chain a few stitches to skip over the thumb area. Continue crocheting in rounds without working on the chain stitches.
- Add Extra Length if Needed: Continue crocheting rounds above the thumb opening if you want to add more length to the glove body.
Step 3: Creating the Fingers
- Divide for Fingers: Use stitch markers to divide the top of the glove into four sections for each finger. Ensure each section has enough stitches to form a comfortable finger width.
- Crochet Each Finger Separately:
- Start with the pinky finger section. Join yarn to the stitches in this section, and crochet in rounds to the desired length.
- Continue working the rest of the fingers individually, joining yarn for each finger and crocheting in rounds. Use decrease stitches at the top to taper each finger.
- Finish the Thumb: Go back to the thumb hole, join yarn, and crochet in rounds to complete the thumb.
- Secure and Weave in Ends: After each finger, finish by weaving in loose ends and securing each finger section.
Adjust the number of stitches per finger section based on the circumference of your fingers to ensure a comfortable fit.
Learn how to crochet gloves with fingers with this beginner-friendly guide. Perfect your glove-making skills with tips, FAQs, and easy-to-follow steps!
CHECK MORE CROCHET PATTERNS