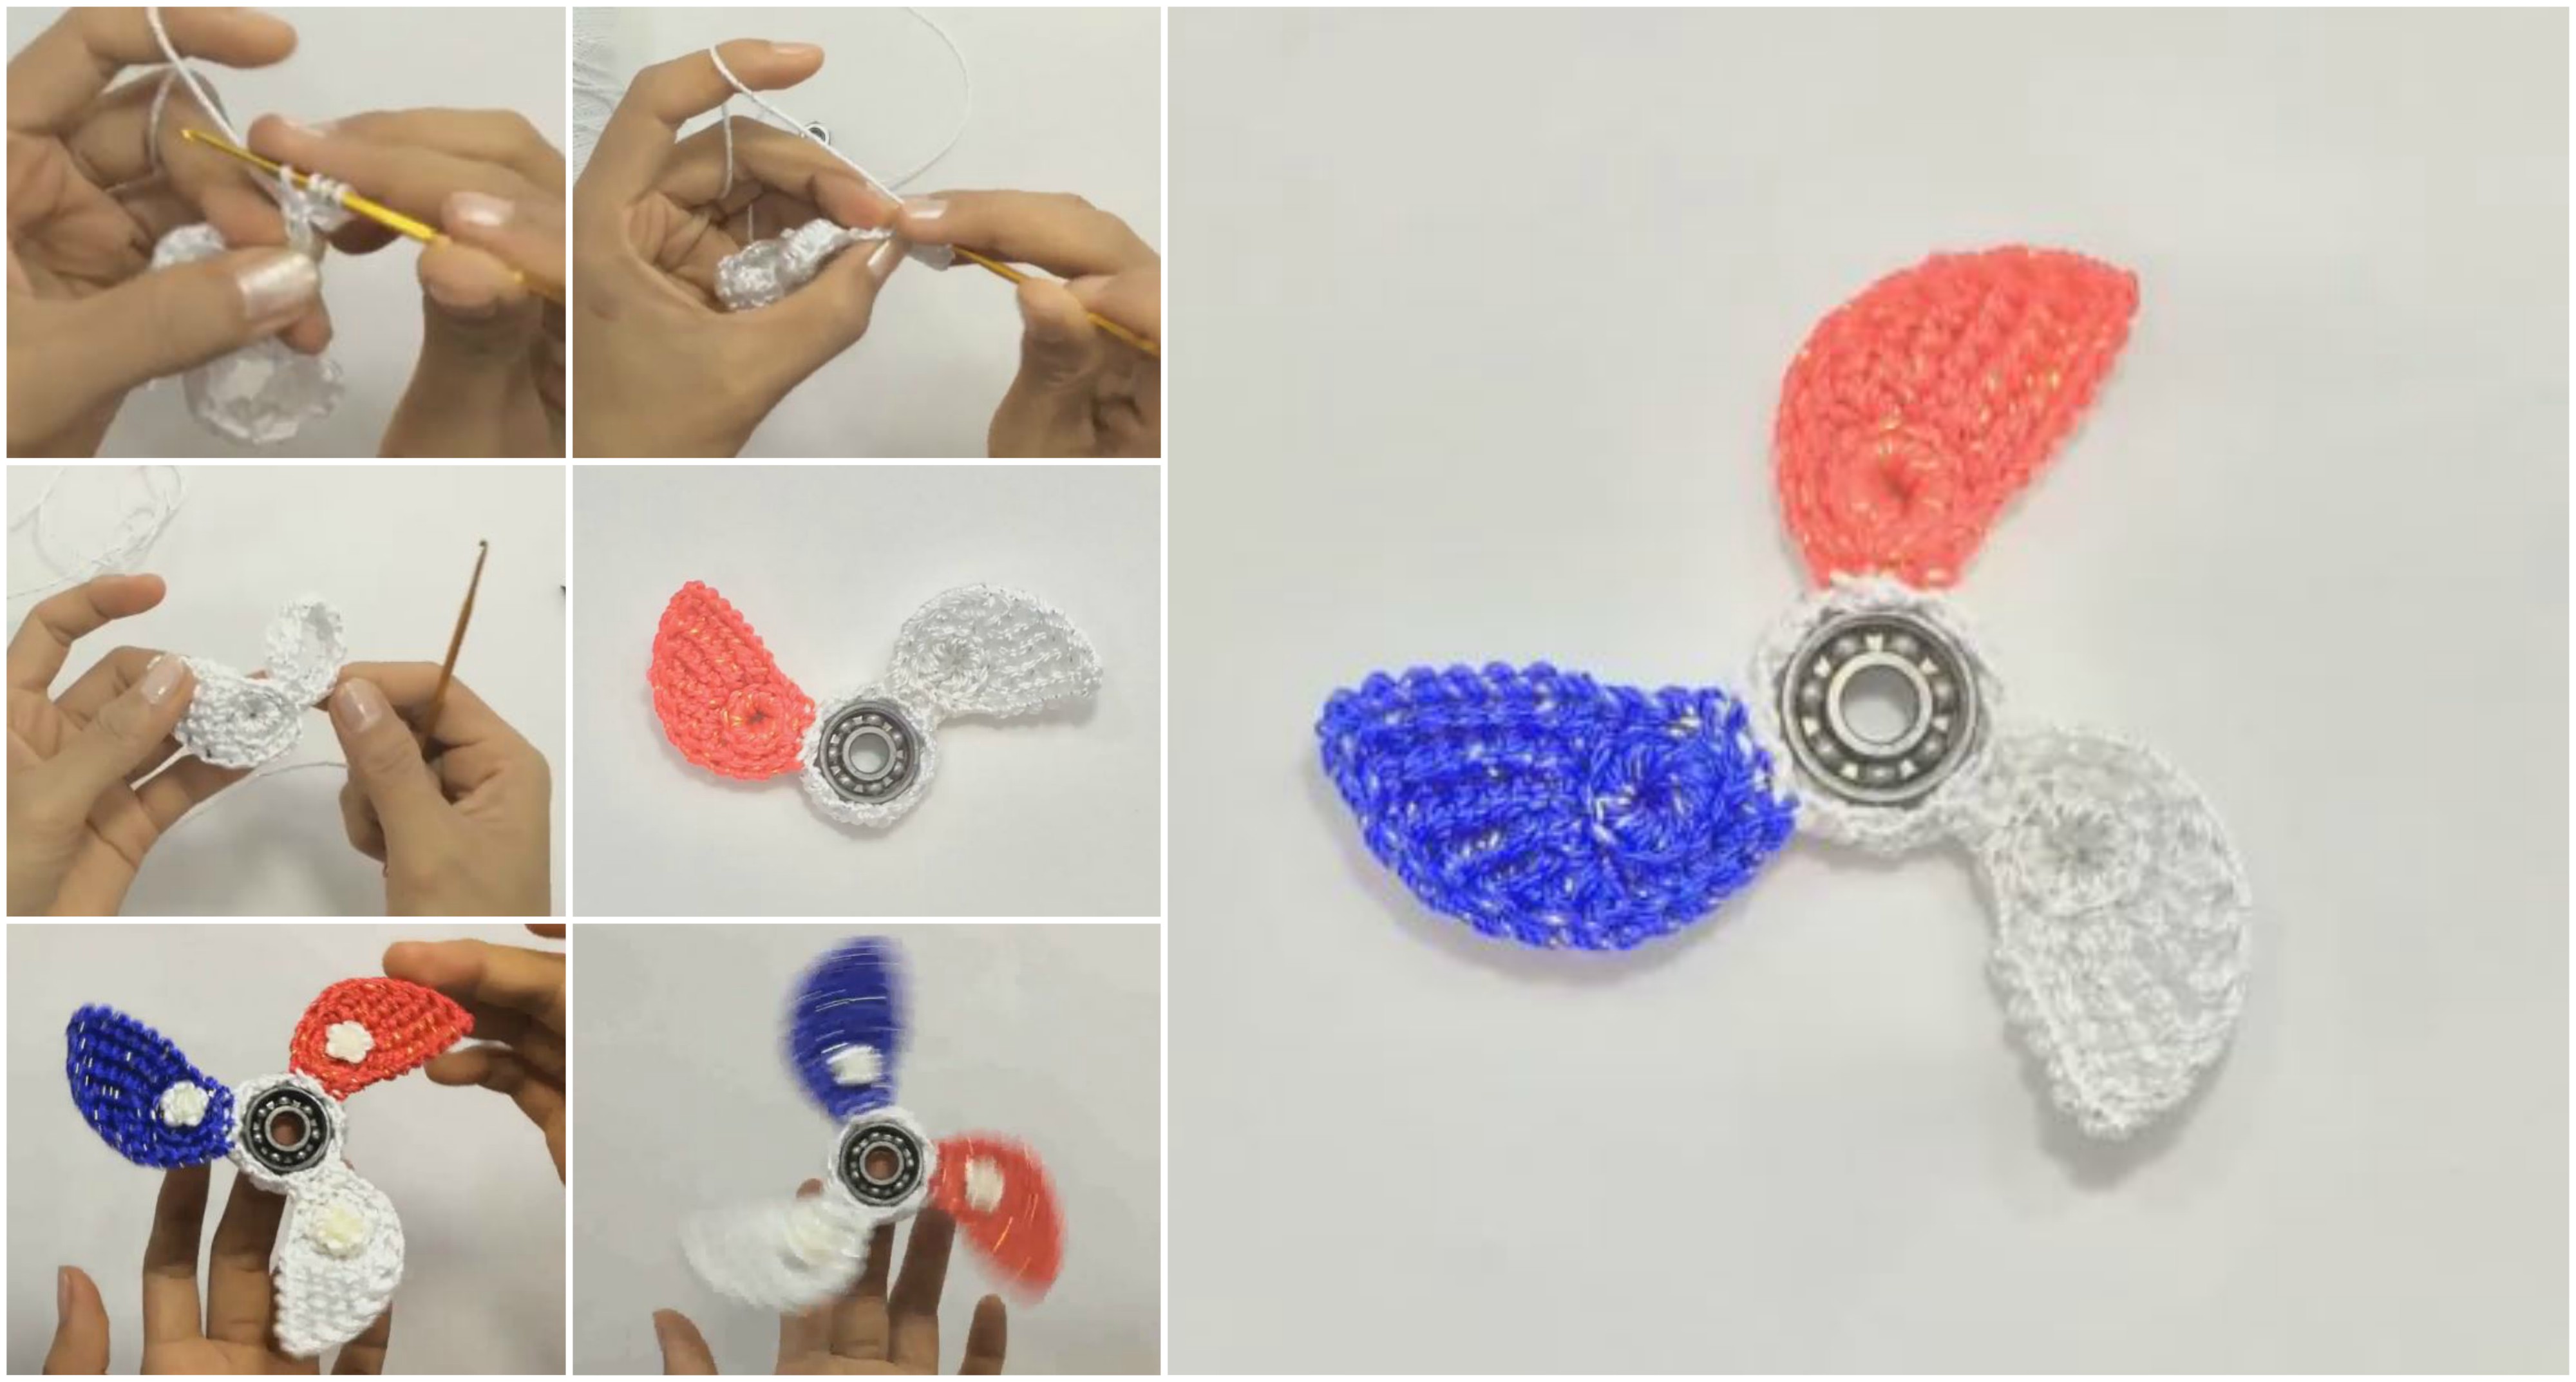
Crochet Fidget Spinner

Fidget spinners have taken the world by storm as a popular stress-relief toy, and what better way to join in on the fun than by making your very own crochet fidget spinner?
Not only is this a unique and crafty project, but it also allows you to express your creativity while providing a tactile experience that can help soothe anxiety and improve focus.
Fidget spinners are very popular nowdays and I thought why not crochet one. Fidget spinners are everywhere, it stones in supermarkets literally everywhere and to be honest I love them.
Crochet Fidget Spinner
So I was just sitting on the sofa playing with one of this cuties when idea came to my head: ” I should learn how to crochet s fidget spinner”.
So I started doing some researches and found a video tutorial that is very easy to follow and with the help of this video tutorial you will get to the finish very fast and very easy.
Of course you can choose the colors you like for your own projects but I am pretty sure that you are not going to stop on only one fidget spinner.

Assembly of the Fidget Spinner
- Join the Arms to the Center:
- Take one of the arms and sew it to the center piece, ensuring it is securely attached. Repeat for the other two arms, spacing them evenly.
- Add Washers for Weight:
- If using washers, place them in the center before fully securing the last arm. This will add stability and help your spinner rotate smoothly.
Finishing Touches
- Weave in Ends:
- Use a yarn needle to tuck in any loose ends to achieve a clean finish.
- Optional Stuffing:
- If desired, add a small amount of stuffing to the center for a plush appearance.
- Test the Spinner:
- Give your fidget spinner a try! It should spin smoothly and provide a satisfying experience.
Creative Ways to Personalize Your Crochet Fidget Spinner
1. Color Combinations
- Experiment with different yarn colors for the arms and center piece to create unique designs. Use bright colors for a playful look or pastels for a softer appearance.
2. Decorative Embellishments
- Add small beads, buttons, or embroidery to your fidget spinner for added detail and personality.
3. Size Variations
- Make larger or smaller versions of your fidget spinner by adjusting the number of chains and stitches.
View the tutorial and follow the steps that are shown there. Enjoy and good luck
CHECK MORE CROCHET PATTERNS