Amazing Flower Crochet Pillow Tutorial
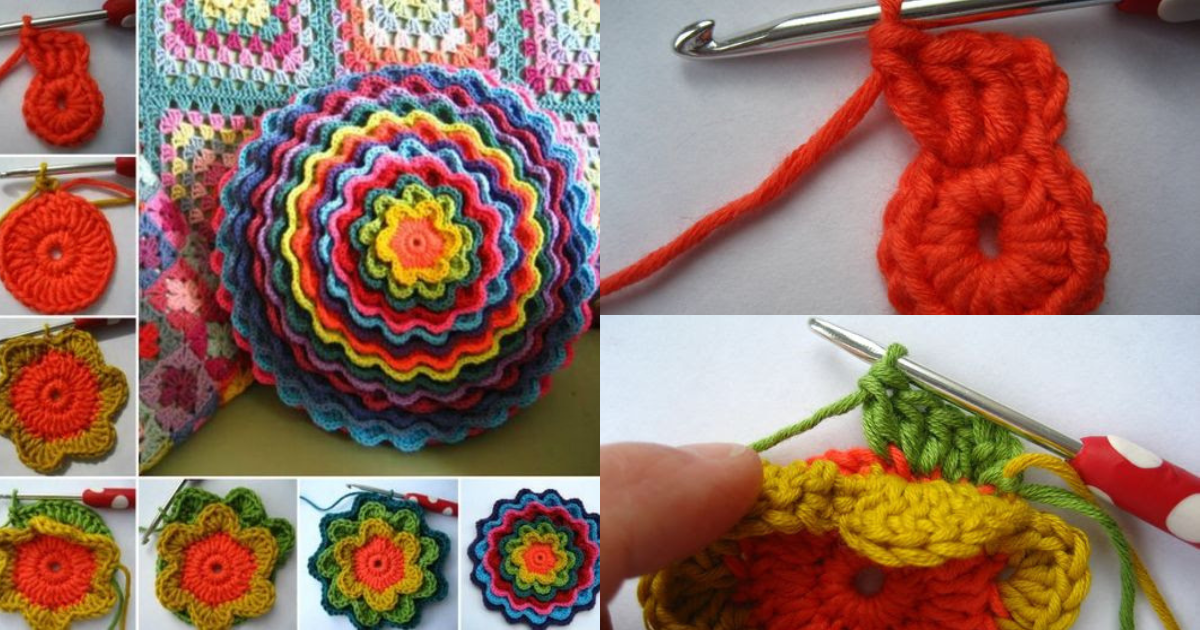
Are you looking to spruce up your living space with a touch of handmade elegance? If so, you've come to the right place! In this comprehensive Flower Crochet Pillow Tutorial, we'll guide you through the creative process of crafting a stunning floral-themed crochet pillow.
Whether you're a seasoned crochet enthusiast or a novice looking to explore this wonderful craft, this tutorial is designed to cater to all skill levels.
So, grab your crochet hooks and let's get started on this delightful journey!
Flower Crochet Pillow Tutorial
Materials:
Before diving into the crochet magic, let's gather the materials required for this project:
Soft and cozy yarn in your choice of colors
Crochet hooks (appropriate size for your chosen yarn)
Yarn needle
Pillow insert (size of your choice)
Scissors
Creating the Pillow Front
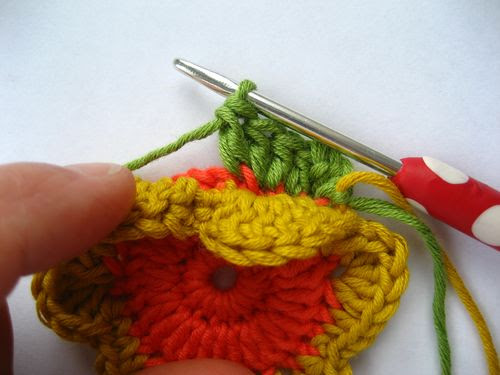
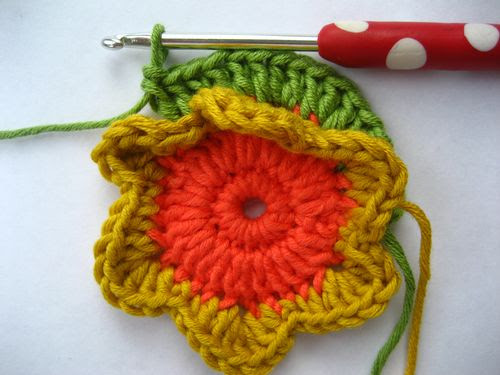
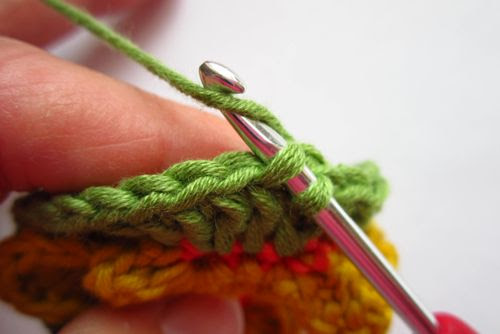
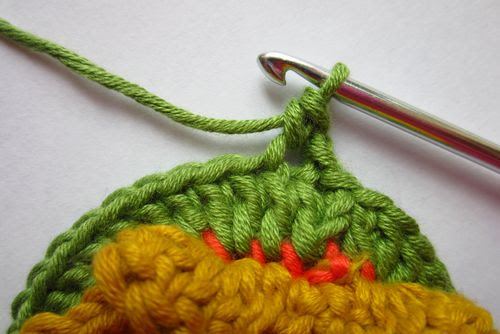
Discover how to crochet the front panel of your pillow cover, setting the stage for the floral masterpiece.

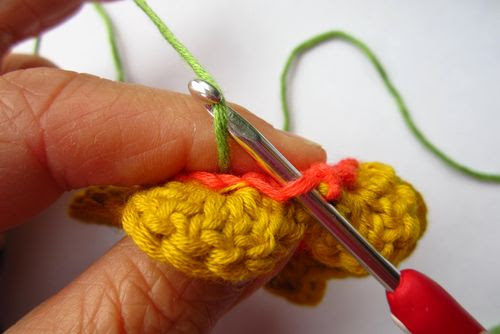
Put together the front and back panels, leaving an opening to insert the pillow form.
You've completed your Flower Crochet Pillow. This eye-catching, handmade masterpiece is sure to be the center of attention in any room. Now, sit back, relax, and enjoy the fruits of your labor as you admire your creation.
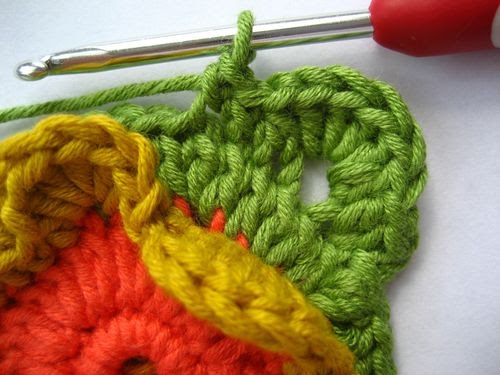
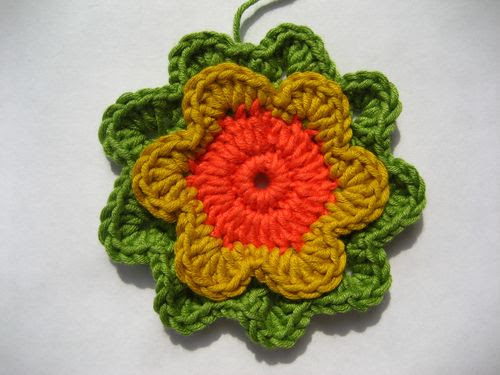
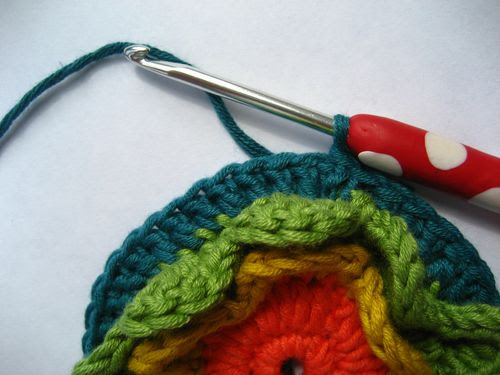
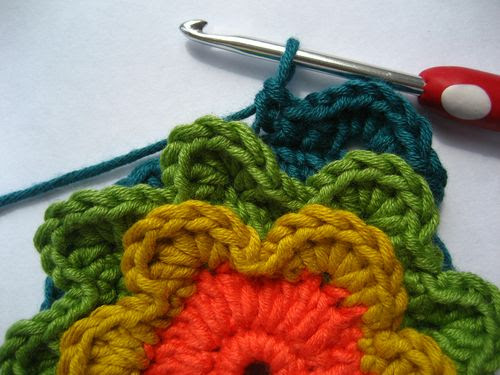
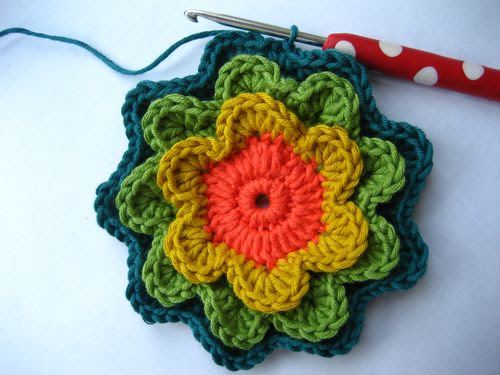
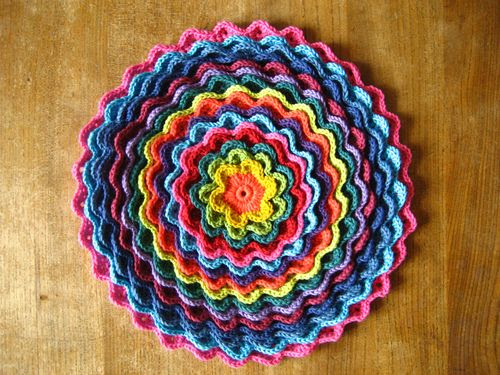
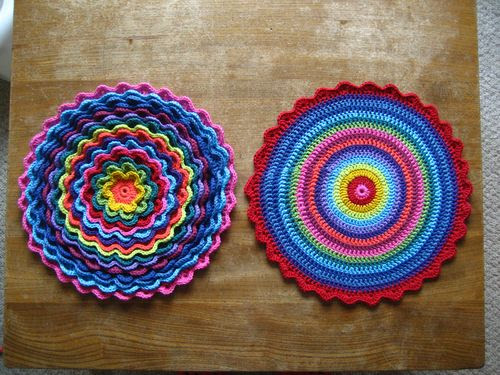
asreceitasdecroche.blogspot.com
Flower Crochet Pillow Ideas
Incorporating creativity and a touch of elegance, this Flower Crochet Pillow Tutorial ensures you not only create a beautiful pillow but also enjoy the crafting process.
So, gather your supplies, unleash your creativity, and crochet your way to a more charming home decor.
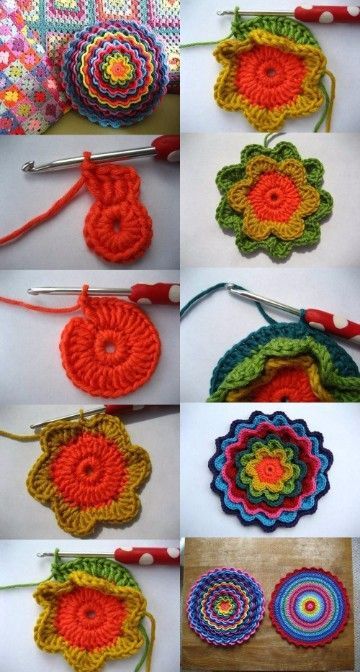
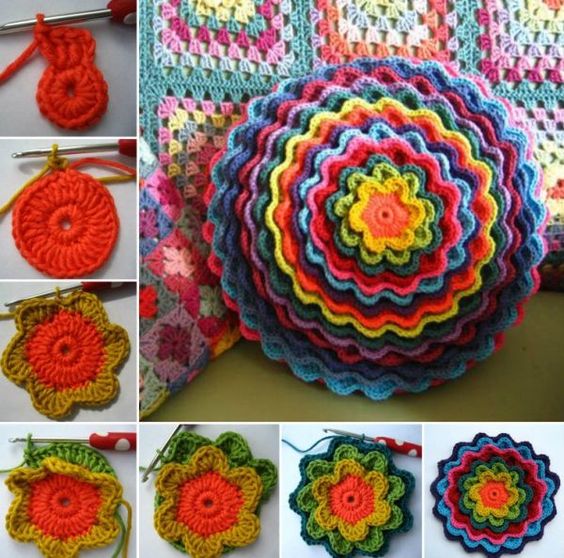
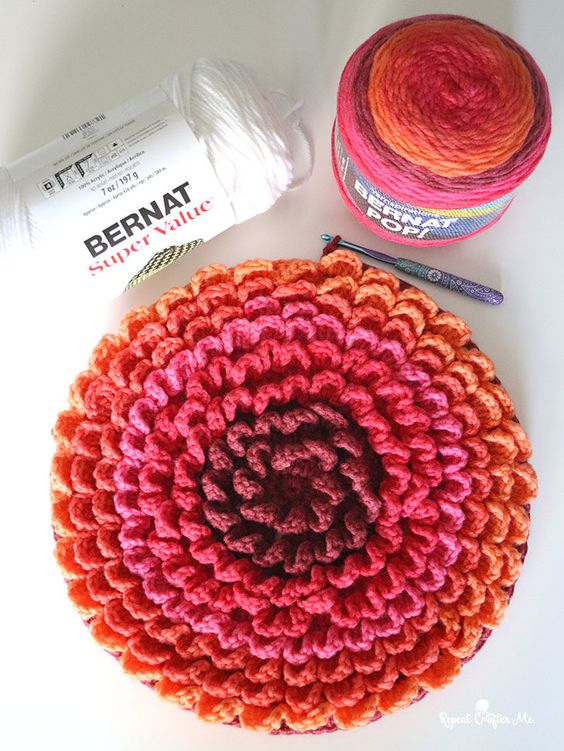
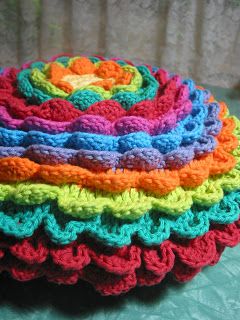
Step-by-Step Guide: Flower Motifs
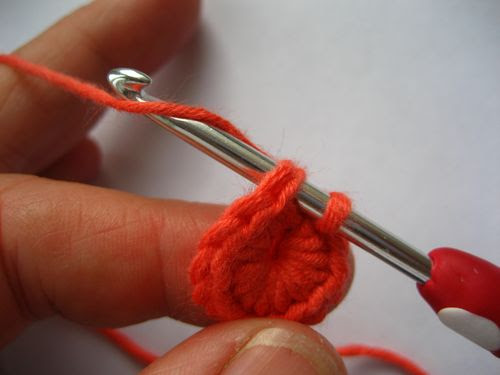
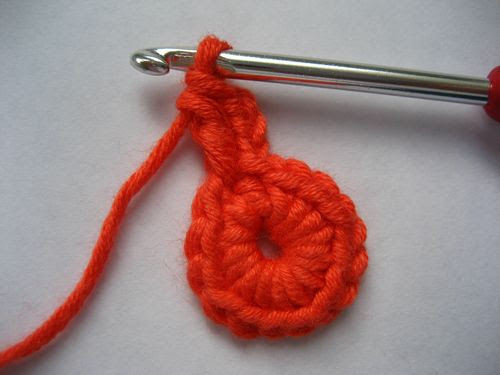
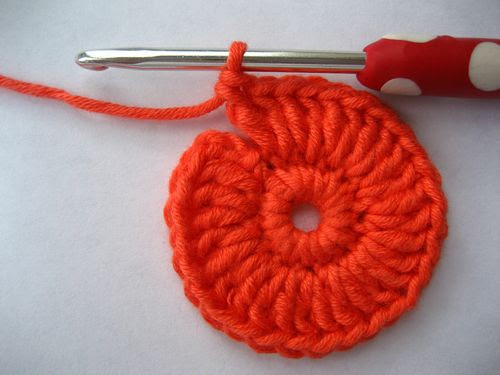
Step 1: Start the Flower Center
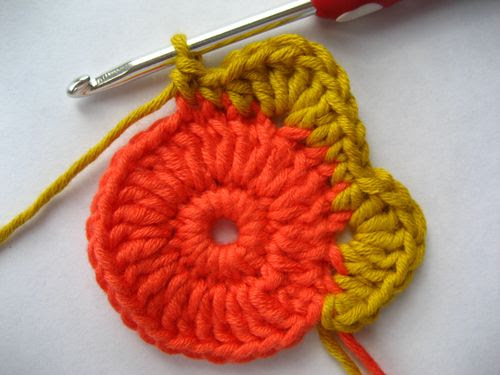
- Magic Ring: Create a magic ring using your chosen center color (yellow or orange works well).
- Round 1: Chain 1 (counts as sc), work 6 single crochets (sc) into the ring. Pull to tighten and join with a slip stitch. (6 stitches)
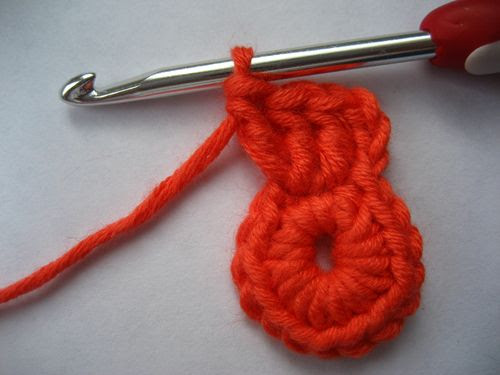
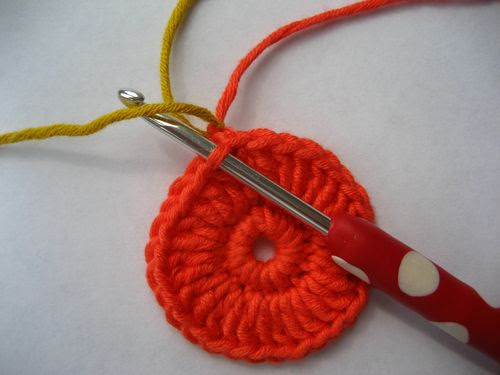
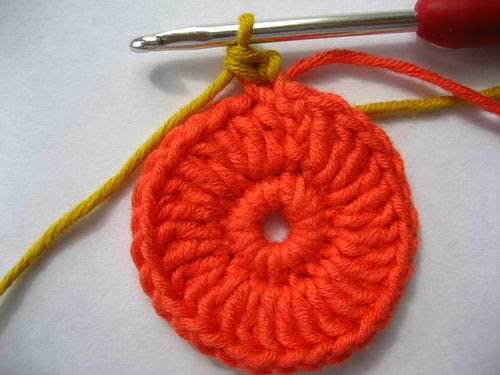
Step 2: Add Petals
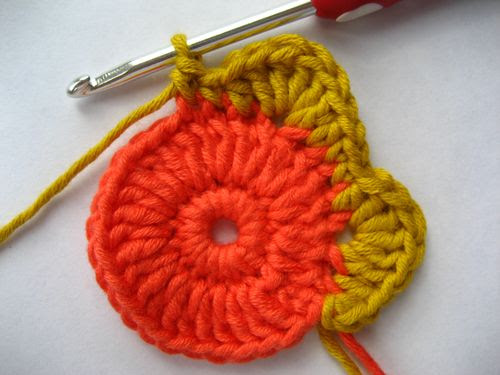
- Change Color: Attach a new color for the flower petals (e.g., pink or red).
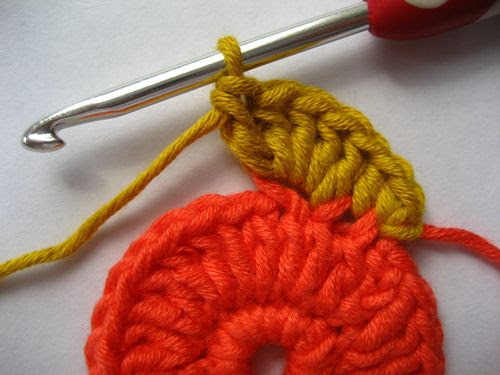
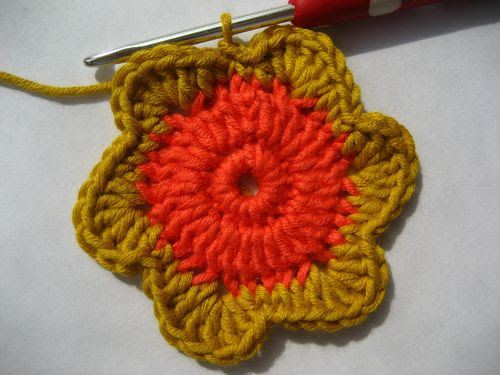
- Round 2: Chain 3 (counts as first dc), 2 dc in the same stitch. Repeat around, creating clusters of 3 double crochets in each stitch. (18 stitches)
This creates a full, ruffled petal look that forms the flower head.
Assembling Your Flower Crochet Pillow
Once you’ve crocheted several flower motifs, it’s time to arrange and assemble them into a cohesive design.
Step 1: Arrange the Flowers
Lay out your motifs on a flat surface in the desired pattern. For a floral bouquet effect, group flowers closely together. For a scattered look, place them with spacing.
Step 2: Attach Flowers to Pillow Cover
Using the yarn needle and matching yarn color, stitch each flower motif to the front side of the pillow cover, securing each petal and center to ensure durability.
Crocheting the Pillow Backing
- Create a Square Base: Crochet a simple square using double crochet stitches, matching the size of your pillow insert.
- Assemble the Pillow: With the wrong sides facing, join the front and back pieces using single crochet stitches along the edges. Leave one side open to insert the pillow.
Finishing Touches
- Edging: Add a scalloped or picot edge around the pillow for a decorative finish.
- Leaf Embellishments: Add small crochet leaves between flowers for added detail.
- Fasten Off and Weave In Ends: Use the yarn needle to tuck in loose ends neatly.
CHECK MORE CROCHET PATTERNS