Crochet Adorable Poncho ( Video Tutorial )

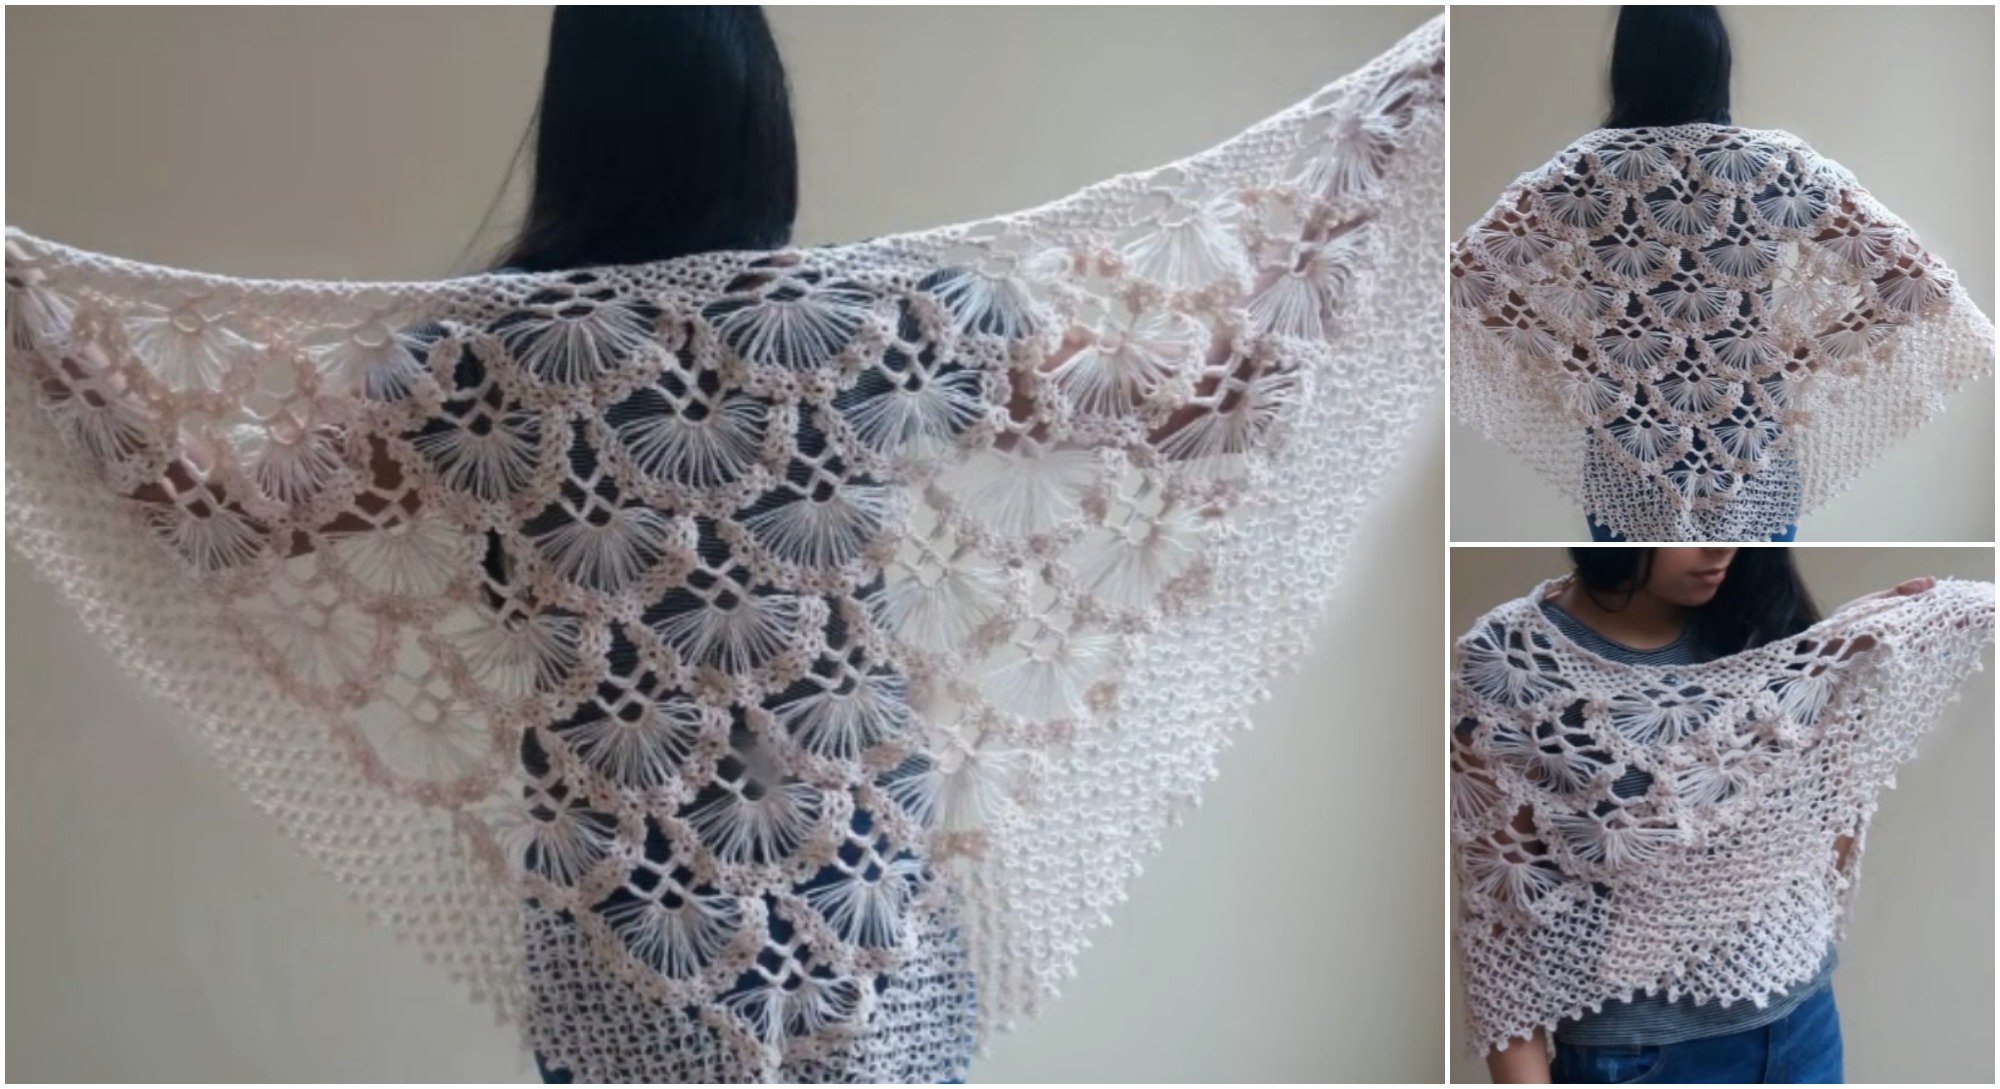
Ponchos are very useful and beautiful clothing that we all love. Today at crochet-ideas.com we want to show you great and one of the best crocheted poncho design.
We can easily say that poncho will look great on many type of clothing and shoes. It will definitely make your everyday life more comfortable and cozy.
This poncho design is distinguished by its elegance and originality. In addition to its attractiveness it is very useful.
Crochet Adorable Poncho
The Crochet Adorable Fan Poncho is a charming and versatile piece that adds an elegant layer to any outfit. This fan-stitch design creates a delicate, openwork fabric that’s both lightweight and visually captivating.
Whether you’re a beginner or an experienced crocheter, this poncho will be a rewarding project that you can enjoy wearing throughout the seasons.


It is super soft and cozy. Start crocheting right now and you will be lovely at any time of the year.You just need to choose any color you wish and start working on your new project right now.
Materials Needed for the Crochet Fan Poncho
- Yarn: Choose a lightweight yarn, such as cotton, bamboo, or acrylic, depending on the season you plan to wear it.
- Crochet Hook: A medium-sized hook (4mm-5mm) works well with most yarns for this project.
- Tapestry Needle: Essential for weaving in ends and finishing off your project.
- Scissors: To cut the yarn neatly.
Crochet Fan Stitch Tutorial
The fan stitch is a versatile pattern, which can be easily adjusted for size. Here's a quick guide on how to create this beautiful stitch.
- Foundation Chain: Start with a multiple of 6 chains plus 1 for your desired width.
- Row 1: Work a double crochet in the fourth chain from the hook, then skip 2 chains. In the next chain, work 5 double crochets to form the fan. Skip 2 chains and repeat until the end.
- Row 2 and Onward: Chain 3, turn, and work a fan stitch in each of the fan spaces from the previous row. Continue until you reach your desired length.
How to Crochet the Fan Poncho
Step 1: Creating the Base
- Foundation Chain: Start with a foundation chain that matches the width of your shoulder measurement, adding extra length for a loose fit.
- Fan Stitch Rows: Crochet rows using the fan stitch pattern until the piece reaches the desired length to wrap around your body.
Step 2: Shaping the Poncho
- Connecting the Ends: Fold the crocheted piece to connect the two edges. Use slip stitches or whip stitches to join one side, leaving an opening for your head.
- Creating the Neckline: Once the two sides are joined, add a border around the neckline for a polished finish. You can use single crochets or an additional row of fan stitches to create a cohesive look.
Step 3: Adding Edges and Embellishments
- Bottom Edge: To give the poncho a refined look, add a border along the bottom edge. Try a picot edge or a simple scalloped edge for added charm.
- Optional Fringe: Attach yarn fringes along the bottom for a bohemian vibe.
Once you finish this crochet accessory all your friends will be itching to ask you where you bought it and you will be proud of yourself.
CHECK MORE CROCHET PATTERNS