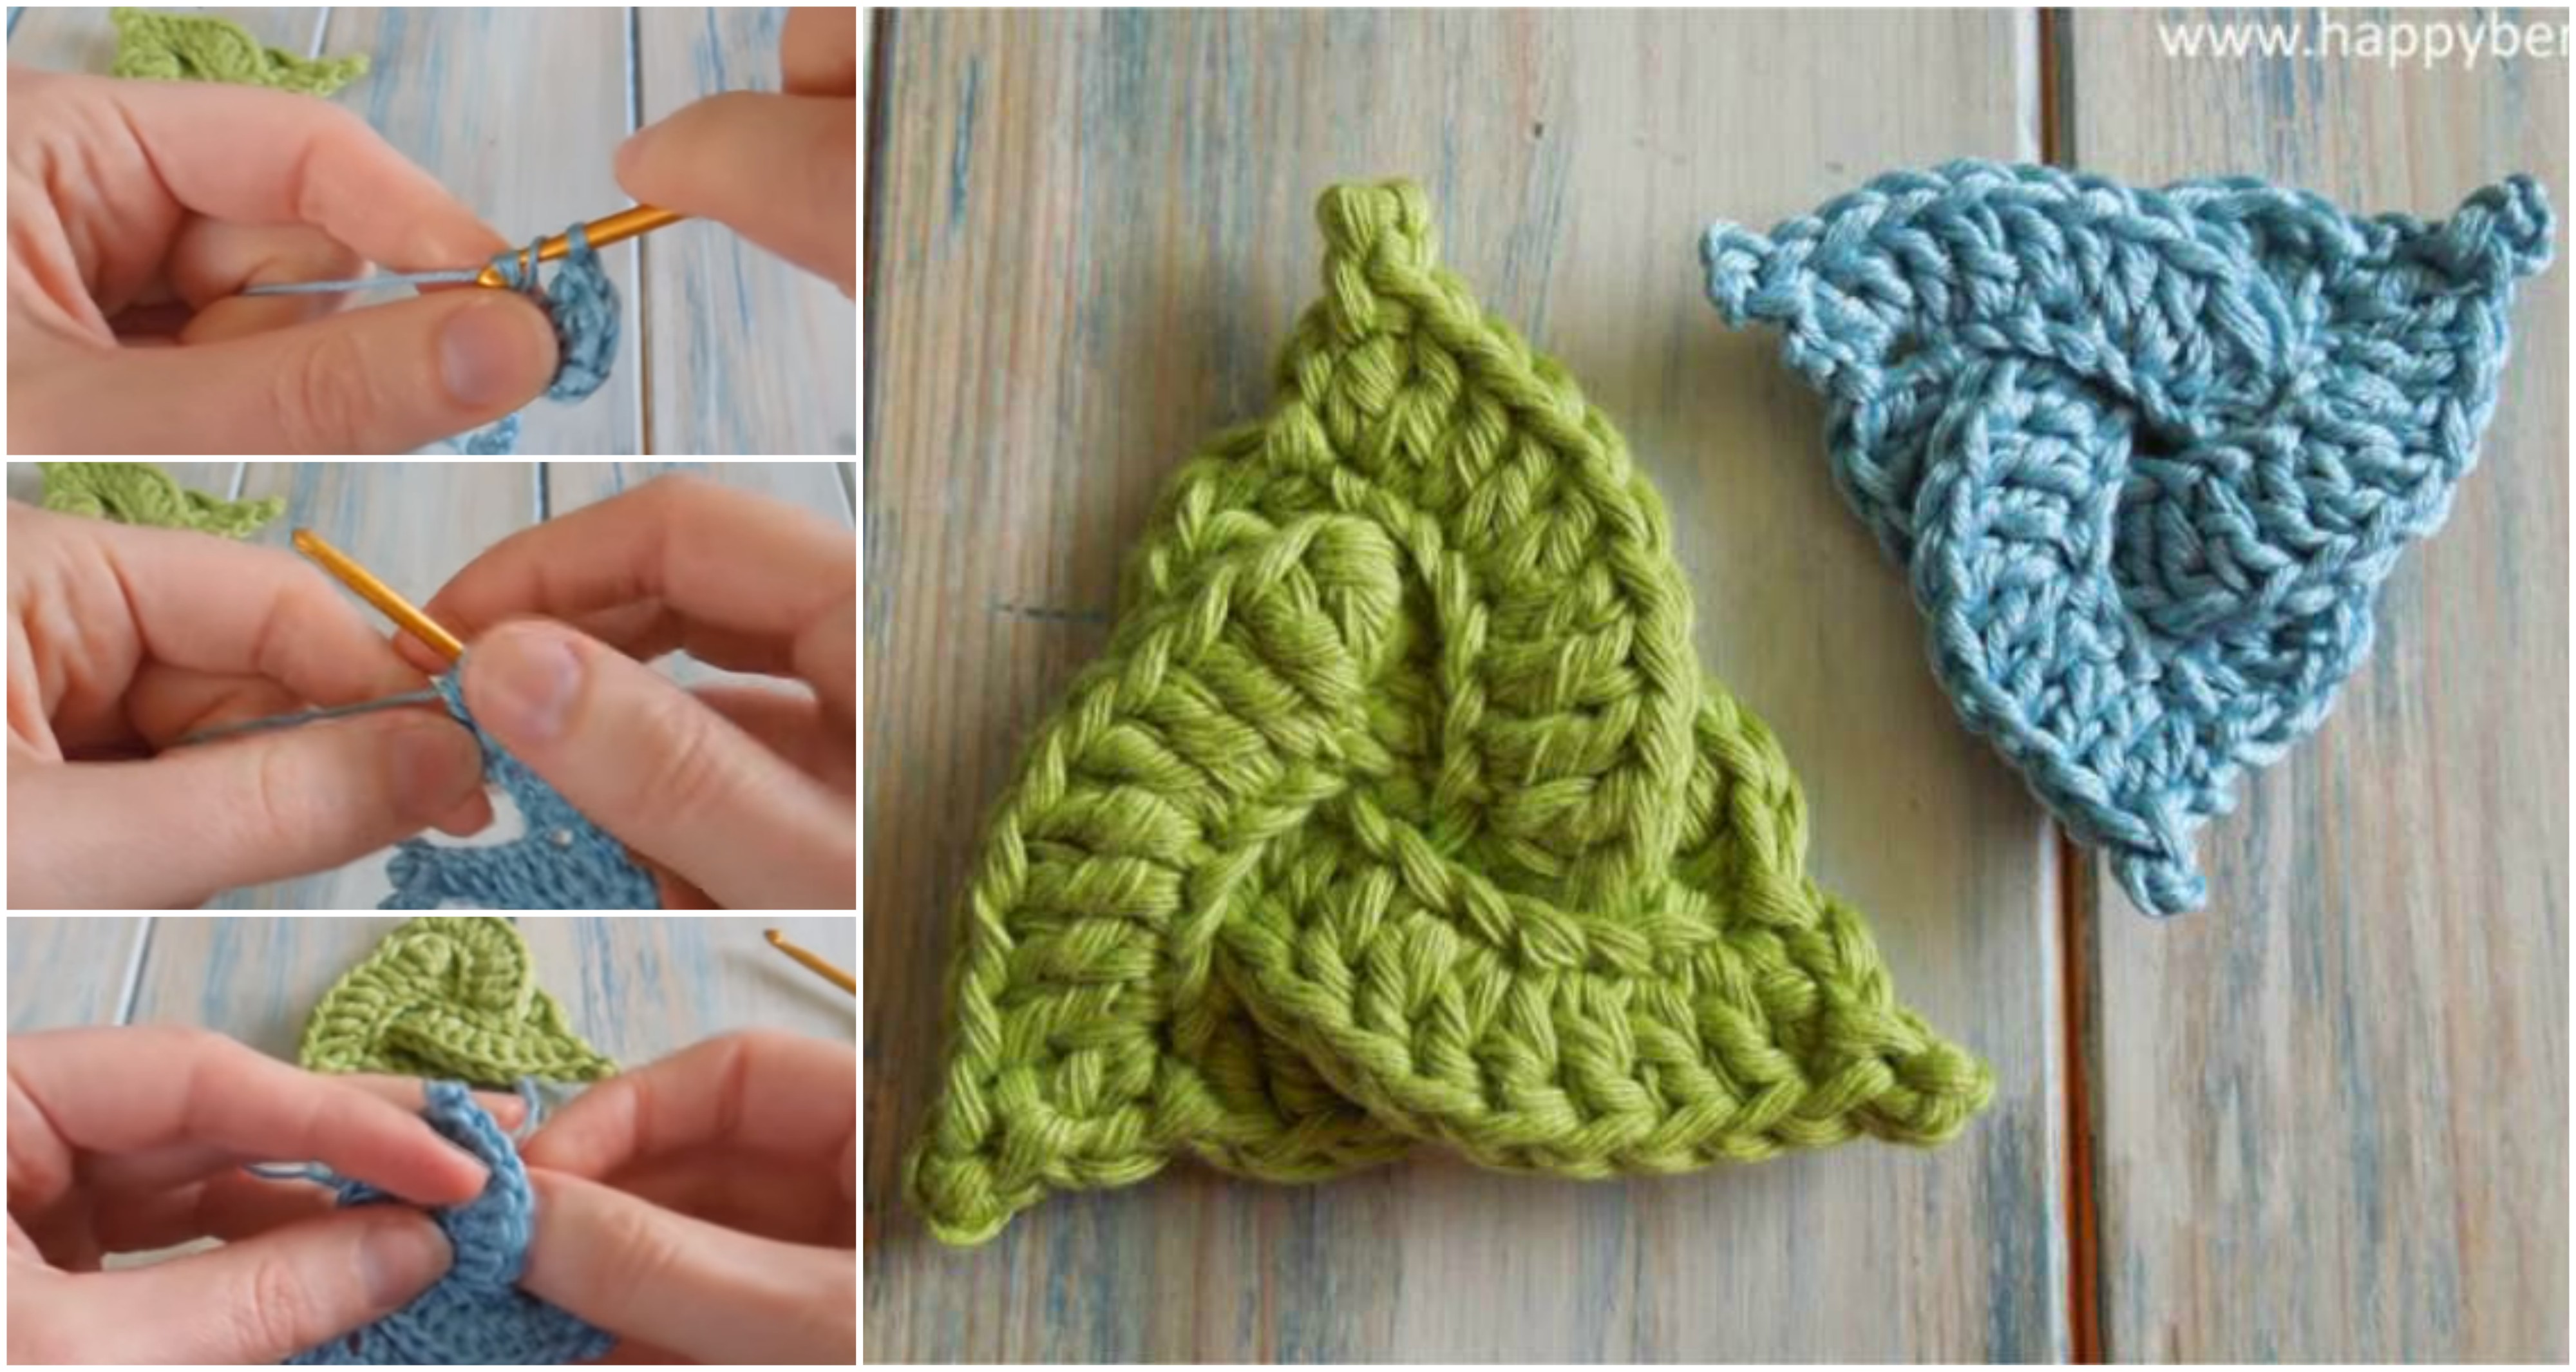
Crochet Celtic Triangle

The Crochet Celtic Triangle is a stunning design that combines the beauty of Celtic motifs with the versatility of crochet. Known for its intricate patterns and symbolic meanings, the Celtic triangle (or Triquetra) is rich in history and cultural significance.
This crochet pattern allows you to create a beautiful, textured triangle that can be used as a decorative motif in blankets, scarves, shawls, or even standalone as a decorative piece.
We present you a new interesting article everyday and hope that you are having a good time visiting our website. Today we are going to talk about crocheting a Celtic triangle just like the one that is presented on the photos.
Crochet Celtic Triangle
The video tutorial that is presented in this article is tested by many different crochet lovers and judging from the fact that the video is very popular and it has many likes it works fine.
So my advise will be to view the tutorial and follow the steps that are presented there.

Materials Needed for a Crochet Celtic Triangle
Gather these materials to get started on your Celtic triangle:
- Yarn: Worsted-weight yarn works well, though you can experiment with different weights for various effects.
- Crochet Hook: Use a hook size recommended for your chosen yarn, usually 4mm to 5.5mm for worsted-weight yarn.
- Tapestry Needle: For weaving in ends and connecting pieces if making multiple triangles.
- Scissors: Essential for trimming yarn ends.

Step-by-Step Guide to Crochet a Celtic Triangle
This guide will walk you through creating a basic Celtic triangle with a woven look.
1. Begin with a Magic Ring
Starting with a magic ring is a common method for circular and triangular motifs in crochet, and it allows for a tightly closed center.
- Magic Ring: Wrap the yarn around your fingers to create a ring, then pull up a loop with your hook.
- Chain 3: Chain 3 to create height for the first row, which will serve as the starting point for your first triangle segment.
2. Crochet the First Triangle Segment
Each triangle segment is worked separately and woven together later to create the interlocking effect.
- Row 1: Chain 3 (counts as the first double crochet), then work 2 double crochet (dc) stitches into the ring. Chain 1, turn.
- Row 2: Work 1 dc into each stitch across (3 dc total). Chain 1, turn.
- Row 3-5: Continue working rows, increasing by 1 stitch per row until you have a triangle shape.
3. Make Two More Triangle Segments
Repeat the steps above to create two additional triangle segments. Each segment should be identical in size and shape to the first one.
4. Weave the Triangles Together
The magic of the Celtic triangle comes from weaving the three segments together to create a continuous design.
- Lay Out Triangles: Arrange the triangles so that the points of each meet in the center and the sides overlap slightly.
- Weaving Technique: Slide one triangle under and over the other segments, interlocking them in a woven pattern. Adjust each piece until you achieve the desired look.
- Secure the Shape: Once woven, secure the edges by sewing the triangles together with a tapestry needle. Keep the stitches discreet for a seamless look.
Learn how to make a beautiful crochet Celtic triangle with this step-by-step guide! Perfect for blankets, shawls, wall hangings, and more.
Enjoy the article and if you like it share it with your friends. Good luck
CHECK MORE CROCHET PATTERNS