How to Crochet Doll Dress (Step by Step)
Crocheters who love elegant creation, this is often another nice chance to create a beautiful doll dress with their own hands in just a brief amount of your time.
In this video you can learn how to crochet doll dress, that will clearly explain each and every step you need to make.
I hope you’ve got enough experience of knitting and crocheting one among the most effective stitches, as a result of our today’s project completely depends on it ability.


So, let’s get right down to the business. Start crochet today and get a big pleasure.
Table
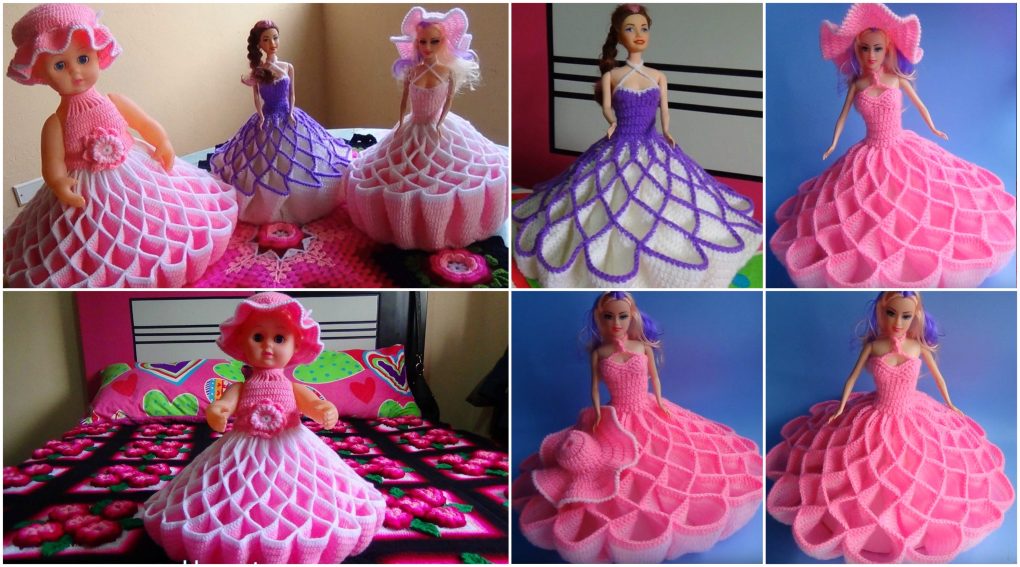
Crochet Doll Dress Ideas
Materials
- Acrylic yarn (light worsted/DK) – 2 colors
- Crochet hook: 3.5 mm
- Scissors
- Tapestry needle
- Fashion doll (e.g., Barbie) to size as you go
Stitches Used
- Chain (ch)
- Single crochet (sc)
- Double crochet (dc)
- Slip stitch (sl st)
- Crocodile stitch (set of dc around posts)
Part 1: Bodice
Round 1: Make a magic ring. Ch 2 (counts as dc), work 9 dc into ring. Join with sl st. (10 dc)

Round 2–4: Ch 2, dc in each st around. (Continue until the bodice fits around the doll’s bust.)

Round 5: Begin to increase slightly for the waist: (2 dc in next st, 1 dc in next) around.

Fasten off and weave ends. Attach straps or create a halter with chains if desired
Part 2: Skirt Base
Join second color yarn at the base of the bodice.

Round 1: Ch 3, dc in each st around, join.

Round 2–4: Increase gradually (every 6th stitch: 2 dc in same st) to allow the skirt to flare.

Round 5: Begin crocodile stitch pattern base:
Ch 1, *dc in next st, skip 1, dc in next*, repeat around.
Part 3: Crocodile Stitch Skirt
Now work crocodile stitch around the pairs of dc posts:
Row A:
*5 dc down first post, ch 1, 5 dc up next post*, sl st to next pair. Repeat around.

Row B:
Skip to the next unworked post pair between stitches of previous round. Repeat Row A.
Continue layering these rows to build the scalloped effect. Add more rows for longer dresses.
Finishing Touches
- Add ribbon or bow at the waist.
- Sew or crochet a flower motif for embellishment.
- Optionally, add a matching hat or shawl.
CHECK MORE CROCHET PATTERNS