Crochet Easter Bunny Basket Tutorial
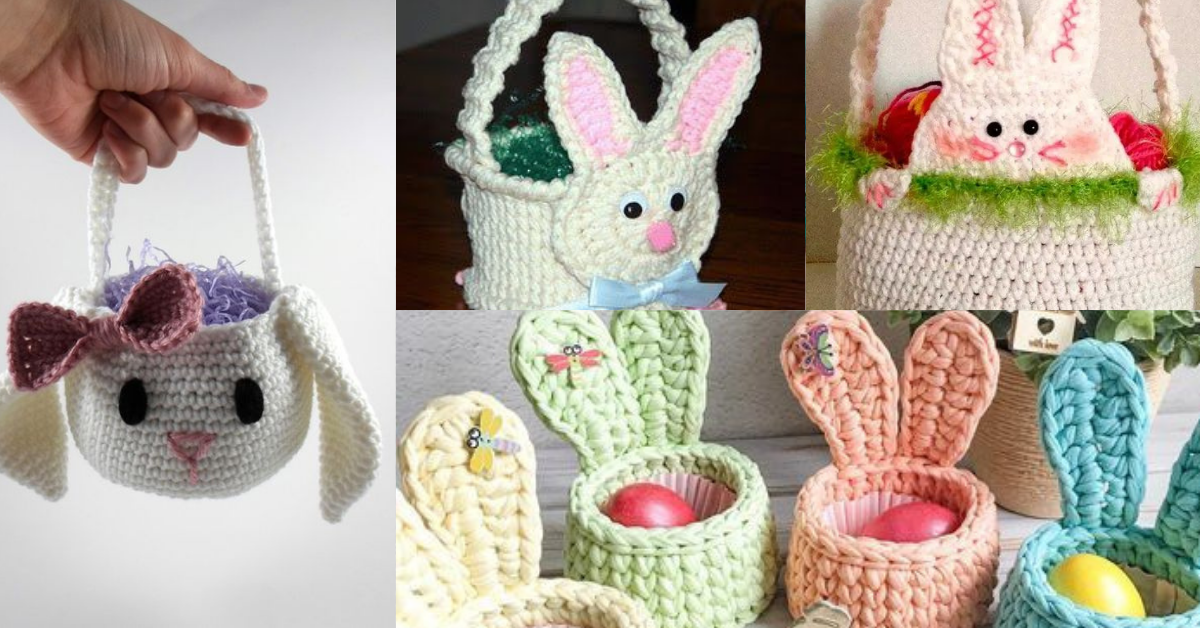
Easter is a festival full of traditions. These traditions vary greatly from country to country, but egg hunting has become quite common everywhere.
For this reason, Easter baskets have also become famous. The crochet Easter baskets can be used in many ways, for egg hunts, to offer cuddles or even to decorate your home.
Learn how to make a beautiful basket for your Easter.
See too: Crochet Easter Basket- Tutorial and Ideas
Crochet Easter Bunny Basket Tutorial
The Crochet Easter Bunny Basket is a handmade, bunny-themed basket that can hold Easter goodies, acting as both a decorative and functional piece. With features like bunny ears, a cute face, and sometimes even a tail, it adds a playful touch to any Easter setup.
This pattern is ideal for those who enjoy crocheting and want a festive, unique piece for their holiday decor.

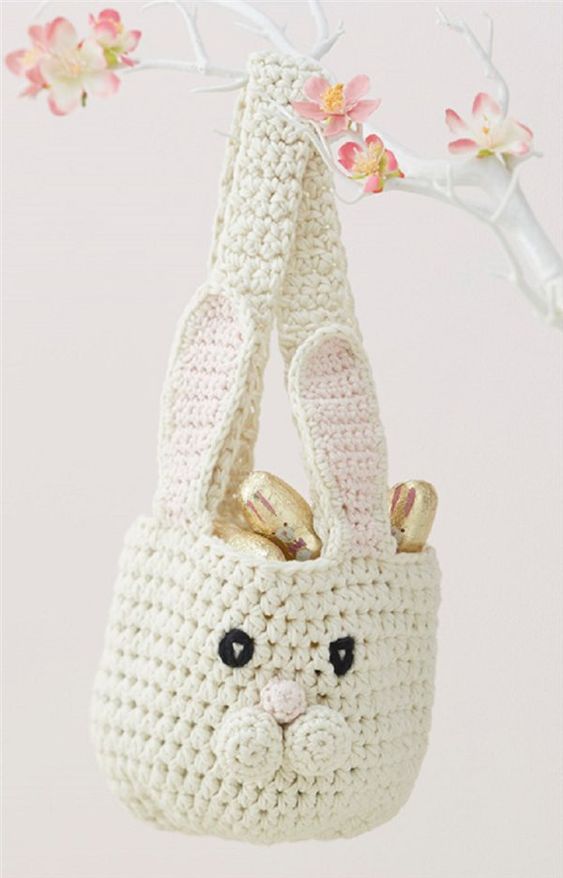
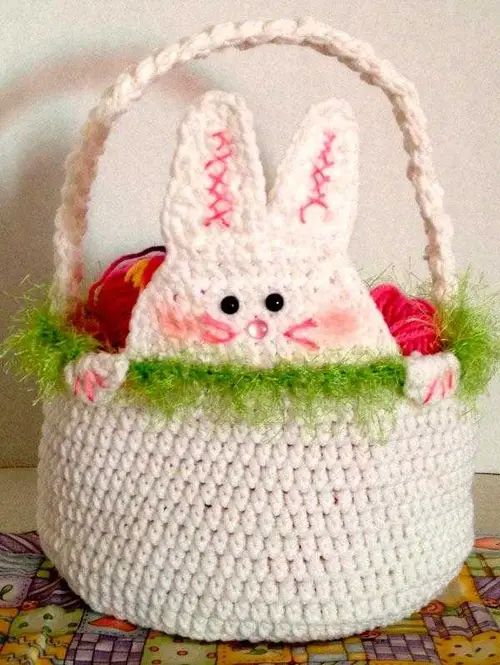
Crochet easter bunny basket ideas
See also some ideas that we separated for you.
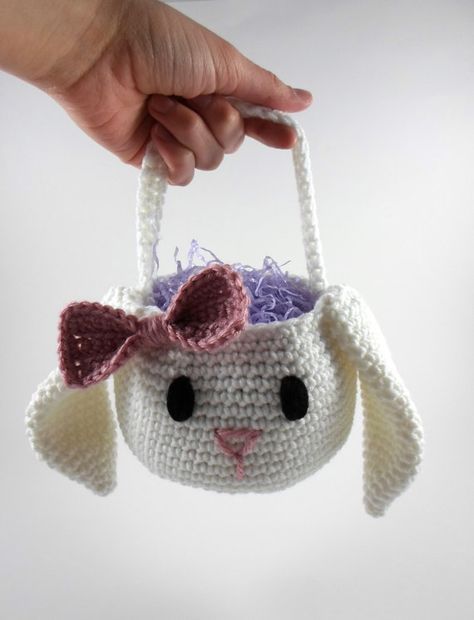
Via: stylowi.pl
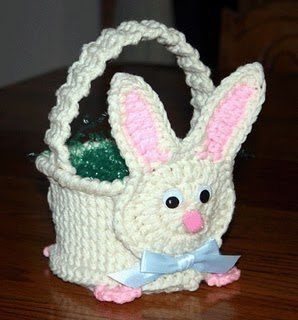
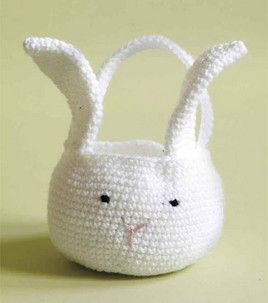
Via: coolcreativity.com
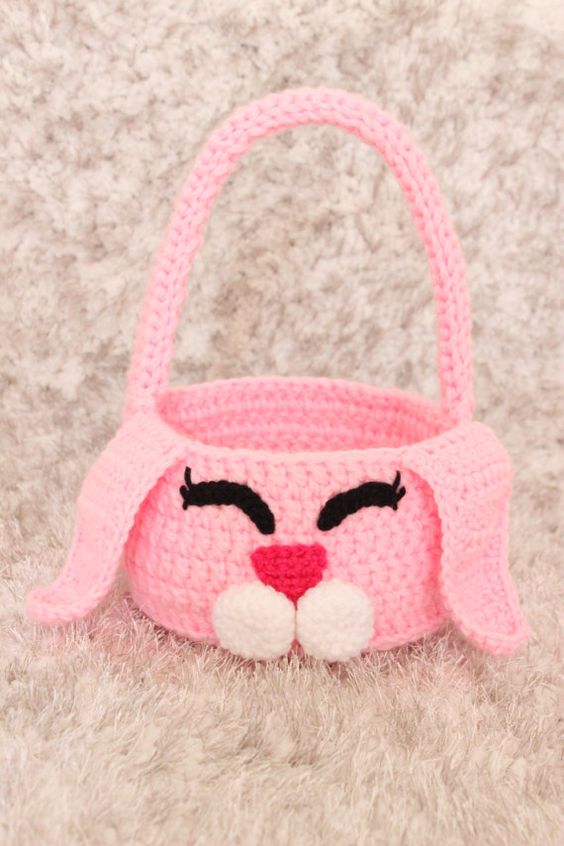
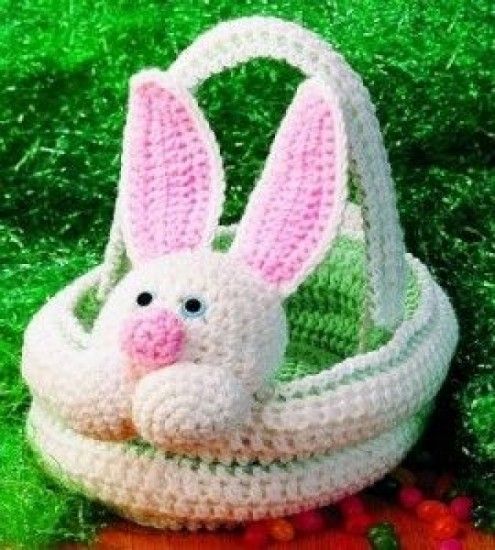
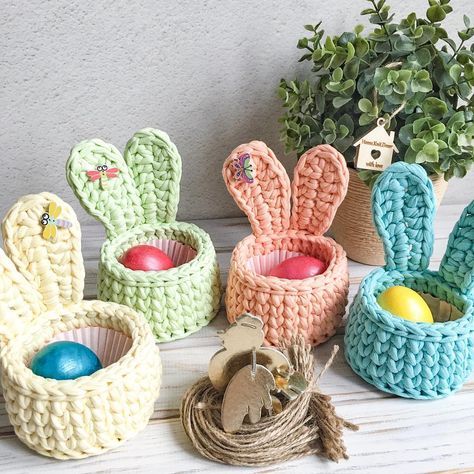
Via: www.revistaartesanato.com.br
Basic Crochet Techniques for the Easter Bunny Basket
Some basic crochet stitches and techniques will help you create a sturdy and adorable basket:
- Chain Stitch (ch): Often the starting point for crochet rounds or rows.
- Single Crochet (sc): Creates a tight, dense stitch, perfect for building a solid base.
- Double Crochet (dc): Adds height to your basket and is used in some decorative elements.
- Magic Ring: A popular way to start circular crochet projects, helping to form the basket’s base.
- Slip Stitch (sl st): Used for joining rounds and adding finishing touches.
Sample Pattern for the Bunny Ears
Here’s a quick pattern for creating the ears for your Easter bunny basket:
- Chain 8 to start.
- Work 1 sc in the second chain from the hook and each chain across.
- Turn and continue working sc rows to form the ear’s shape, decreasing slightly for a tapered end.
- Repeat for the second ear and attach both to the basket.
Step-by-Step Instructions for the Crochet Easter Bunny Basket
Step 1: Start with the Base
- Magic Ring: Begin with a magic ring and work 6 single crochets (sc) into the ring. Pull tight to close.
- Increase Round: Work 2 sc in each stitch around (total 12 stitches).
- Continue increasing each round until you reach the desired base size, which may be around 8–12 inches in diameter.
Step 2: Build the Basket Walls
- Single Crochet Round: Work sc into each stitch around, without increasing, to start forming the walls.
- Continue Rounds: Continue sc rounds until the basket reaches your desired height, typically 6–8 inches.
Step 3: Create the Bunny Ears
- Chain and Work Rows: Use the sample pattern above to create two bunny ears.
- Attach to Basket: Securely sew the ears onto the top of the basket.
Step 4: Add Bunny Face Details
- Eyes: Use black yarn or small buttons for eyes.
- Nose: A small pink triangle of embroidery or a crocheted nose will add a cute touch.
- Mouth: Embroider a small mouth below the nose.
Step 5: Optional: Add a Bunny Tail
- Pom-Pom Tail: Create a small pom-pom using white yarn for a fluffy bunny tail.
- Attach to Basket: Securely sew the tail to the back of the basket.
Styling Tips for Your Crochet Easter Bunny Basket
Make your Easter Bunny basket extra special with these styling ideas:
1. Color Theme
Use classic colors like white or pastel pink, or go bold with bright hues that complement your holiday decor.
2. Add a Handle
Crochet a sturdy handle by chaining a length long enough for a handle, then working rows of single crochet. Attach each end to opposite sides of the basket for easy carrying.
3. Embellishments
Incorporate small flowers, bows, or embroidered details to make your basket even more festive.
Creative Uses for a Crochet Easter Bunny Basket
Your crochet bunny basket doesn’t have to be limited to Easter. Here are a few ways to use it throughout the year:
- Holiday Gift Basket: Use the basket to present other gifts, like chocolates or small toys, for Easter or other occasions.
- Decorative Storage: Store small household items in this decorative basket.
- Centerpiece: Fill it with decorative eggs, flowers, or other spring-themed items for a beautiful holiday centerpiece.
- Children’s Room Decor: Use the bunny basket as a whimsical storage option for kids’ toys.
CHECK MORE CROCHET PATTERNS