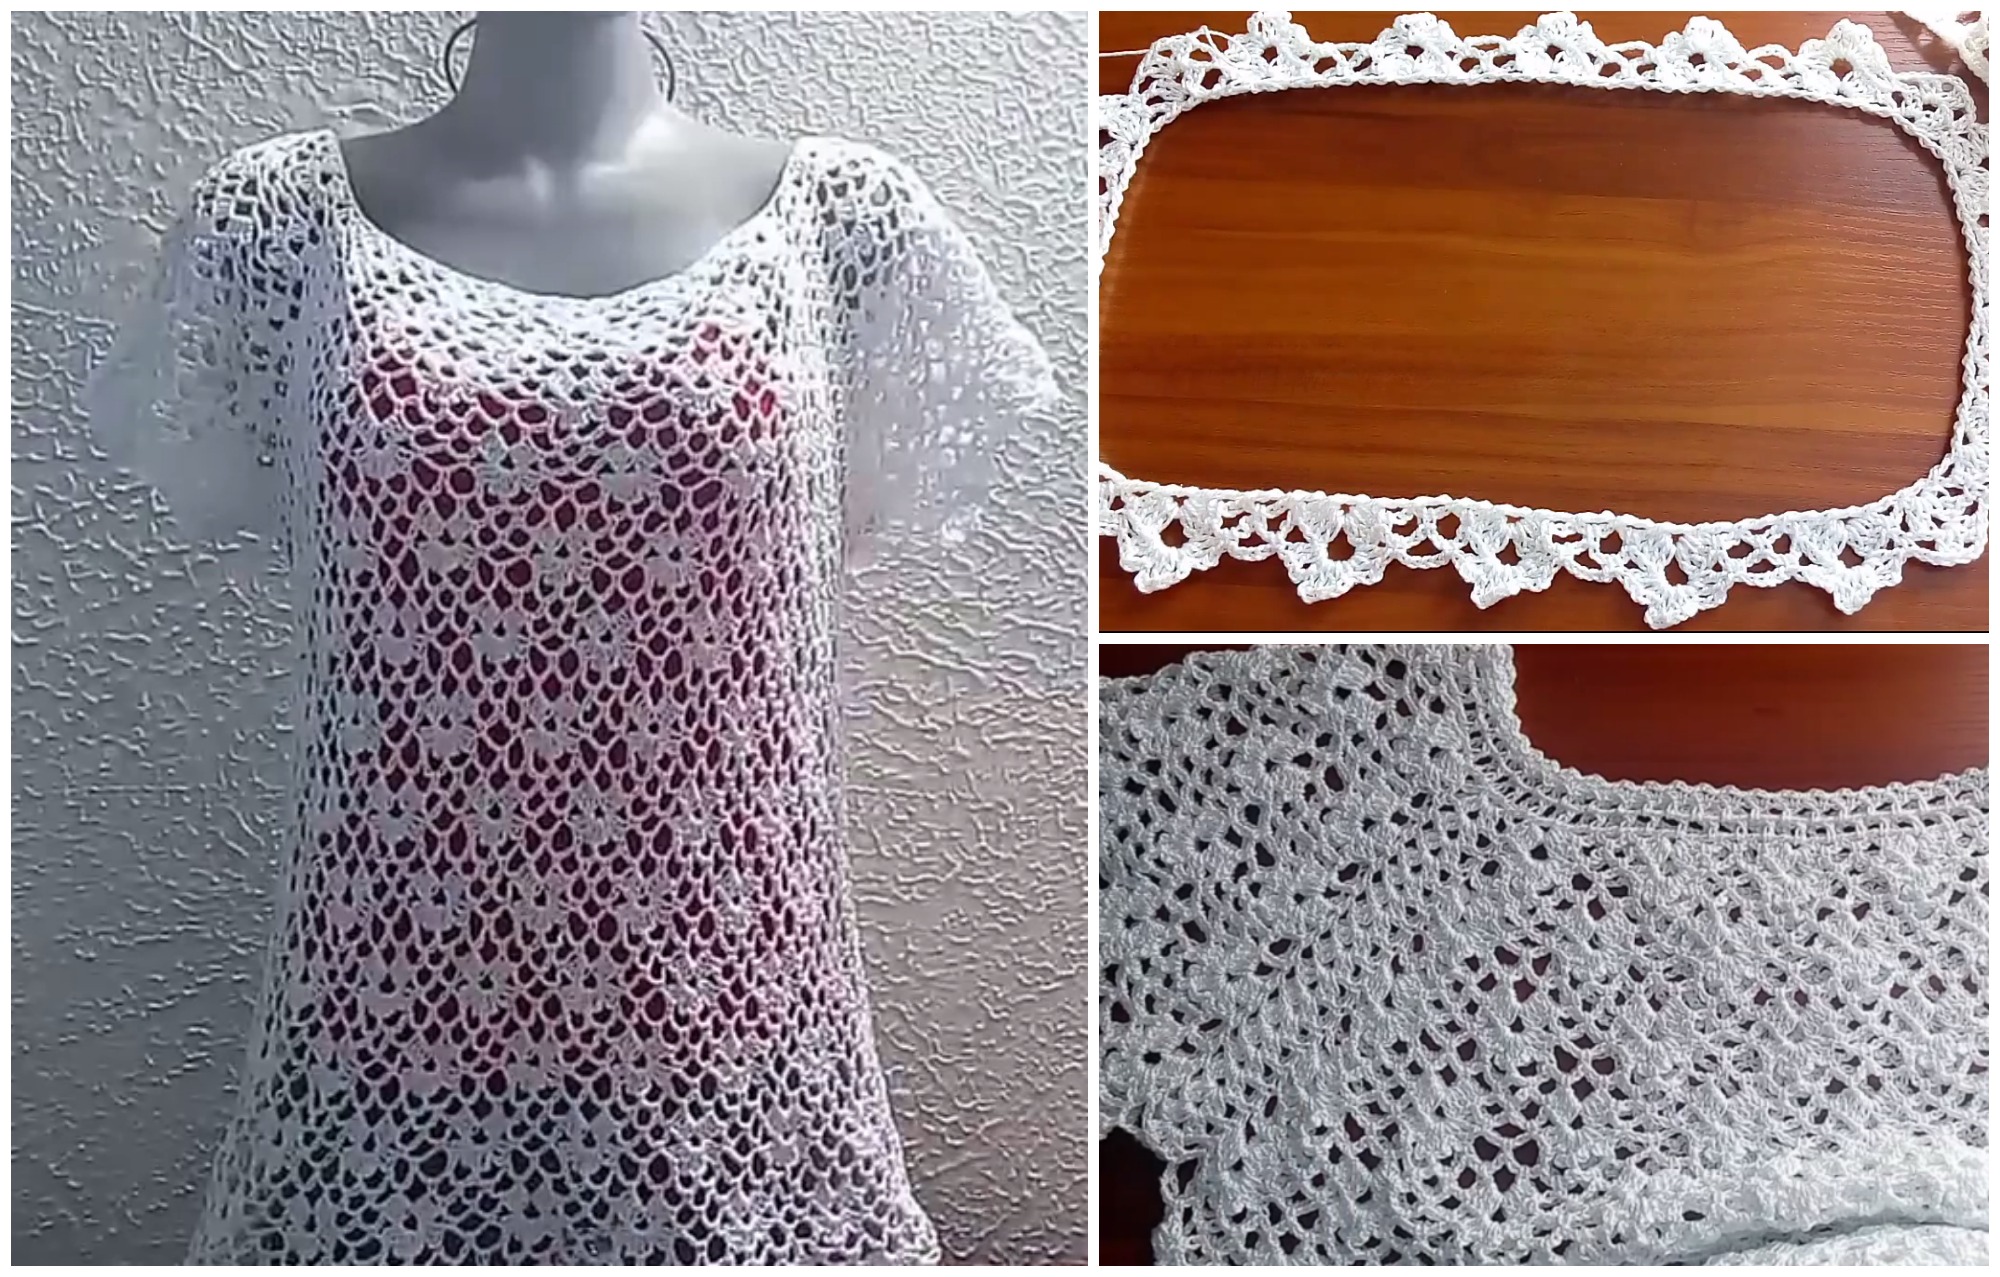
Crochet Flower Short Sleeve Blouse

The crochet flower short sleeve blouse is a charming and fashionable addition to any wardrobe. With its delicate floral motifs and comfortable fit, this blouse not only showcases your crochet skills but also offers versatility for various occasions.
Whether you’re dressing up for a summer party or looking for something stylish to wear casually, the crochet flower blouse is a perfect choice.
In this comprehensive guide, we will explore how to create this beautiful piece, provide styling tips, and discuss various ways to customize your blouse.
Crochet Flower Short Sleeve Blouse
Today we have selected an amazing video tutorial about short sleeve blouse, which we hope you will like and master easily. This amazing blouse will be the perfect addition to your wardrobe.
Besides of its fashionable design it is also very comfortable and you will be proud of yourself at the end of your working process.
It will highlight your personality and will demonstrate your trendiness.
The video tutorial is excellent helper, every step is explained clearly and we hope you will start crocheting right now.

You are free to choose your favorite color. Happy crocheting!!! Share it with your friends!!!
Materials You Will Need
Before you start crocheting your flower blouse, gather the following materials:
- Yarn: Choose lightweight cotton or acrylic yarn in colors that inspire you, such as pastels for spring or bold colors for summer.
- Crochet Hook: A size G (4mm) or H (5mm) hook is generally recommended for medium-weight yarn.
- Scissors: For trimming yarn ends.
- Tapestry Needle: To weave in loose ends and finish your work.
- Measuring Tape: To ensure your blouse fits perfectly.
- Stitch Markers: Helpful for keeping track of rounds and rows, especially in larger projects.
Choosing the Right Yarn
When selecting yarn for your crochet flower blouse, consider these factors:
- Fiber Content: Cotton yarn is ideal for its breathability and crisp finish, while acrylic can provide softness and warmth.
- Color Choices: Opt for colors that match your wardrobe or reflect your personality. Bright colors can make a bold statement, while neutral tones can be more versatile.
- Texture: A smooth yarn will showcase the intricate crochet flower designs beautifully.
Recommended Yarns
Here are some great yarn options for your crochet flower blouse:
- Cotton Yarn: Lightweight and durable, perfect for summer garments.
- Acrylic Yarn: Soft, affordable, and easy to care for, ideal for beginners.
- Blends: Consider yarns that combine different fibers for unique textures.
Basic Crochet Techniques for a Flower Blouse
Before diving into your blouse project, familiarize yourself with some basic crochet stitches that are essential for creating floral designs:
- Chain Stitch (ch): The foundation of most crochet projects.
- Single Crochet (sc): Creates a tight fabric, useful for shaping.
- Double Crochet (dc): Adds height and volume to your work.
- Slip Stitch (sl st): Used for joining rounds and securing your work.
- Cluster Stitch: Commonly used in flower patterns to create a fuller look.
Sample Stitch Pattern: Basic Flower Motif
To give you a head start, here’s how to create a basic crochet flower motif that can be incorporated into your blouse:
Materials Needed
- Yarn in your chosen colors (for petals and center).
- Crochet hook (size G or H).
- Scissors and tapestry needle.
Instructions
- Start with a Magic Ring: Create a magic ring to form the center of your flower.
- Round 1: Chain 2 (counts as your first dc), then work 11 dc into the ring. Pull tight to close the ring and join with a slip stitch.
- Round 2: Chain 3 (counts as first dc), then work 2 dc in the same stitch. Chain 2 and slip stitch into the next stitch. Repeat this around for a total of 12 petals.
- Finish Off: Cut the yarn, leaving a long tail for sewing if desired. Weave in any loose ends.
Step-by-Step Instructions for Crocheting a Flower Blouse
Now that you’re familiar with the basic stitch patterns, let’s dive deeper into the step-by-step process of creating your crochet flower short sleeve blouse.
Step 1: Measure Your Size
- Decide on the Fit: Measure your bust, waist, and desired length for the blouse. Consider how loose or fitted you want it to be.
Step 2: Create the Foundation Chain
- Chain Your Desired Width: Based on your measurements, chain a multiple that allows for the desired width of the blouse, typically between 50-100 stitches.
Step 3: Begin the Body of the Blouse
- Row 1: Work in double crochet across your foundation chain.
- Row 2: Turn your work and begin the pattern by following the instructions for the flower motif.
Step 4: Continue Crocheting
- Add Rows: Continue to crochet additional rows of the pattern until you reach your desired length for the body of the blouse.
- Shaping: Depending on your design, you may want to shape the sides by decreasing stitches.
Step 5: Creating the Sleeves
- Determine Sleeve Length: Decide how long you want the sleeves to be—short, long, or even sleeveless.
- Crochet the Sleeves: Create additional panels in the same pattern, attaching them to the body at the desired points.
Step 6: Adding a Neckline
- Neckline Design: Use double crochet stitches to create a neckline that flatters your shape. You can opt for a scoop neck, V-neck, or square neckline.
- Secure the Neckline: Ensure the neckline fits comfortably, adjusting as necessary.
Step 7: Finishing Touches
- Edging: Add a decorative border around the neckline and sleeves for a polished look. A simple single crochet border works well, or you can use a shell stitch.
- Weave in Ends: Use a tapestry needle to weave in any loose ends.
CHECK MORE CROCHET PATTERNS