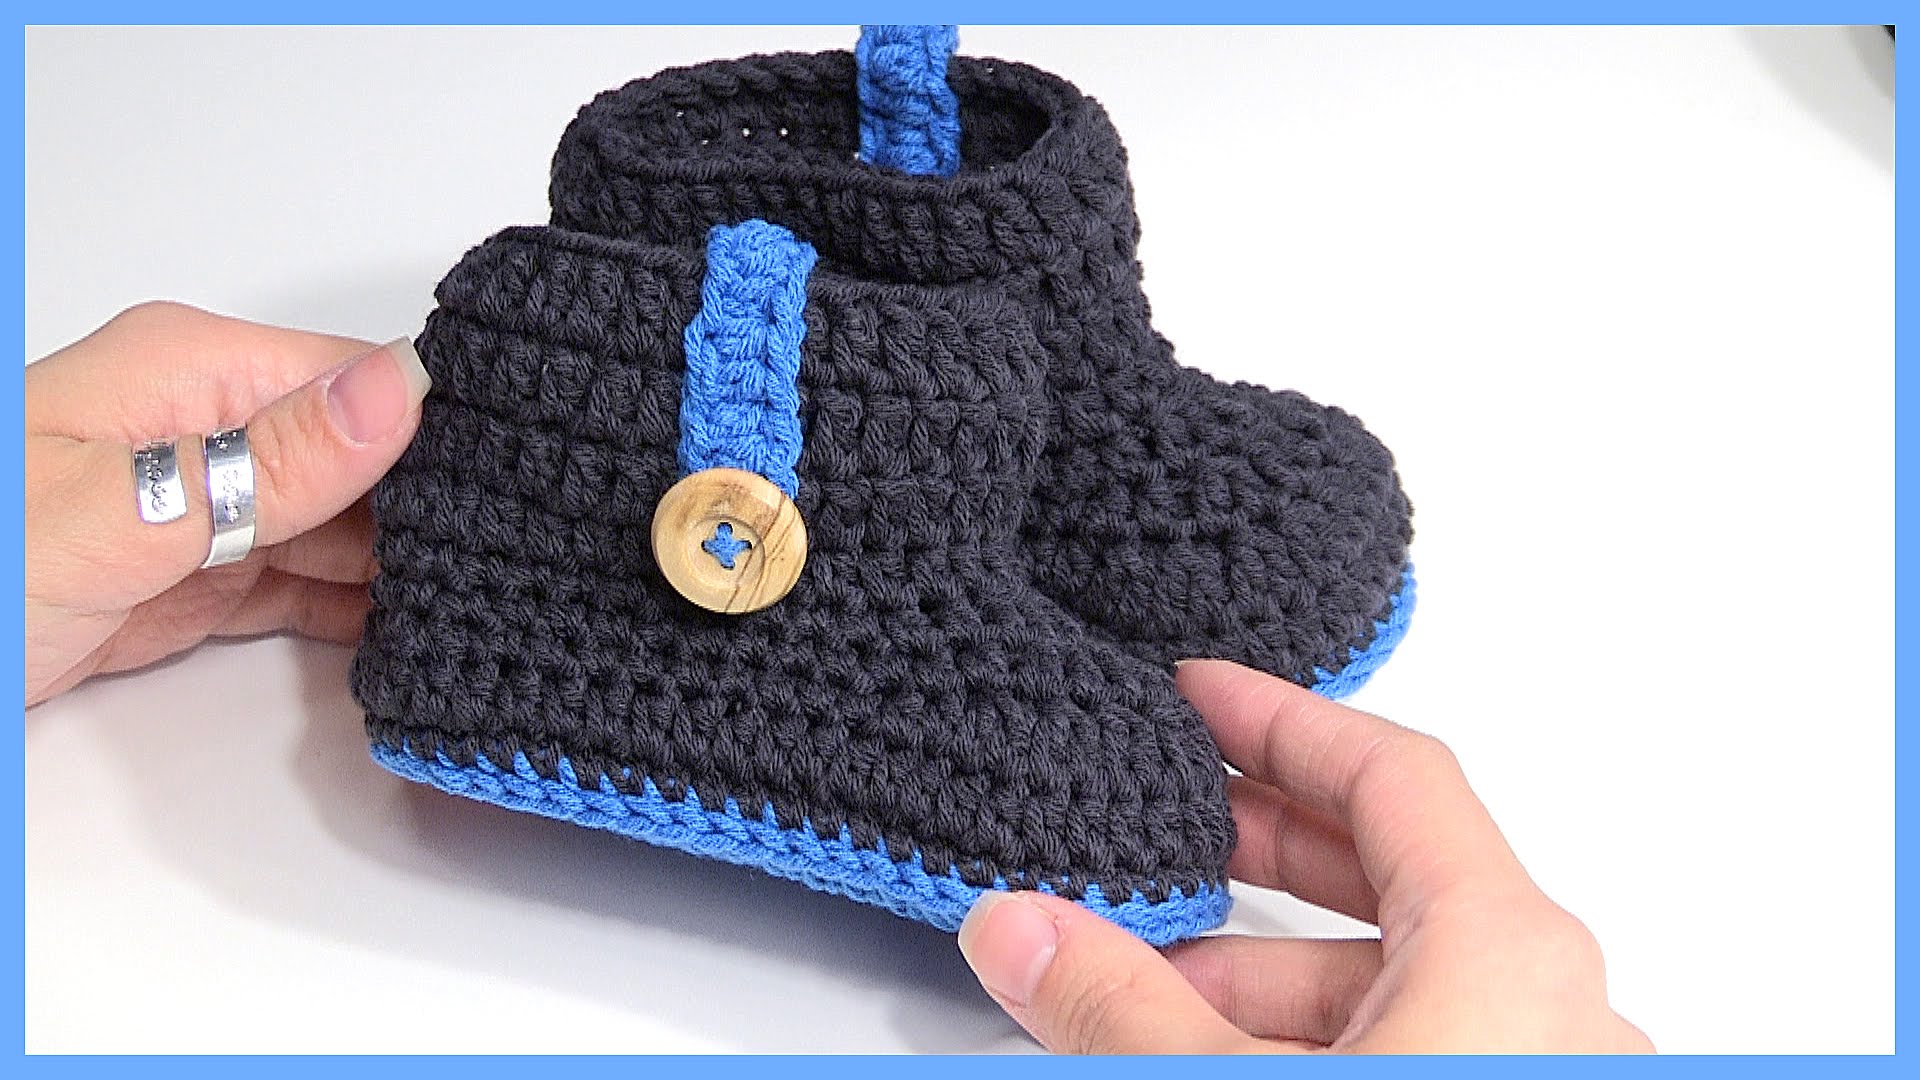
How To Crochet Multi Colored Baby Booties

We are trying our best to share with you interesting crocheting tutorials to let you learn new beautiful thing, hope our articles are helping you and you enjoy viewing them.
Previously we have shared with you an article about: How To Crochet Lacy Flower Granny Square
For we presents you a video tutorial about how to crochet Multi Colored Baby Booties.
Crochet these really cute and beautiful booties for your children or for your grandchildren or at least for you ladies.
We believe that you will enjoy our video tutorial. Please Enjoy the post and don’t forget to share your impressions.
Materials Needed for Multi-Colored Baby Booties
Before starting, gather the following materials:
- Yarn: Choose soft, baby-friendly yarn in multiple colors. Light worsted-weight yarn or DK yarn is a great choice, as it’s soft and not too bulky.
- Crochet Hook: A 3.5mm or 4mm hook generally works well for baby booties, but adjust according to your yarn choice.
- Tapestry Needle: For weaving in ends and attaching different color sections.
- Scissors: For trimming yarn ends.
Step-by-Step Guide to Crochet Multi-Colored Baby Booties
This pattern is simple and versatile, allowing you to experiment with color changes throughout the bootie. These instructions are for a baby 0-6 months old, but you can easily adjust the length by increasing the foundation chain.
1. Start with the Sole
The sole provides the base for the bootie and gives it structure.
- Foundation Chain: Chain 10 stitches.
- Round 1: Single crochet (sc) in the second chain from the hook and in each chain across. Work 3 sc in the last chain. Continue down the opposite side, working sc in each stitch and 3 sc in the last stitch. Join with a slip stitch. (22 stitches)
- Round 2: Chain 1, 2 sc in the first stitch, sc in the next 7 stitches, 2 sc in each of the next 3 stitches, sc in the next 7 stitches, 2 sc in the last stitch. Join with a slip stitch. (28 stitches)
- Round 3: Change colors and repeat the previous step, increasing as needed to create a sole that matches the baby’s foot length.
Pro Tip: Keep the tension even to ensure the sole is smooth and flat. Adjust the number of rounds based on your desired sole size.
2. Create the Bootie Upper
The upper part forms the main body of the bootie and can be done in one or multiple colors.
- Round 1: Attach your new color, chain 1, and work one sc in each stitch around the sole’s edge. Slip stitch to join.
- Round 2-4: Continue with sc stitches in each stitch around, joining at the end of each row. Change colors as desired to create stripes or blocks of color.
Creative Idea: Experiment with color blocking by switching colors every row or by creating wide bands in contrasting colors for a bold look.
3. Form the Toe Section
The toe section requires some decrease stitches to create the shape, giving the bootie a snug fit.
- Round 5: Sc in each stitch around until you reach the front of the bootie. Sc2tog (single crochet two together) in the next 5 stitches for a rounded toe.
- Round 6: Sc in each stitch around, working an additional color change if desired. Continue decreasing as needed until you reach the preferred toe shape.
4. Add the Cuff
The cuff adds style and helps keep the booties snug on the baby’s feet.
- Cuff Foundation: Attach a new color and chain 1, then work one half-double crochet (hdc) in each stitch around.
- Round 1-3: Work in back loops only (BLO) for each stitch to create a ribbed texture. Slip stitch to join.
- Final Round: If desired, add one last row of slip stitches or sc for a neat, finished edge.
Enjoy!
CHECK MORE CROCHET PATTERNS