Crochet pillowcases tutorial
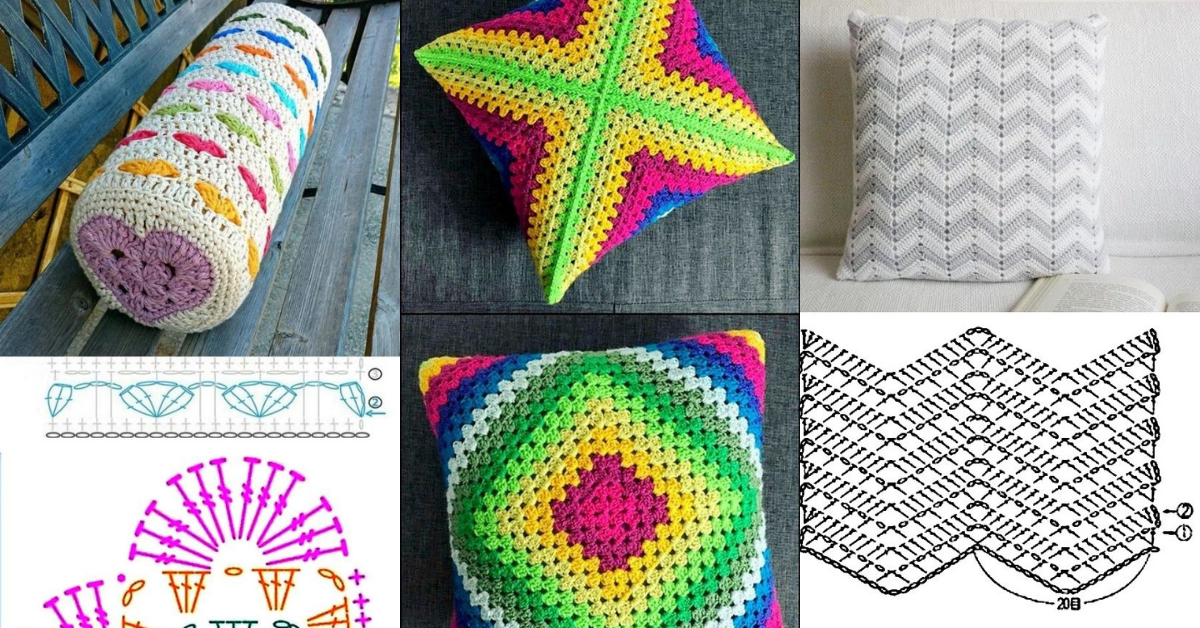
Cushions are the perfect accessory to add some color and style to your home decor. Crochet is perfect for creating beautiful pillowcases.
Crochet pillowcases can be made in different sizes, shapes and stitches. There are options for every space in your home, from the simplest to the most elaborate.
Here we have selected some ideas and models to inspire you.
Read too: Gorgeous pillows decorated with crochet
Crochet pillowcases tutorial
Check out the step by step here.

Are you looking to add a personal touch to your home decor? A crochet pillowcase is a wonderful way to infuse warmth, creativity, and style into your living space. Not only do they provide comfort, but they also serve as a stunning focal point in any room.
Crochet Pillowcases
1. Personalized Home Decor
Crocheting your own pillowcases allows you to choose colors, patterns, and textures that reflect your personal style, making your home uniquely yours.
2. Practical and Functional
Pillowcases are essential for comfort and support, making them a practical addition to your home. Crochet versions can add an extra layer of softness and charm.
3. Eco-Friendly Option
By making your own pillowcases, you can choose sustainable materials and reduce waste, contributing to a more eco-conscious lifestyle.
4. Therapeutic Crafting
Crocheting is known for its relaxing benefits. The repetitive motions can help alleviate stress and promote mindfulness, making it a rewarding hobby.
Materials Needed
Before you begin your crochet pillowcase project, gather the following materials:
- Yarn: Choose a medium-weight yarn (worsted weight) for a cozy feel. Cotton yarn works well for a durable, breathable finish.
- Crochet Hook: Select a hook size appropriate for your yarn (typically 5 mm to 6 mm).
- Scissors: For cutting yarn.
- Yarn Needle: For weaving in ends.
- Pillow Insert: Choose the size of your pillow insert based on your desired finished pillowcase size.
- Measuring Tape: For accurate measurements.
Basic Crochet Stitches Used
Familiarize yourself with the following basic crochet stitches for this project:
- Chain (ch): The foundation stitch for most crochet projects.
- Single Crochet (sc): A basic stitch that creates a dense fabric.
- Double Crochet (dc): A taller stitch that adds height and texture.
- Slip Stitch (sl st): Used for joining rounds or finishing off.
Step-by-Step Instructions for Crocheting a Pillowcase
Step 1: Choose Your Pattern and Design
- Select a Pattern: Decide on a stitch pattern for your pillowcase. Common patterns include:
- Granny squares
- Shell stitches
- Bobble stitches
- Stripes
- Choose Colors: Pick a color scheme that complements your decor. You can use one color or a combination for a more dynamic look.
Step 2: Measure and Calculate
- Measure Your Pillow Insert: Determine the dimensions of your pillow insert. This will guide you in calculating the number of stitches needed.
- Swatch: It’s a good idea to crochet a small swatch to check your tension and ensure that the finished pillowcase will fit the insert properly.
Step 3: Start Crocheting the Pillowcase
- Chain the Foundation:
- For a basic pillowcase, chain a number of stitches that matches the width of your pillow insert plus a few extra stitches for ease.
- First Row:
- Depending on your chosen stitch pattern, work the first row of stitches (e.g., sc, dc, or other) across the foundation chain.
- Continue Stitching:
- Continue working in rows until the piece measures the height of your pillow insert. Remember to check your progress regularly.
Step 4: Create the Back of the Pillowcase
- Repeat the Process:
- For the back of the pillowcase, repeat the steps for the front. You can use the same pattern or switch it up for contrast.
Step 5: Joining the Two Sides
- Align the Pieces:
- Place the front and back of the pillowcase with the right sides facing each other.
- Sewing or Crocheting the Sides:
- You can either sew the edges together with a yarn needle or crochet them together using slip stitches. If crocheting, make sure to maintain an even tension.
- Leave an Opening:
- Leave an opening on one side to insert the pillow. You can choose to close it with buttons or ties later.
Step 6: Insert the Pillow
- Turn the Pillowcase Right Side Out:
- Gently pull the pillowcase through the opening so that the right side is facing out.
- Insert the Pillow:
- Place the pillow insert inside the pillowcase.
- Close the Opening:
- You can sew the opening closed with a needle and thread, or you can create a button closure for easy removal and washing.
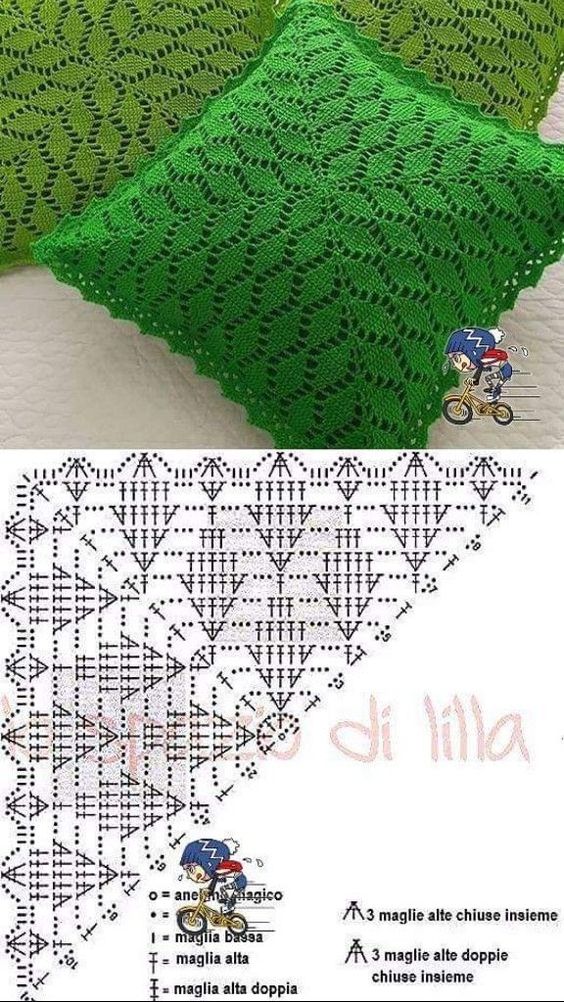
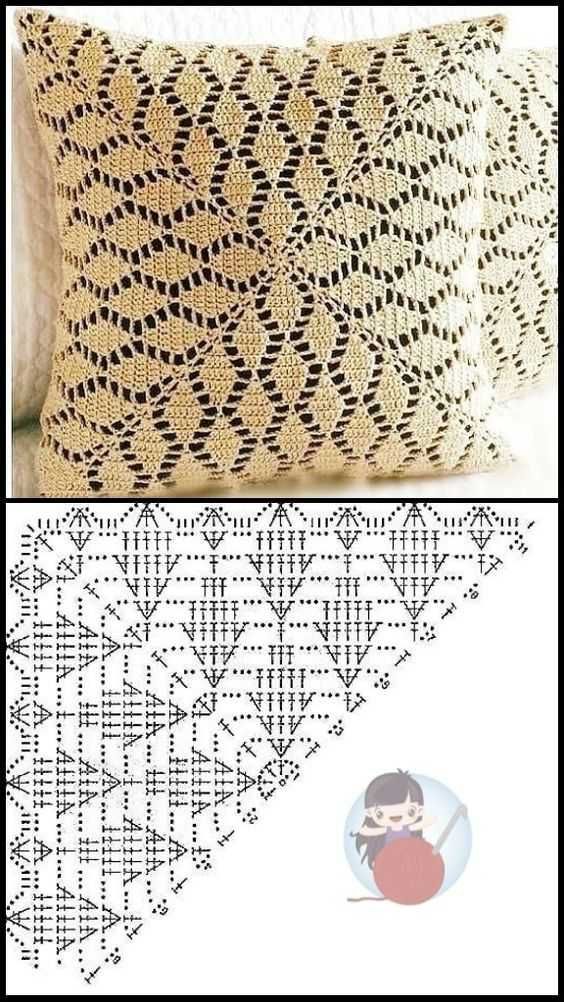
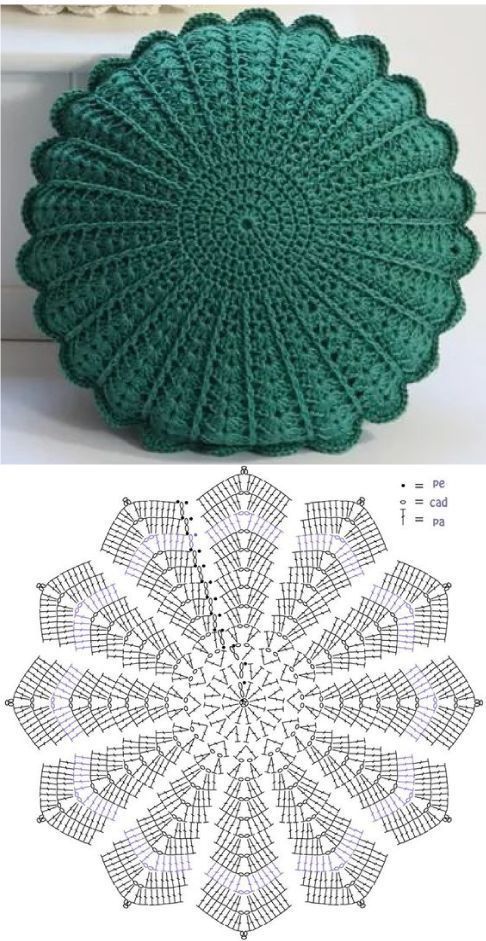
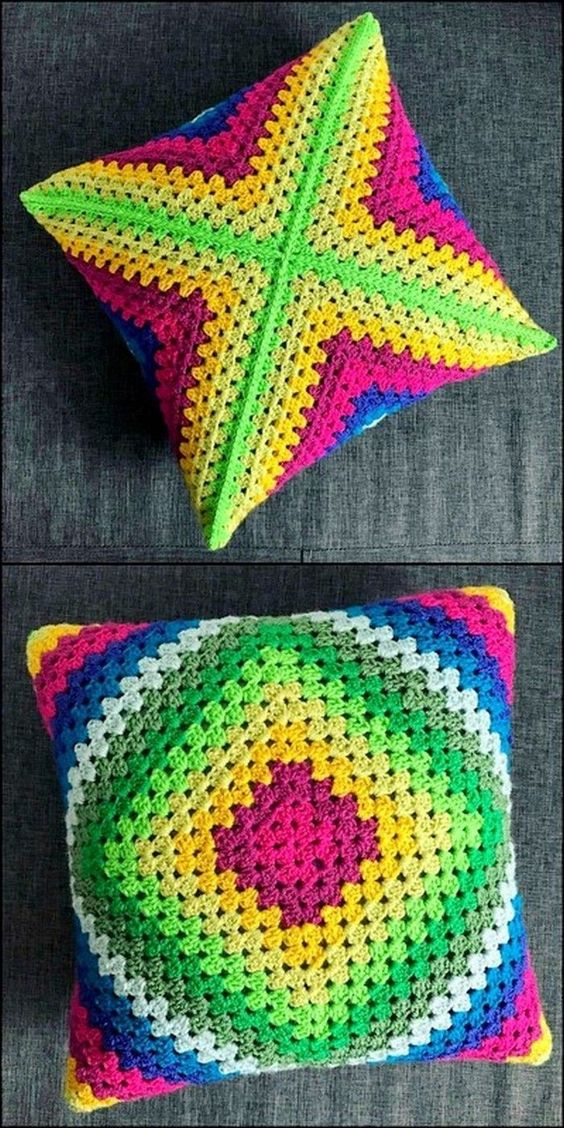
Crochet pillowcase ideas
For those who like a beautiful and differentiated decoration, the pillows are perfect and a simple solution that can completely transform your home.
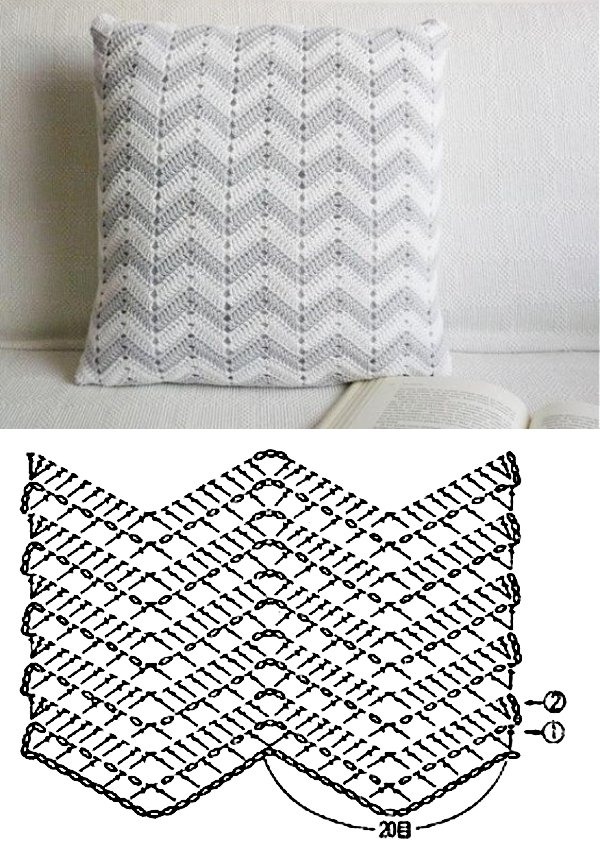
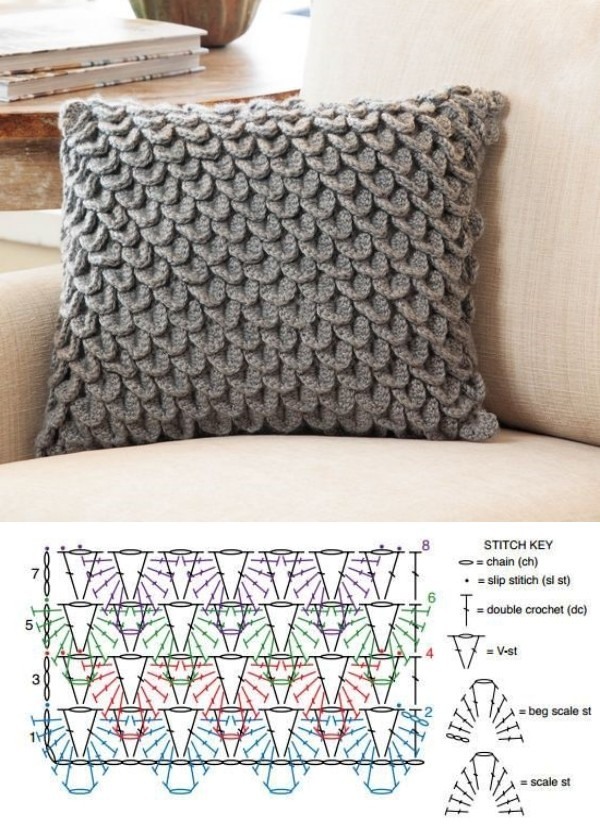
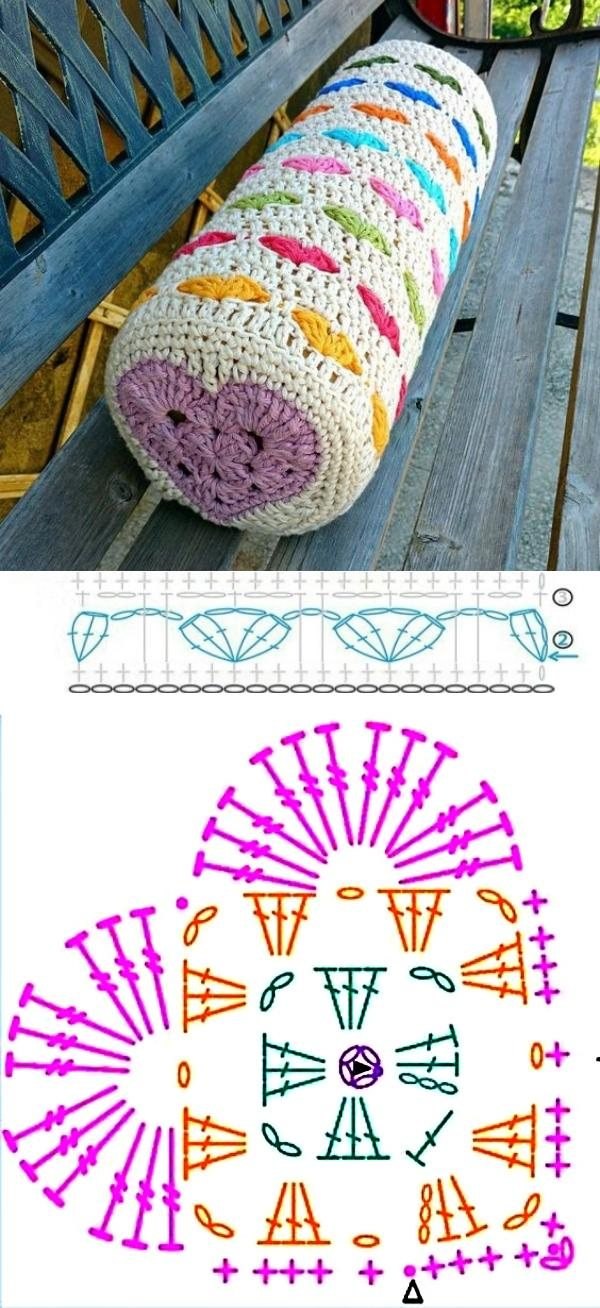
CHECK MORE CROCHET PATTERNS