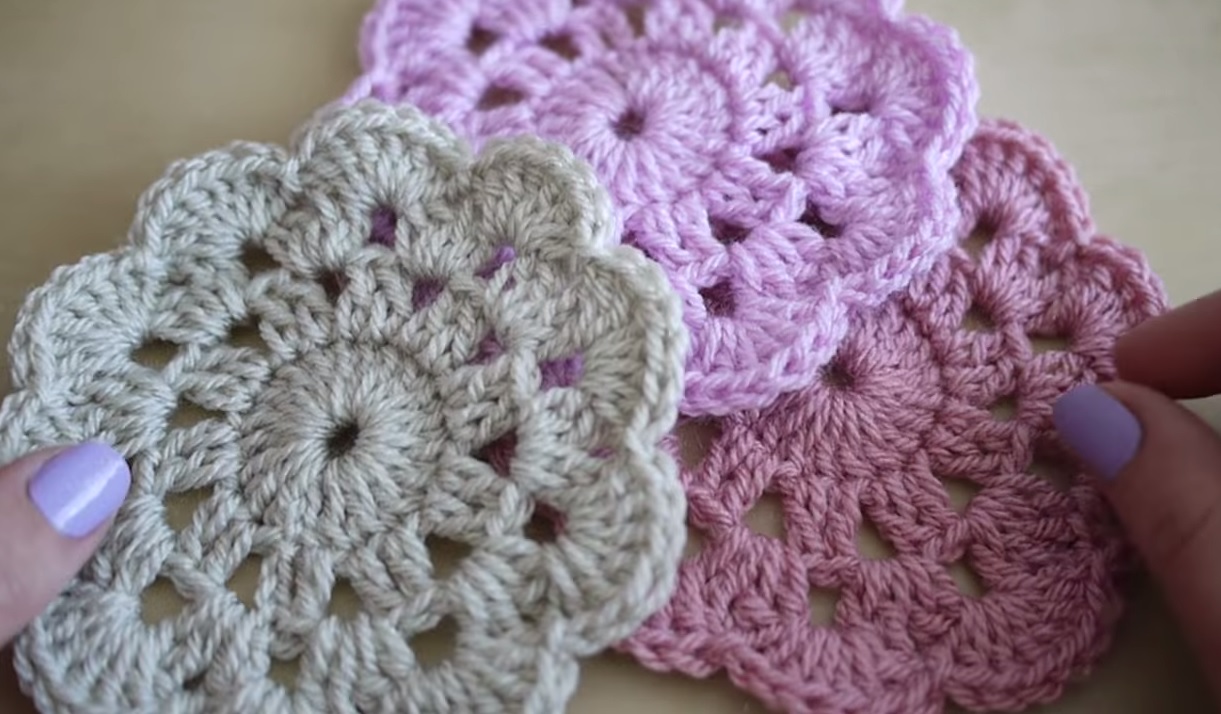
How to Crochet a Coaster: Step-by-Step Guide for Beginners

This is a simple and easy to use pattern suitable for for all including Beginners with some experience.
More ideas: Crochet Overlay Coaster - Elegant and Functional DIY Pattern
They are ideal to add a but of colour or a personal touch for your home, but also lovely to give as a gift to friends and loved ones.
Crochet a Coaster Tutorial
Crocheting a coaster is a fun and quick project that adds a personal touch to your home.
Whether you’re a beginner or an experienced crocheter, crochet coasters are simple, practical, and can be customized in endless ways.
In this guide, we'll show you how to crochet a basic round coaster, along with tips for customizing your design and creative uses for your handmade coasters.
Cotton yarn is ideal for coasters because it’s absorbent, durable, and holds its shape well, even after washing.

A tutorial of how to crochet a coaster. Ideal for home decor and gifts. Pattern written in UK terms with US reference.
Crochet a Coaster Ideas
- Yarn: Choose a cotton or cotton-blend yarn, as it’s durable and absorbent—perfect for coasters.
- Crochet Hook: Use a hook size that matches your yarn. Typically, a 4.5mm (G-7) or 5mm (H-8) hook works well with medium-weight cotton yarn.
- Scissors: For cutting yarn.
- Tapestry Needle: For weaving in the ends.
Instructions to Crochet a Basic Round Coaster
Step 1: Start with a Magic Circle
- Magic Circle: Begin with a magic circle (also known as a magic ring), which will form the center of your coaster.
- To create a magic circle, loop the yarn around your fingers to form a ring, insert the hook through the center, yarn over, and pull up a loop.
- Chain 2: Once your magic circle is ready, chain 2 to start your first round.
Step 2: First Round - Create the Foundation
- Work Double Crochets (dc): Work 12 double crochet (dc) stitches into the magic circle. These stitches will form the base of your coaster.
- Close the Circle: Pull the tail of the yarn to close the magic circle tightly. Slip stitch into the top of the first double crochet to join the round.
Step 3: Second Round - Increase Stitches
- Chain 2 to start the second round.
- Work 2 Double Crochets in Each Stitch: In each stitch around the circle, work 2 double crochet stitches (this is called increasing). You should have 24 stitches by the end of this round.
- Slip Stitch to Join: Slip stitch into the top of the first double crochet to join the round.
Step 4: Third Round - Continue Increasing
- Chain 2 to begin the third round.
- Increase Every Other Stitch: In the first stitch, work 1 double crochet. In the second stitch, work 2 double crochets. Continue alternating (1 dc in the next stitch, 2 dc in the next) around the circle.
- Slip Stitch to Join: Once you’ve completed the round, slip stitch into the top of the first double crochet to join.
Step 5: Final Round - Finishing Touches
- Edging (optional): To finish your coaster with a decorative edge, you can use single crochet (sc) stitches or a picot edge. For single crochet, work 1 sc in each stitch around. For a picot edge, chain 3, slip stitch into the first chain, and repeat around the edge.
- Fasten Off: Once you’ve completed the final round, fasten off the yarn and cut the excess.
- Weave in Ends: Use a tapestry needle to weave in the loose ends for a clean finish.
Learn how to crochet a coaster with this easy step-by-step guide. Perfect for beginners, discover creative ways to customize your coasters for home decor or gifts!
With this simple guide, you can start creating beautiful, functional crochet coasters that bring warmth and personality to your home. Happy crocheting!
CHECK MORE CROCHET PATTERNS